中文:脆皮烧肉

Crispy pork belly is a very traditional dish in Southern China. They are usually sold in BBO store or Dim Sum restaurants. It is also one of my childhood favorites.
There are Chinese BBQ stores in troy area that sell crispy pork belly too. I always buy some whenever we are in town. But the favors and crispiness are not so consistent. Sometimes it tastes good, while some other times it quite unbearable. So I started to DIY crispy pork belly at home so that I can make sure it is hot and crispy, just the way I like it.

There are some secrets to make pork skin extra crispy. Some use baking soda, and some people use vinegar. I use both to make my own crispy pork belly. And the results show vinegar works slightly better than baking soda.
(Reference links listed as below. My thanks to the original authors.


Ingredients:
2 pieces of pork belly (about 2pounds. Bigger pieces would work better )
1 teaspoon ground white pepper
1/2 teaspoon five-spice powder
1/4 teaspoon ginger powder
1/2 to 1teaspoon sugar
salt to taste
1 1/2 to 2 teaspoon rice cooking wine
1 teaspoon soy sauce
2 teaspoon vinegar
Coarse sea salt
Directions:

In a small bowl, whisk together ground white pepper, ginger powder, five-spice powder, sugar and salt.

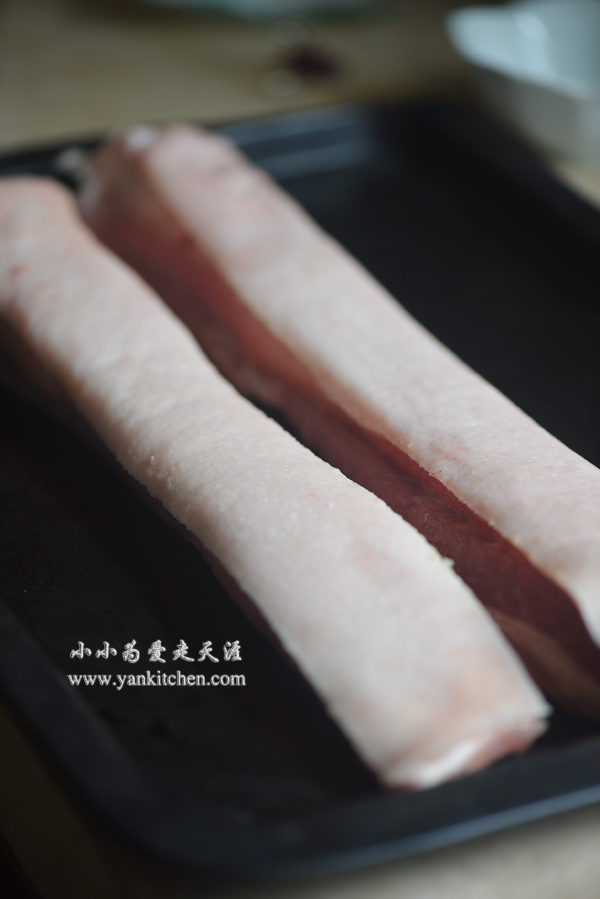
Rinse the pork belly and pat dry with paper towel.
With a meat tenderizer, punch the pork skin repeatedly until the skin is covered with tiny holes. Try not to punch too hard. We want the needles from meat tenderizer just to pierce through the skin, not the whole piece. If you don’t have a meat tenderizer at hand, a fork, or some metal skewers will do the job too.
Place the pork belly skin side down on a cutting board or large plate. Rub the meat with rice cooking wine and soy sauce, and then apply the dry rub mix. Do not rub on the skin side.

Turn them over with skin side facing up. Do not cover. Refrigerate overnight.
Heat a toaster oven to 400F/ 204°C.
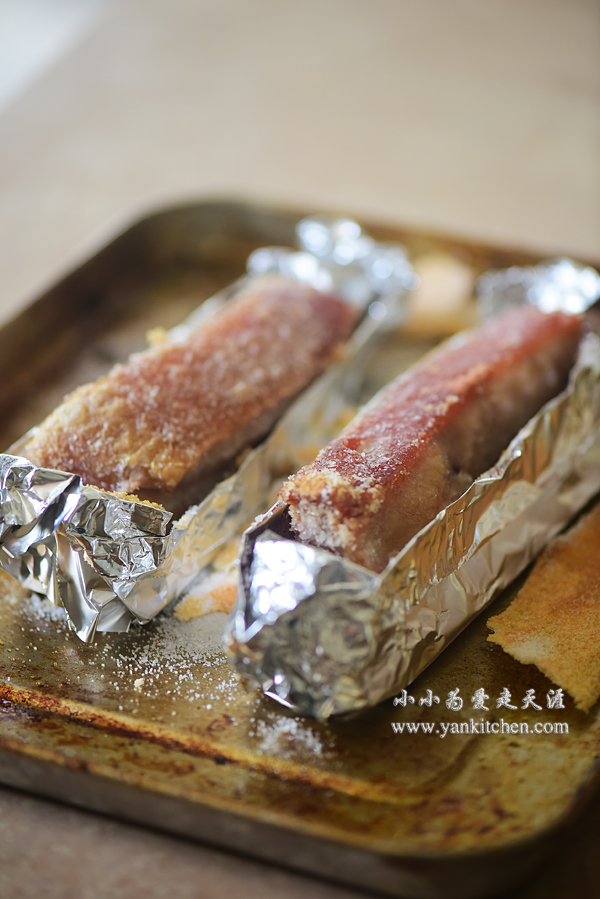
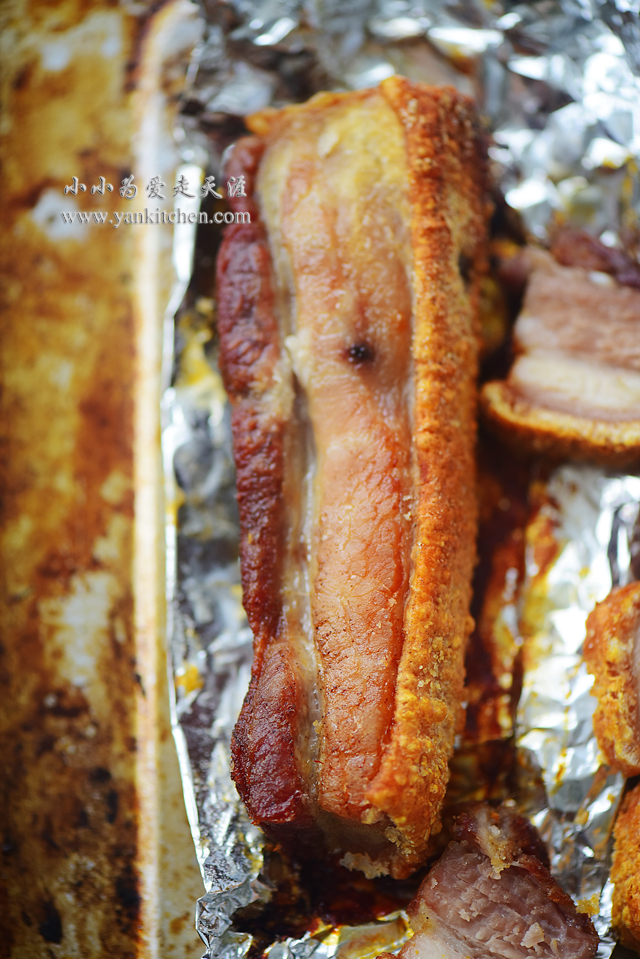
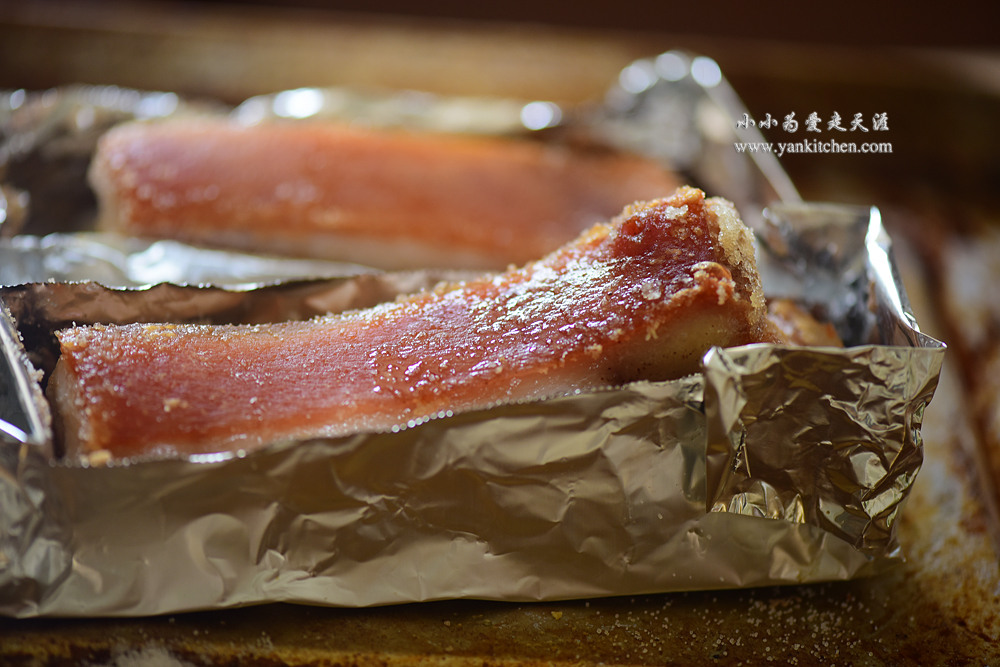
Wrap the pork belly tightly with foil.

Sprinkle a pinch of baking soda on top of pork skin.

Cover the skin top with a layer of salt. Both coarse salt and table salt work fine.

Bake in the toaster oven for 15 to 20 minutes. Bigger piece of pork belly may require longer baking time.

The salt will form some sort of crust. Remove the salt crust.

Continue to boil for 15 to 20 minutes or until the pork skin pops.
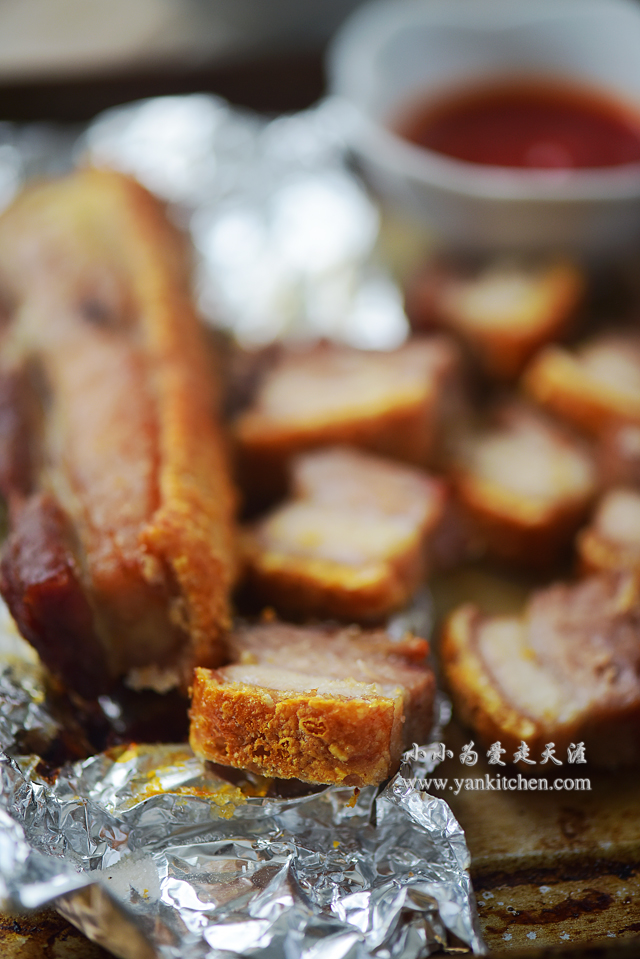
Slice into thick pieces. Enjoy!

Baking soda is one way to get crispy pork skin. I also try using vinegar, which is also a very good alternative.
Preheat the toaster oven to 400F/204°C.
Wrap the pork belly tightly with foil. With a brush, brush the vinegar to pork skin. And then cover the skin a layer of salt. Both coarse salt and table salt will be fine.
The rest is the same. Bake in toaster oven for 15 to 20 minutes. Remove the salt crust on top.
Continue to boil for 15 to 20 minutes, or until the skin pops.


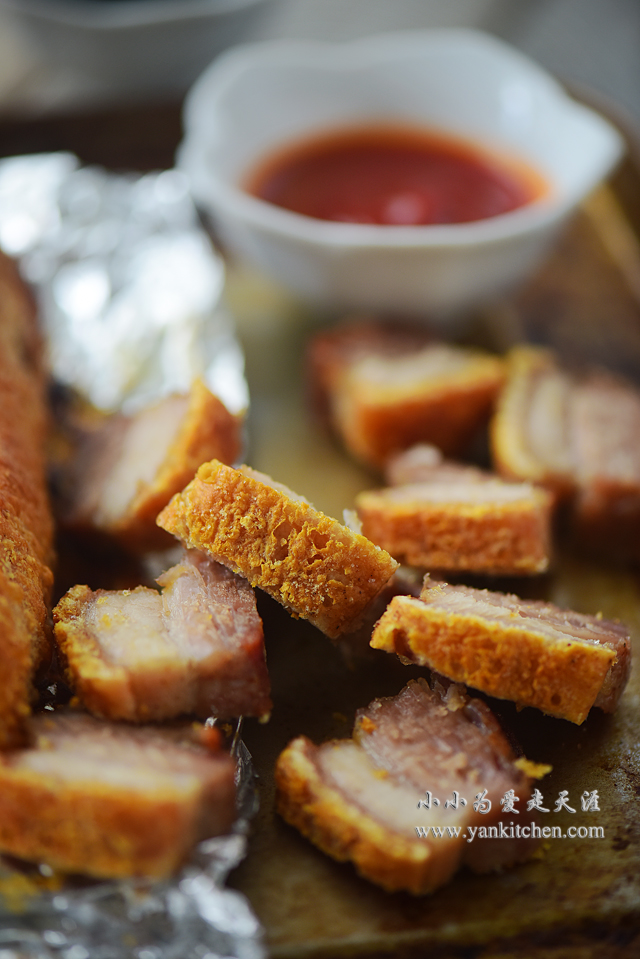
It is crunchier than the ones baked with baking soda. And the texture is better too.

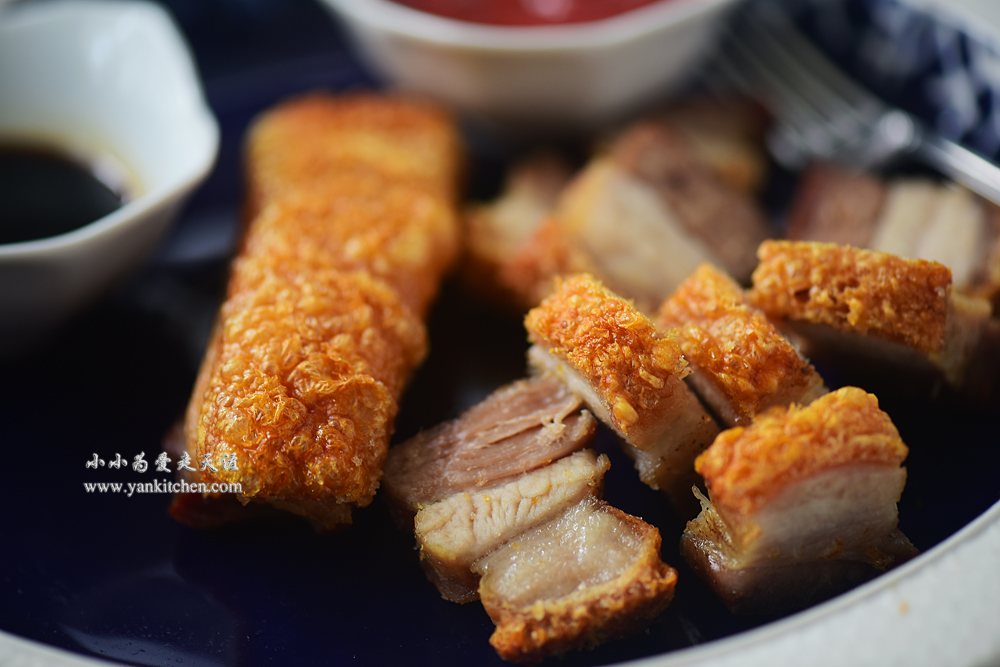


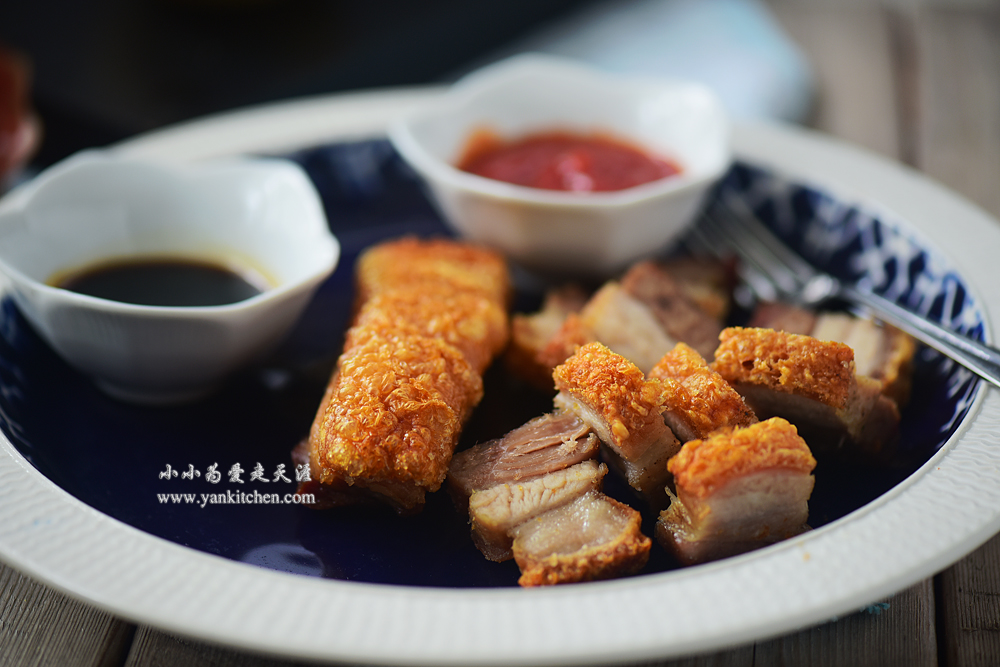
You can enjoy them with hot sauce;

Or with hoisin sauce; O (∩_∩) O~