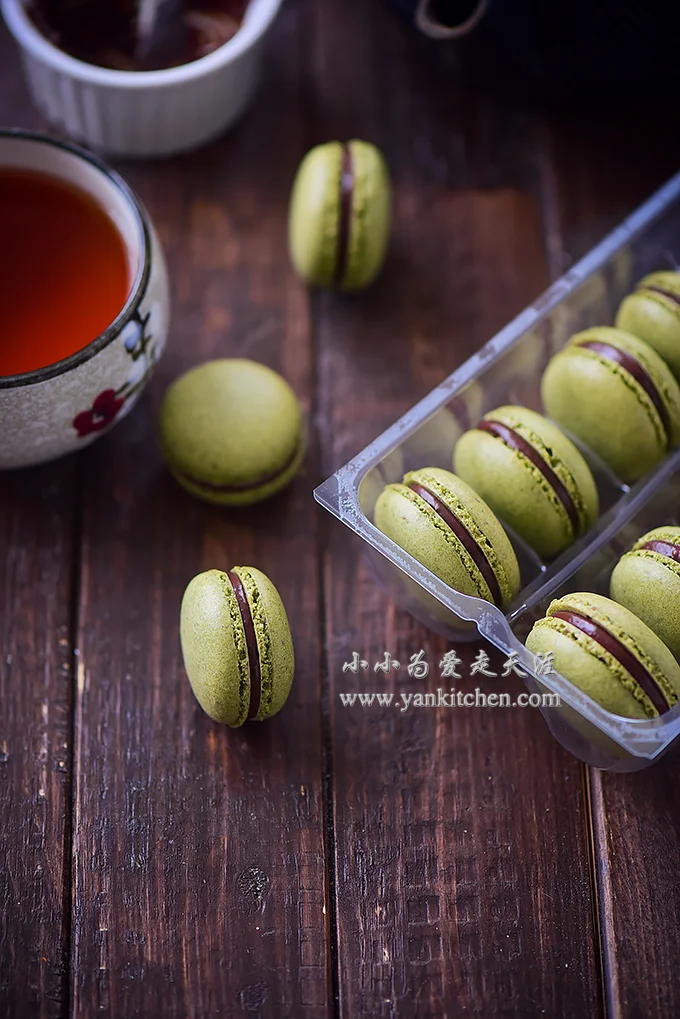
Matcha Macarons

中文: 抹茶马卡龙

Yes, I am so obsessed with macarons and I always try to perfect my recipe. O (∩_∩) O~

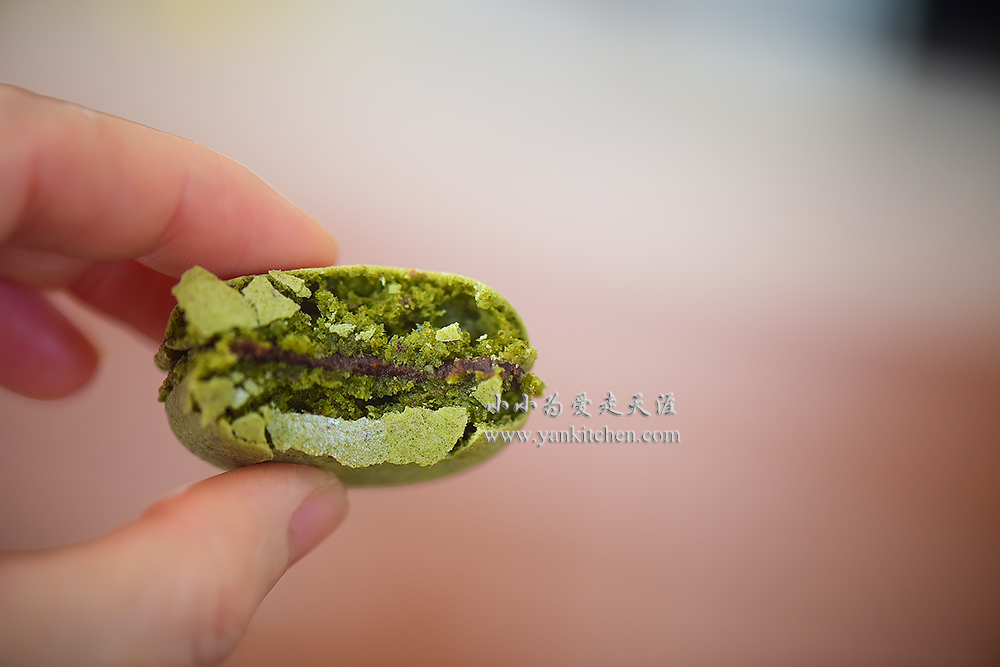
Through experiments, I make some tiny modifications to my previous macaron recipe.  A little bit change makes huge difference in the finished products.  You can see in the picture that the feet and the skirts improve a lot.

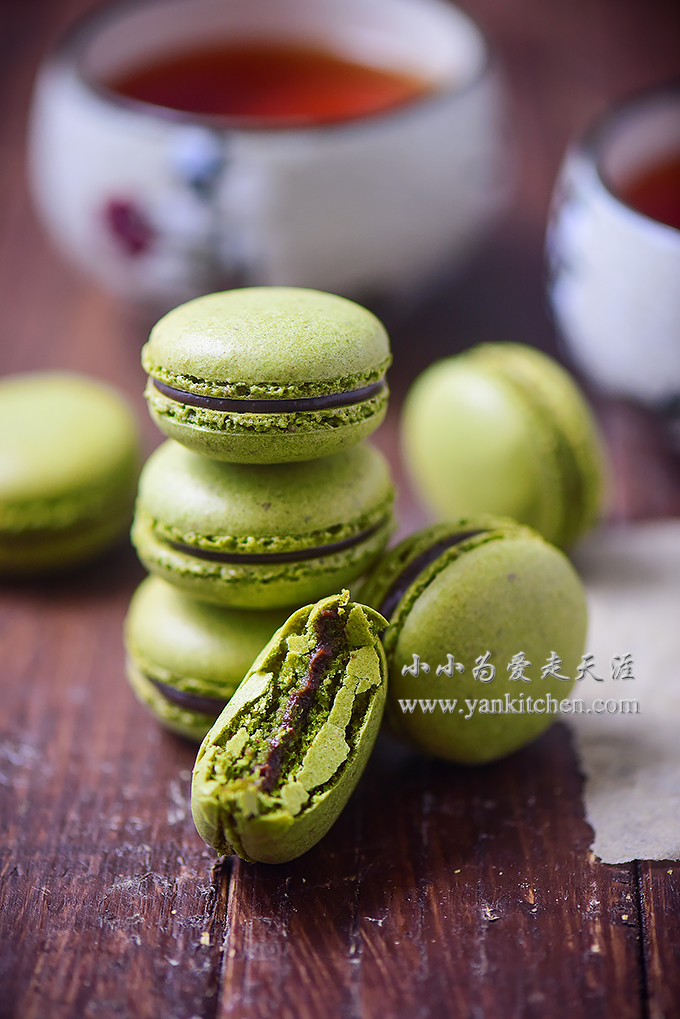
The matcha powder I bought just arrived.  So I make a batch of matcha macarons.

Ingredients:

2 large egg whites
110 g powder sugar
45 g granulated sugar
54 g almond flour
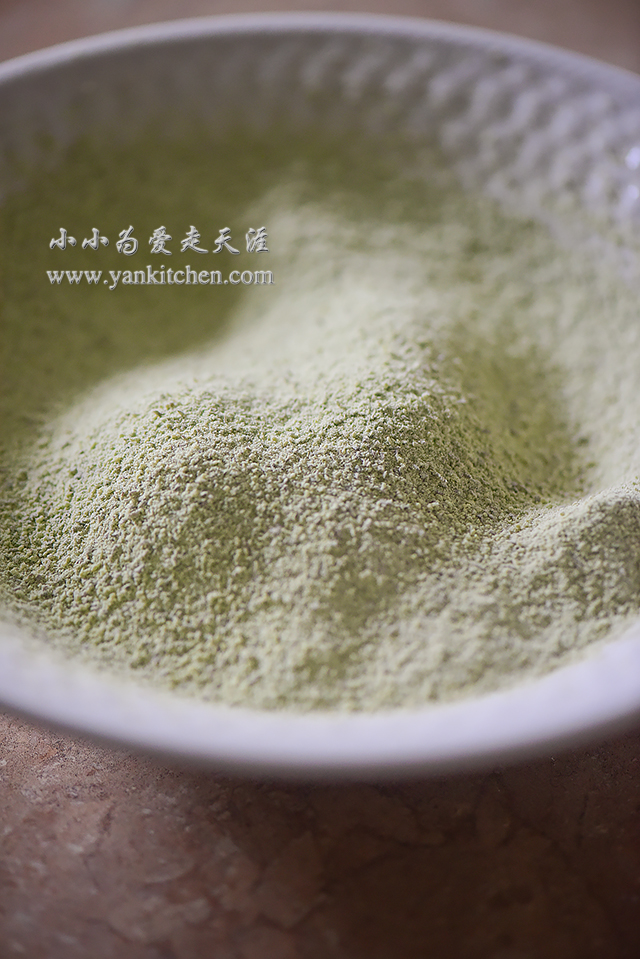
8 g matcha powder (super fine green tea powder)
a pinch of cream of tartar

Direction:

Combine powder sugar, matcha powder and almond flour.  Pour the mixture into food processor

Run the process for about 10 seconds. 

Shift the flour mixture through a flour shifter or strainer.

Discard any big almond pieces.

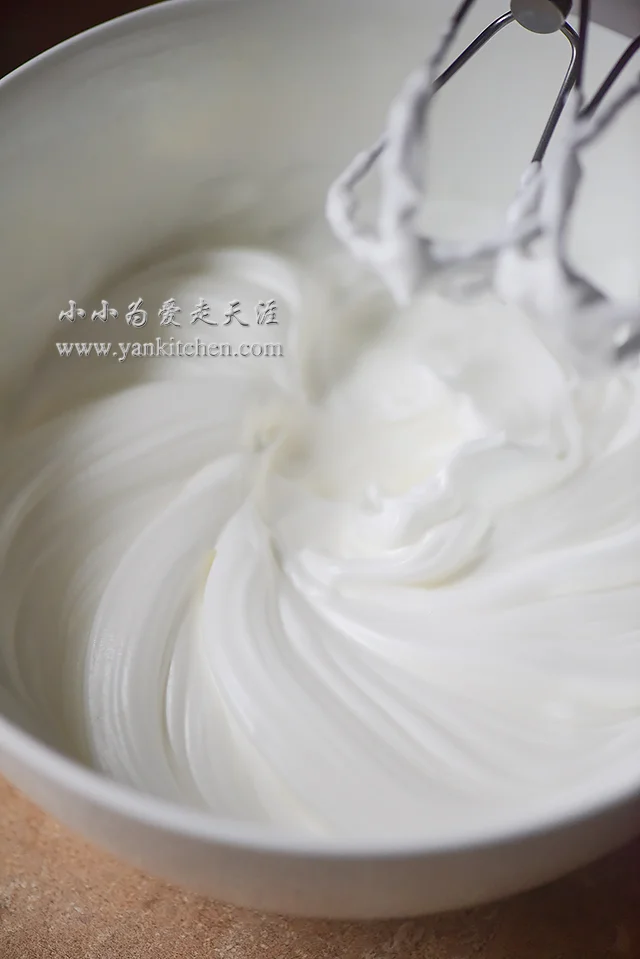
Add cream of tartar to the egg whites.  Beat the egg whites with an electric whisk.

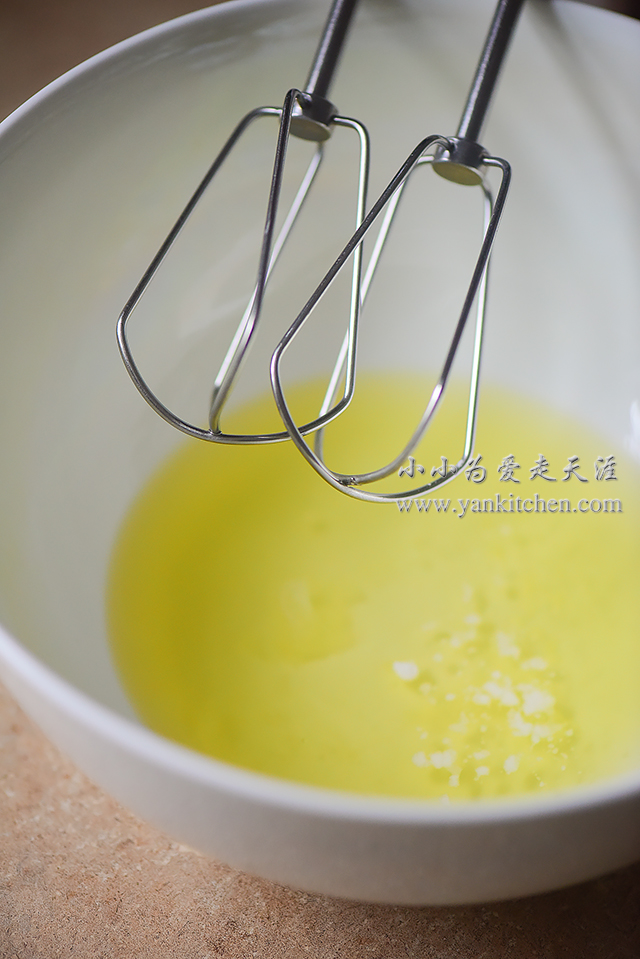
Beat at low speed for about 1 minute.  Switch to medium speed for 3 to 4 minutes.  And then beat at high speed for 1 to 2 minutes.  Add sugar in three batches in between.  Stop beating when the stiff peak forms.

It takes about 5 to 6 minutes beating time for the egg whites to form stiff peaks.

Add shifted almond flour mixture.

With a rubber spatula, gently fold the flour mixture into egg whites.

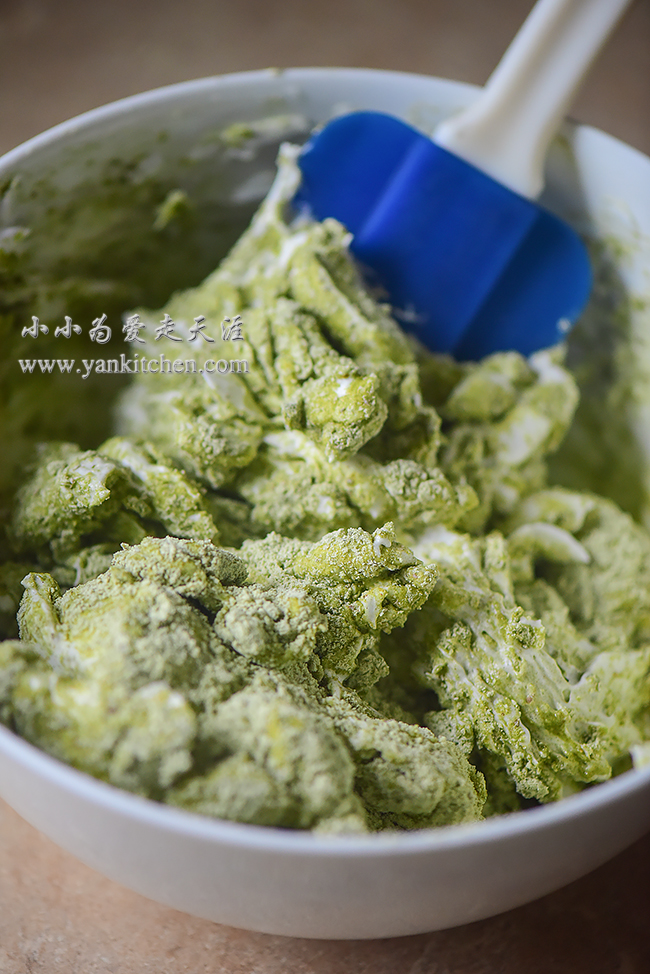
Fold it gently until the batter can fall smoothly like a silky ribbon.

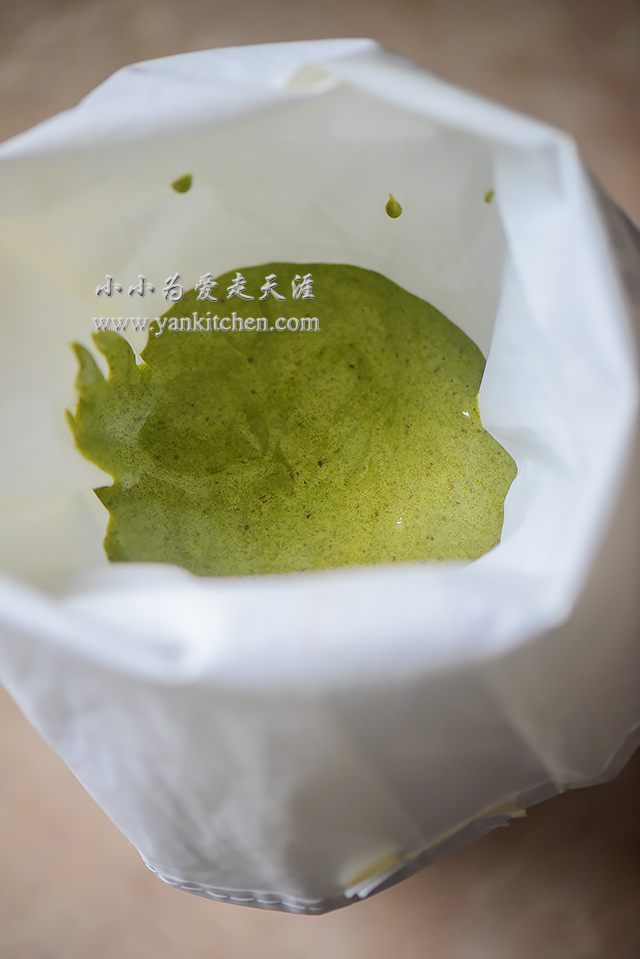
Prepare a 14 inch decorating bag with Wilton NO. 12 tip.  Use a wide mouth drinking glass to help the bag to stand up straight which will make it so much easier to pour the batter.

Fill the pastry bag with almond batter.

Line 2 cookie pans with silicone baking mats.

Squeeze a dollar coin size batter onto the silicone mat, about a quarter inch in height.   Repeat it until all the batter is finished. 

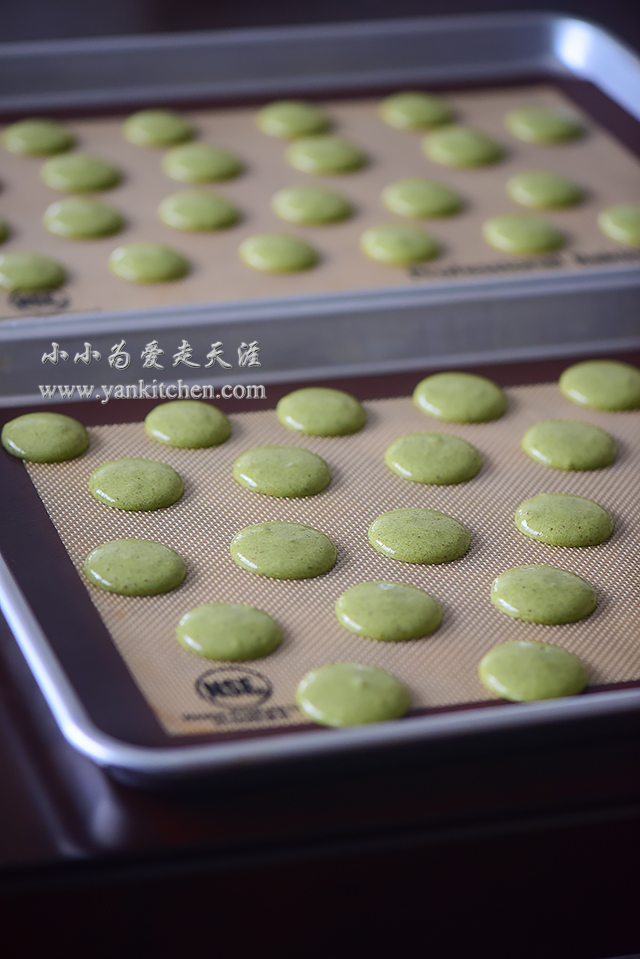
Tap the bottom of the cookie pan when done to smooth the cookie dough tops.

Let the pan sit on countertop until the surface becomes dry to touch.  It might take 30 to 60 minutes depending on the humidity around.

Preheat the oven to 325F.

Bake in the oven for 12 to 14 minutes. 

Allow the cookies to cool down on the silicone mats before removing them. 

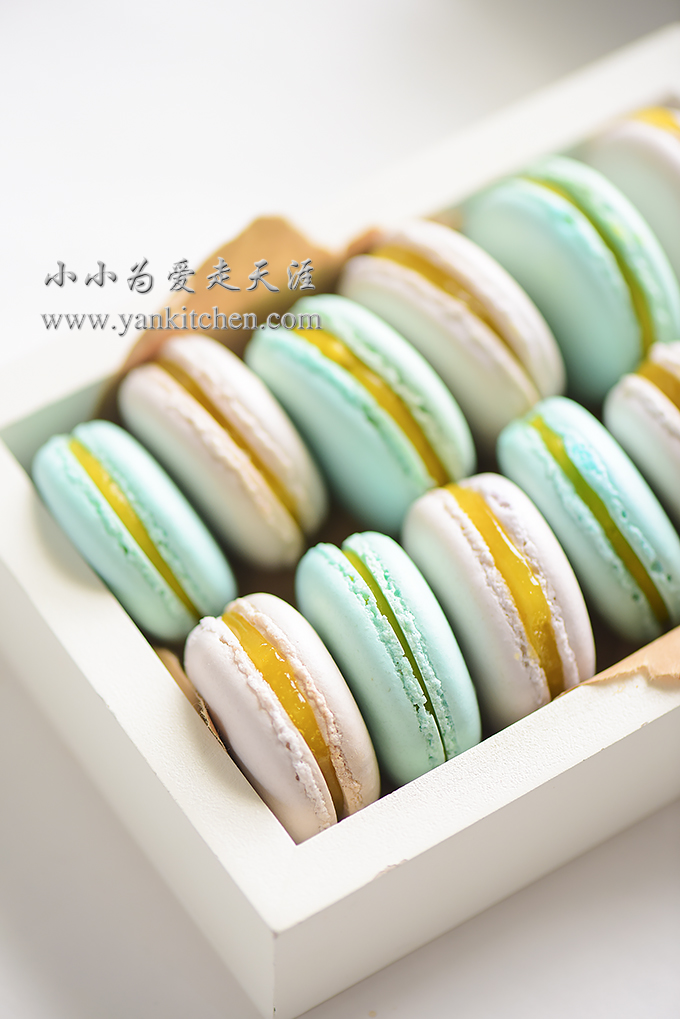
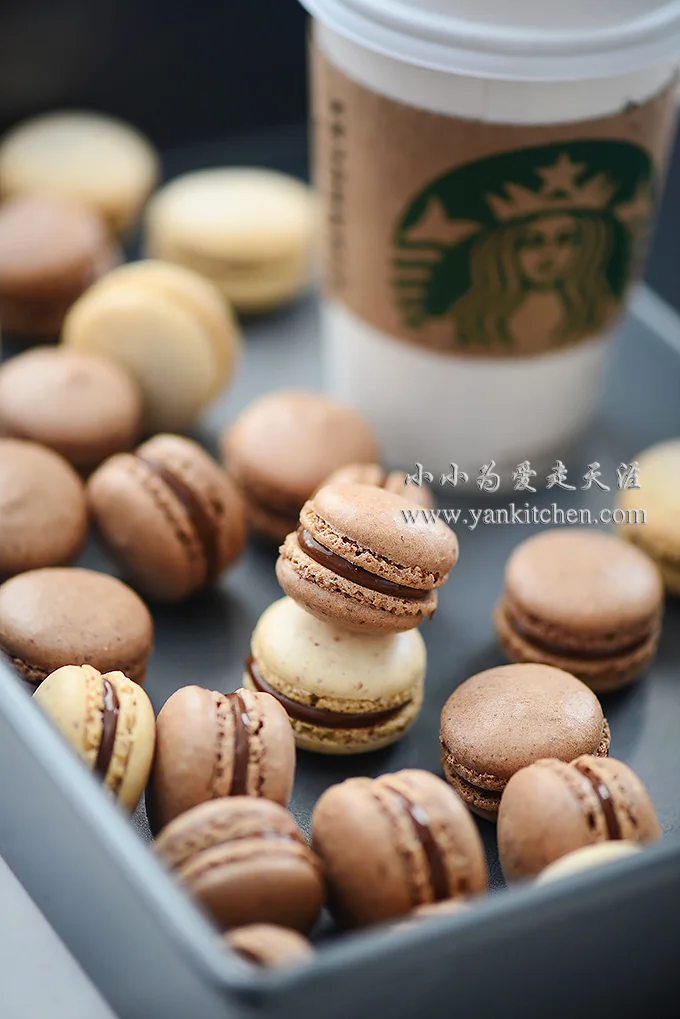
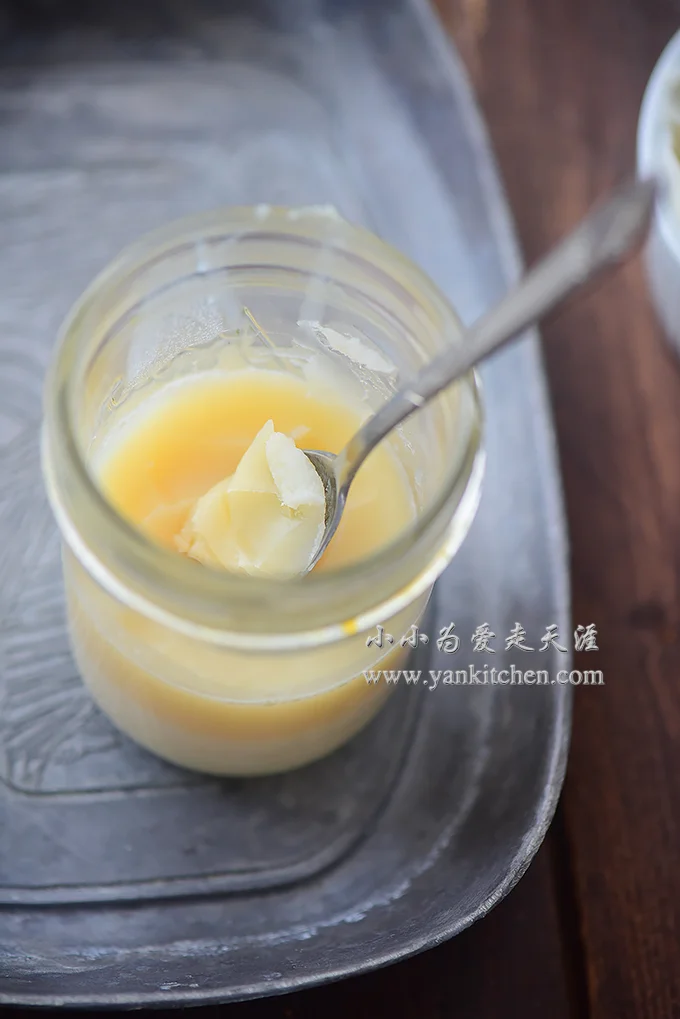
Use any filling of your choice: jam, chocolate, cheese, nutella……….  Be creative! 

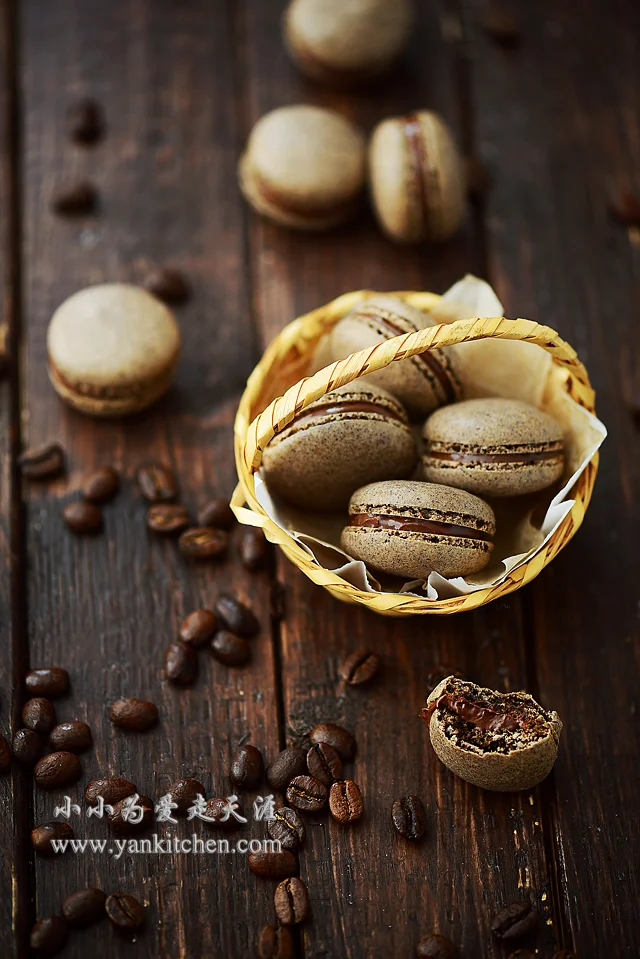
I love chocolate.  So I use chocolate gouache as the filling here.

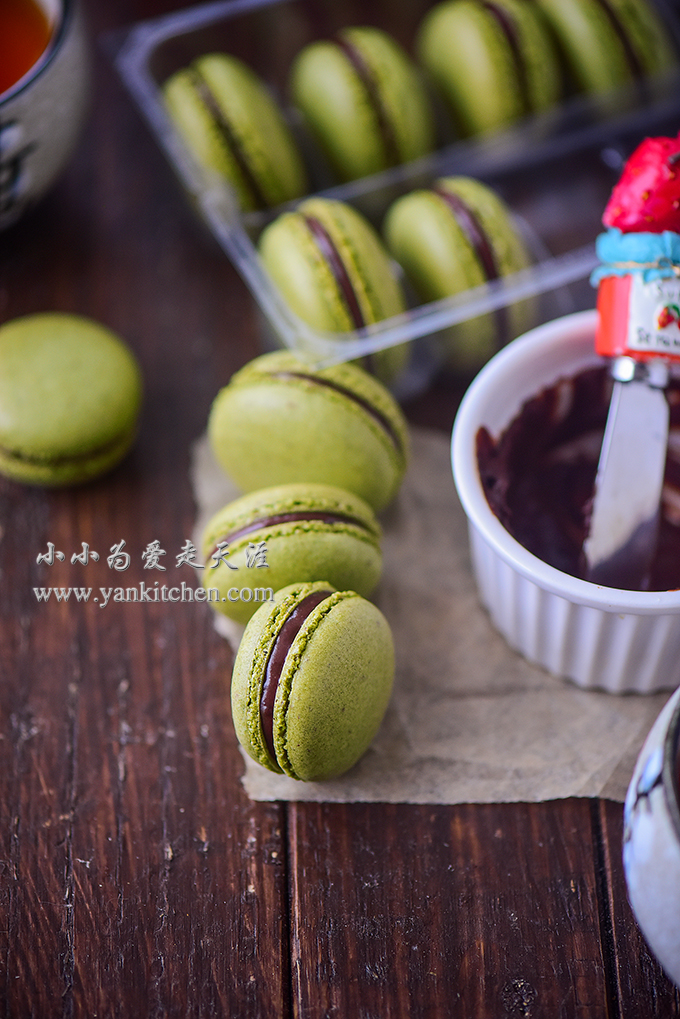
Love the macaron feet and skirts
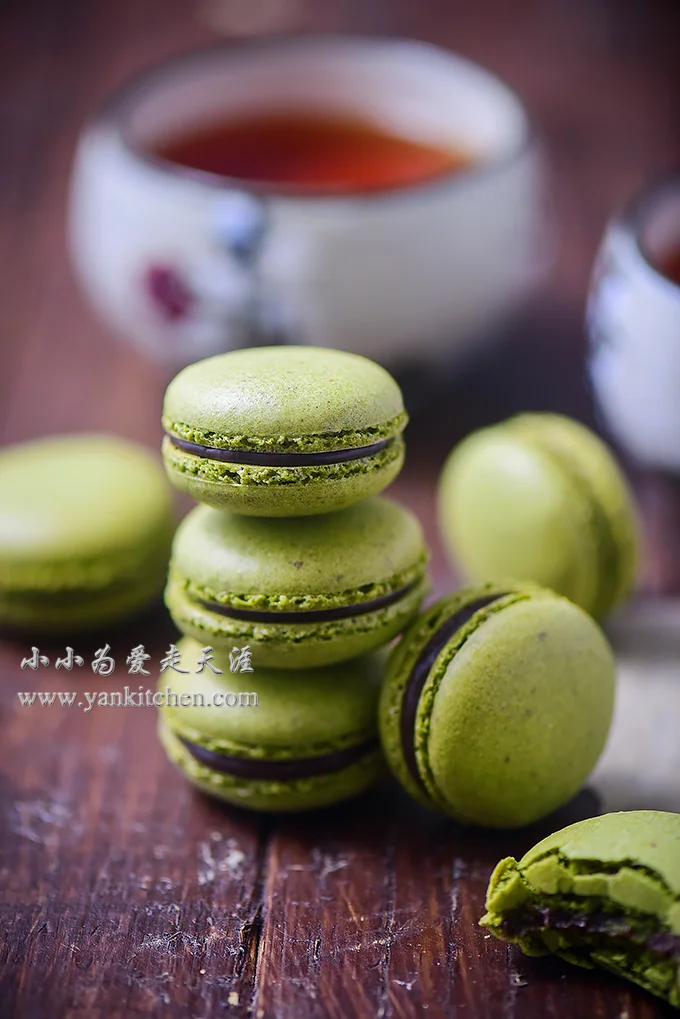
Time to enjoy!

Stir-fried Rice with Soy Sauce

中文: 酱油炒饭

Stir-fried rice is also one of my favorite comfort foods. You should be able to find stir-fried rice in any Chinese restaurants.  They come in so many flavors and countless combinations of meats and vegetables that there are many cooking books devoted to stir-fried rice. 

A good bowl of stir-fried rice should feed you and also satisfy you at the same time.  I learned how to cook rice when I was in elementary school.  And now I am still learning how to do it better and better.  O(∩_∩)O~

Ingredients:

1 bowl of cooked rice (about 2 cups; cooked and refrigerate overnight)
2 egg yolks
2 to 3 tablespoons soy sauce  I use low sodium soy sauce)
1/3 to 1/2 teaspoon dark soy sauce
1/4  to 1/2  teaspoon oyster sauce
2 to 3 tablespoons cooking oil
a pinch of sugar
a pinch of ground white pepper
2 teaspoons lard ( I use bacon fat)
2/3 diced ham
chopped green onion

Sometimes I collect excessive bacon oil when I bake bacon in the oven.  Drained and stored in an air-tight mason jar, it will last a long time in the refrigerator. 

I use it to bake some traditional flaky crispy cookies like this one.  They always come out amazing. (The cookie recipe was posted before )

I use low sodium soy sauce .  If you are using the regular one, please sample the rice a couple times when adding soy sauce and dark soy sauce.  You might need to use less.

Dark soy sauce  is usually used for food coloring.  It is not as salty as soy sauce.

Directions:

The secret to good stir-fried rice is cooked and refrigerate overnight rice.  Do not the use the freshly cooked rice because it is kind of sticky.  Trust me; you don’t want sticky rice when you are making stir-fried rice.

Break apart any large lump of rice with a wooden spoon or fork.  Try not to smash them.

Add 2 egg yolks to the rice.  With a pair of chopsticks, gently whisk them together. 


Heat a wok over high heat.  Add oil, and then the rice with egg yolks.  Stir fry until both the rice and yolks are cooked through.  

Transfer to a plate.

DSC_2753 2 copy.jpg

If you do it right, nothing shall stick to the wok.  If you don’t, clean and rinse the wok under running water before moving on to next step. O(∩_∩)O~

Heat the wok on high heat again.  Add bacon fat.  When it melts, swirl the wok a couple times so that the bacon fat can evenly coat the bottom of the wok.  That is a very important step.

Add cooked rice.  Stir fry for a couple minutes.  The rice shall be evenly coated with bacon fat and it is kind of glowing.  Add soy sauce, dark soy sauce, sugar and oyster sauce.

Stir fry for another couple minutes.  Add ground white pepper, chopped green onion and diced ham.  Stir fry for one last minute.

Now you have a bowl of beautiful stir-fried rice with soy sauce.

I think the best way to enjoy it is to take small bites.  The umami taste comes from the combination of soy sauce, eggs, ham and rice cooked together over high heat and it is very satisfying. That is the reason why it is called comfort food. O(∩_∩)O~

Chicken Soup with Ham, Pearl Barley and Lima Beans

I love to make soups and stews in cold winter times.  Although it takes long time than regular dishes, my whole kitchen smells really good! O(∩_∩)O~

Today I make chicken soup with ham, pearl barleys and lima beans.  The leftover ham bone is perfect for making flavorful chicken soup.  The ham bone adds tons of flavors to the soup, so you don’t need too much seasoning for the soup.

Ingredients:

1 organic free range hen (bought from Asian grocery store)
1 large piece of ham bone
1 piece of ginger, crushed
1/4 cup lima beans
1/4 cup pearl barley
1 to 2 tablespoon rice cooking wine
1/4 teaspoon ground white pepper
1/4 teaspoon sugar
water
salt to taste

Directions

Rinse the hen and dice it into 2 by 2 inches pieces.  Soak them in a large pot of cold water for 30 to 60 minutes.  Change the water twice in between.  Drain well. 

Add diced hen, ham bone, ginger and rice cooking wine to a large Staub cast iron pot.  Add enough water to the pot, about 3 to 4 inches above the chicken.

Heat the pot over high heat.  When the soup comes to a boiling point, allow it to keep boiling over high heat for 5 to 10 minutes.  Use a spoon to get rid of any impurities coming to the top.

Cover with lid; reduce the heat to simmer for 1 hour.

I love my Staub cast iron pots. They are perfect for simmering.

Add lima beans and pearl barleys, and crank up the heat to medium high.  When the soup boils again, reduce to simmer for another hour or so. 

10 minutes prior serving the soup, add sugar, white ground pepper and salt to taste.  Boil the soup over medium high for 10 minutes.

The ham bone itself is quite salty.  Sample the soup before adding salt.  So that you can make sure it wouldn’t be over seasoned.

Serve immediately with cooked rice or steamed buns.

Lamb Soup with Diced Chinese Bread

中文:羊肉泡馍

Lamp soup with diced Chinese bread is a traditional dish in central China where wheat is widely grown instead of rice.   Because there are proteins, starch, veggies all in one bowl, a bowl of soup like this can be served as breakfast, lunch or dinner. 

Served piping hot the second right after it is cooked, a bowl of lamb soup does not just provide you energy to get through the day, but also brings you comfort in cold winter time.

The authentic way is to make lamp soup with both lamb and lamb bones.  I don’t have any lamb bones, so I substitute with a free range chicken.

And the dense hearty pan grilled Chinese bread is a must for the dish. O(∩_∩)O~

They always come with pickled young garlic and chili sauce. 

Ingredients for the lamb soup:

1 large piece of lamb leg (about 2 to 3 pounds)
1 free range chicken
1 large piece of ginger root, sliced into thick pieces
2 to 3 stalks green onion
3 bay leaves
1 black cardamom pot
3 to 4 pieces of dried rhizome/ dried ginger slices
2 star anises (optional)
1/2teaspoon Sichuan peppercorns
1/2 teaspoon black pepper
2 to 3 tablespoons rice cooking wine
1/4 to 1/2 teaspoon  ground white pepper
1/2 teaspoon sugar
water
salt to taste

For individual serving:

1/2 to 1 head pickled garlic
chopped cilantro
Chinese vermicelli (It is super fine noodles made from green bean starch), soaked in water for at least 1 hour
edible tree black fungus
chili sauce
 

For the dough:

2 cups all purpose flour
2/3 cup water
a pinch of salt


Directions:

Rinse the chicken under cold running water.  Pat dry and chop the chicken into 3 by 4 inches pieces.

Soak the lamb in a large pot of cold water for 2 hours.  Change the water two to three times in between.

Wrap the bay leaves, star anises, cardamom, rhizome, Sichuan peppercorns and black peppercorns with a piece of coffee filter.

Tightly tie it up

Blanch both diced chicken and lamb in boiling water for 4 to 5 minutes.  Drain well.

In a large Staub Dutch oven pot , add chicken and lamb.  Fill the pot with fresh boiling water.  The water should be 4 to 5 inches above the meat.  

Heat the pot over high heat until it boils.  Add rice cooking wine, spices wrapped in coffee filter paper, green onions and ginger root slices.

Reduce the heat to simmer for about 2 hours.

Discard the green onions.

Add sugar, ground white pepper and salt to taste.

Continue to cook for another 20 minutes.  Now we have a nice pot of lamb soup.  Remove from heat.  Transfer the lamb to a plate.  Allow it to completely cool down.

When the soup is simmering on the stove, I make the Chinese bread.

Add flour, salt and water to s stand mixer  mixing bowl.

Set it to speed 2.  Knead for about 10 minutes.

Knead until the dough is smooth and elastic.

Transfer to a wooden board.  Cover with plastic wrap and allow it rest for 20 minutes.

Divide the dough into 6 to 8 equal pieces.

We are on a low carbohydrates diet so that I divide it into 16 pieces.  

Each piece weighs 28 grams.  I use a kitchen scale  to make sure they are all the same size.  The stand size is bigger than this. O(∩_∩)O~ 

With a small rolling pin, roll each piece flat.

Fold it in the middle.

Roll up from one end all the way to the other end.

Repeat the process until all the pieces are finished.

With your palm, press them down and then roll every single one into flat disc shape.

Heat a cast iron skillet  over medium low heat. 

Add the bread dough pieces.  Cover with lid.  Cook each side for 2 to 3 minutes until they are golden brown.  if you are doing larger dough pieces, remember to extend the cooking time accordingly.

All done

The traditional way is to break them apart with finger tips.  I just find it more efficient and easier to dice them up with a sharp knife.

Slice the lamb

The correct way is to fill each individual bowl with dice bread, wood black mushroom, green bean noodles and lamb.

Add 1 to 1 1/2 lamb stock to a small soup pot.  Heat over high heat until it boils.  Add what is in the bowl to the pot.  Cook for about 1 minute. Remove from heat.  Transfer everything back to bowl.  Sprinkle with chopped cilantro.  Add pickled garlic and chili sauce on the top.

Serve it hot immediately.  The lamp soup goes really well with cilantro and pickled garlic.  Try not to skip them because it is the most authentic way to enjoy it.  O(∩_∩)O~

I made the pickled garlic from what I harvested from our backyard vegetable garden. 

The recipe was posted before.

They get better when sitting longer in the sugar vinegar brine.

And yes, I made my own chili sauce too.  The recipe is here.


Buttermilk Pancakes with Blueberry Sauce

Pancake is always a popular weekend breakfast choice in our house.  And the top pancake choice is of course, blueberry!  Every summer we go to blueberry farm and pick buckets of blueberries.  After making blueberry jam, cakes and other delighted desserts, I pack extra blueberries in zip-loc bags and store them in freezer so that they last through winter until the next summer comes.

We always do the pancakes DIY style.  A large griddle is set on the breakfast table, with pancake batter, toppings, jam, honey or syrup and spatulas on the side.  Both of us get to cook our own pancakes the way we like! O(∩_∩)O~


Pancake ingredients:

1 cup of all purpose flour
3/4 cup buttermilk
1 large egg
1 teaspoon baking powder
1/4 teaspoon baking soda
a pinch of salt
1 to 2 teaspoon sugar
1/2 tablespoon cooking oil

Blueberry sauce ingredients:

2 cups of frozen blueberries
1 teaspoon lemon juice
1/2 cup packed brown sugar (use more if you have a sweet tooth)
1/2 cup water
1 teaspoon corn starch

Directions:

First we prepare blueberry sauce.

In a small soup pot, add blueberries, lemon juice, brown sugar and water.  Heat over high heat until the mixture comes to boil.  Reduce the heat to medium or medium low.  Cook for another 7 to 9 minutes until the sauce can thinly coat the back of a wooden spoon. 

Whisk together the corn starch and 2 to 3 teaspoons water. Add to the blueberry sauce while whisking. Cook for another minute.  Remove from heat.

I like my blueberry sauce a little thin and runny so that it can be poured over the pancakes like syrup.

Now, we can get started with the pancake batter.

Shift together flour, baking powder, baking soda, salt and sugar.

In a medium bowl, add eggs, buttermilk and oil.  Whisk together.

Add shifted flour to the egg milk mixture.  Whisk just until the dry flour is gone.  Don’t over mix because the more you whisk, the more gluten will form, and the chewier your pancakes will get.

Heat the electronic griddle to 350. 

Add batter.  We are using a non-stick griddle so I skip oil spray.  If you use a cast iron griddle or stainless steel pan, oil spray will be a life saver! O(∩_∩)O~ 

Let them cook on one side until you see a lot of bubbles, flip the pancakes.  It takes about more or less than one minute.

Both sides are golden brown.  That how you know they are ready.

Top with blueberry sauce.

Ok, a lot of blueberry sauce….O(∩_∩)O~

Time to enjoy!