中文:巧克力千层蛋糕
I have been making several crepe cakes. The most popular and tastiest one in my option is chocolate crepe cake.
The slight bitterness from dark chocolate adds more flavor and richness to the cake. I am not a big fan of whipped cream. Normally I have to get rid of the whipped cream icing when I eat cakes. Whenever I order a sundae, I skip the whipped cream topping too. But I enjoy every single bit this chocolate crepe cake. Yes, it is that good! O(∩_∩)O~


Ingredients:
1 cup all purpose flour
1 tablespoon coco powder
1 teaspoon instant coffee
1 cup whole milk
1 large egg
2 teaspoons melted butter
1/2 teaspoon vanilla exact (optional)
1/4 teaspoon salt
fresh strawberries for garnish
1 to 2 tablespoons coco powder for garish
Whipped cream filling:
1 1/2 to 2 cups of heavy cream
1/2 to 2/3 cups sugar
1/4 to 1/3 cup dark chocolate
1 to 2 tablespoons coco powder
Directions:
In a large glass cup or bowl, add flour, salt and coco powder. And then add egg, melted butter, vanilla extract and milk. Blend with a hand blender until the batter is smooth. If you don’t have a hand blender, a regular blender will work just fine.


Heat one or two mini cast iron skillets over medium low heat.
My skillets measure 6.5 in diameter on the bottom. I think it is the perfect size for a small crepe cake.

Spray them with a little bit vegetable oil and then wipe with paper towel.
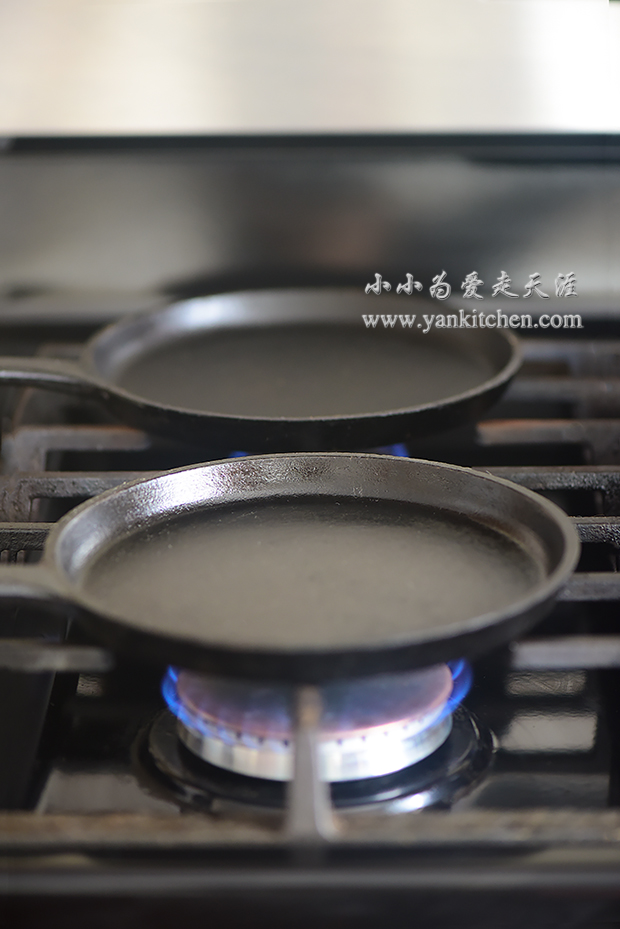
Add 1 to 2 teaspoons batter. With a crepe spreader, spread it quickly and evenly.
I use two skillets so that I can cut the preparation time in half. And the crepes size will be uniform.

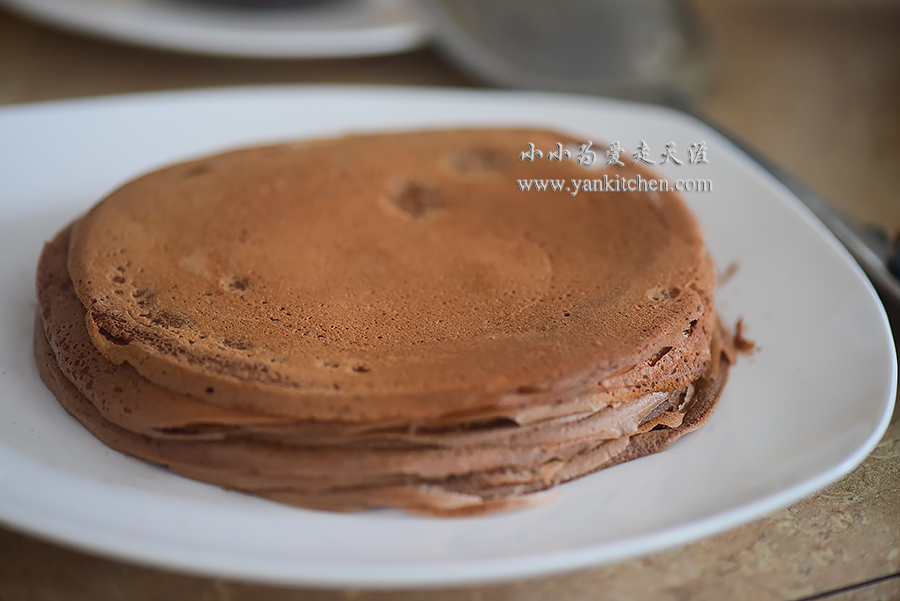
I make 28 crepes which means the crepe cake has 28 layers O(∩_∩)O~
Allow the crepes cool down to room temperature.
Meanwhile, I prepare whipped cream filling.
Add chocolate to a heat proof bowl. Microwave on high for 25 to 45 seconds or until chocolate starts to melt. Stir in instant coffee. Allow it to cool down a little bit.
With a hand mixer, beat the heavy cream in a medium bowl just until it begins to hold it shape. Gradually add the sugar in between.
Fold in chocolate with a spatula.
Refrigerate for at least 2 hours.
Place one crepe in the center of a cake stand. Add about 2 tablespoons whipped cream. Spread it out evenly with an icing spatula.

Repeat the process until all the crepes are done.

Sprinkle the top with coco powder. Top with strawberries.
Refrigerate for at least 3 to 4 hours before serving.

Time to enjoy!


Although the crepes and whipped cream are in the same color, you can still see the layers. O(∩_∩)O~

Want to take a bite? O(∩_∩)O~