Chocolate Ganache Glazed Donuts

中文: 巧克力甜甜圈

I suddenly crave for fresh donuts, but the only donut place in town went out of business two years ago.  So I decide to make my own chocolate ganache glazed donuts. O(∩_∩)O~

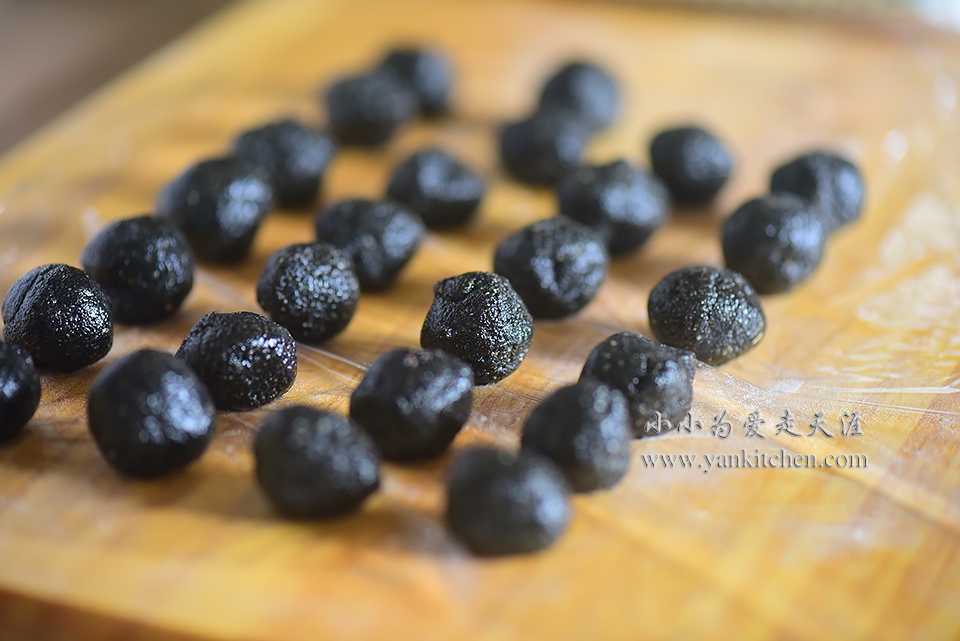
I make a batch of donuts.  The inner circle dough balls cut from donuts don’t go to waste either.  I fry them along with donuts, top with icing sugar and sprinkle with ground cinnamon  and sugar, yum!

Ingredients:

2 cups of all purpose flour
1/2 cup luke warm whole milk
1 1/2 teaspoon yeast
1 large egg
3 to 4 tablespoons sugar
2 to 3 tablespoons melted butter
1/8 teaspoon salt
oil for frying


Donuts toppings:

Chocolate ganache
sugar
ground cinnamon
icing sugar


Directions:

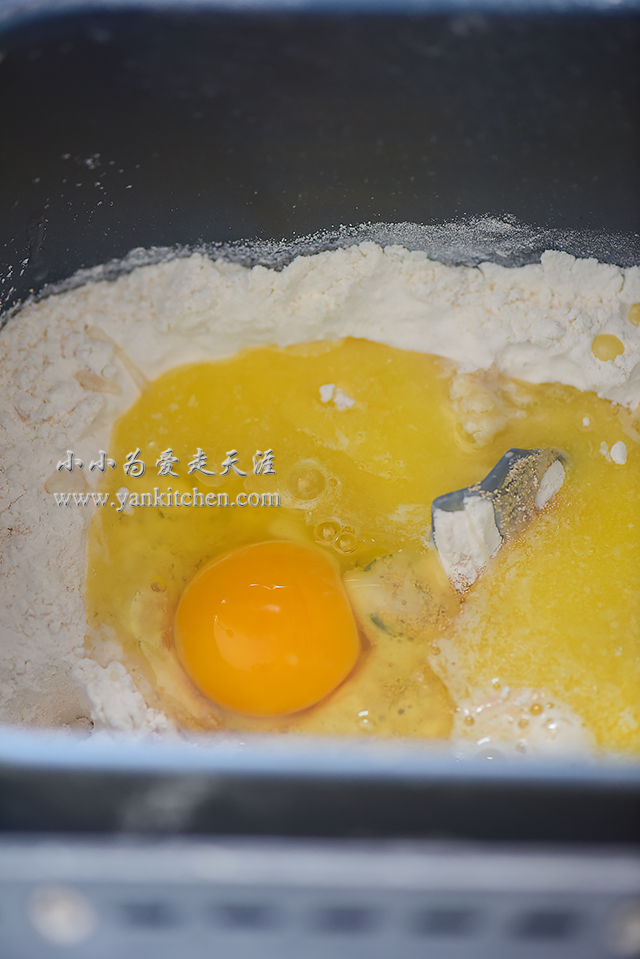
Add flour, sugar and salt to the bread machine.  Mix together.  Make a well on the top of flour mixture.  Add milk, sprinkle with yeast and let it sit for 5 minutes.

Add egg and melted butter.

Start dough process.

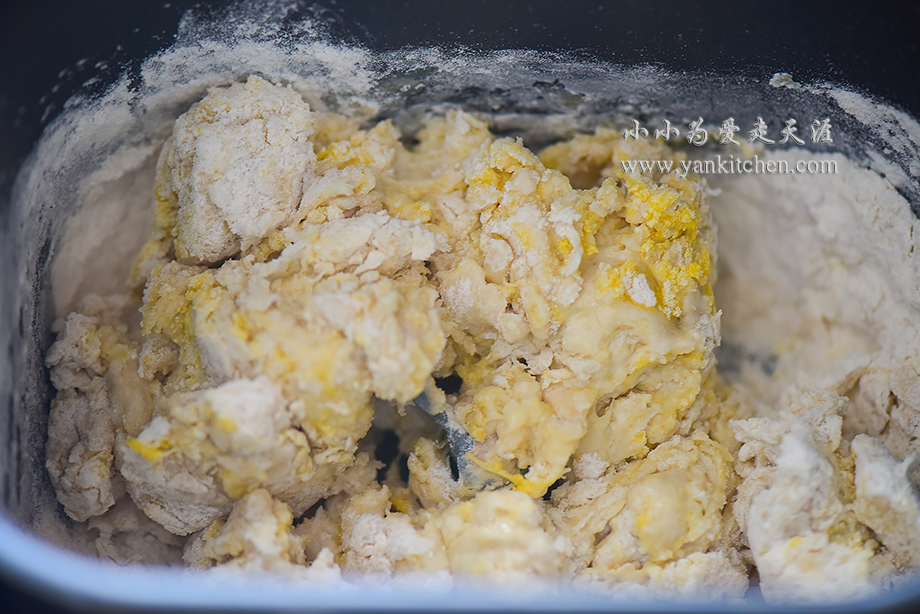
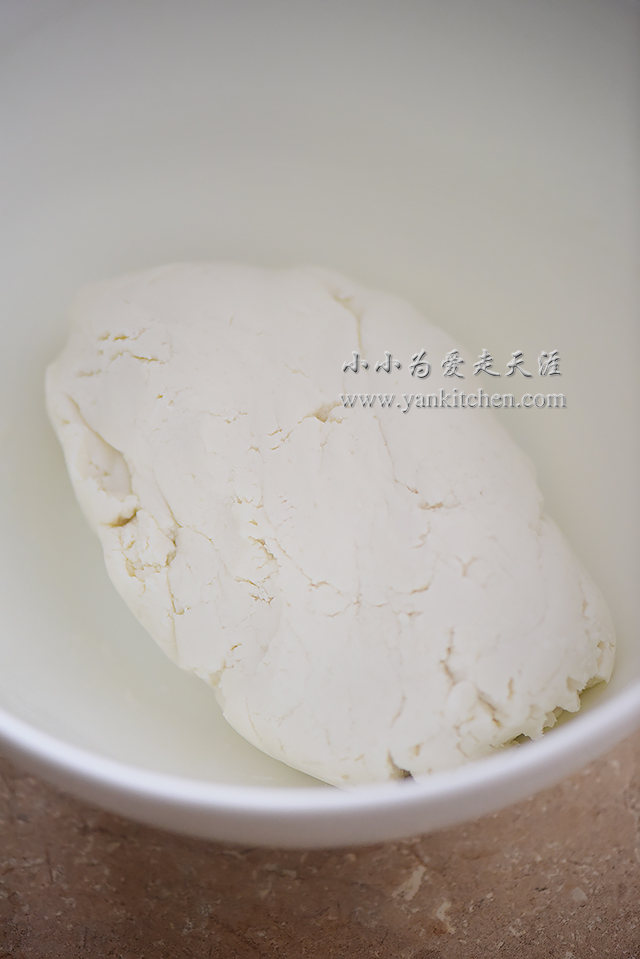
The bread machine finishes kneading.

It also automatically proofs the dough.

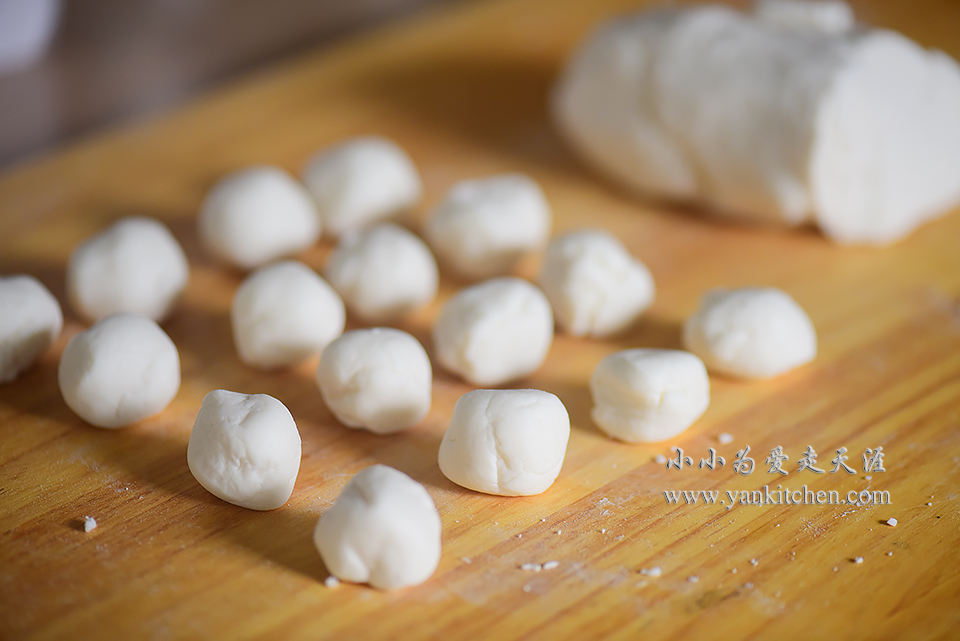
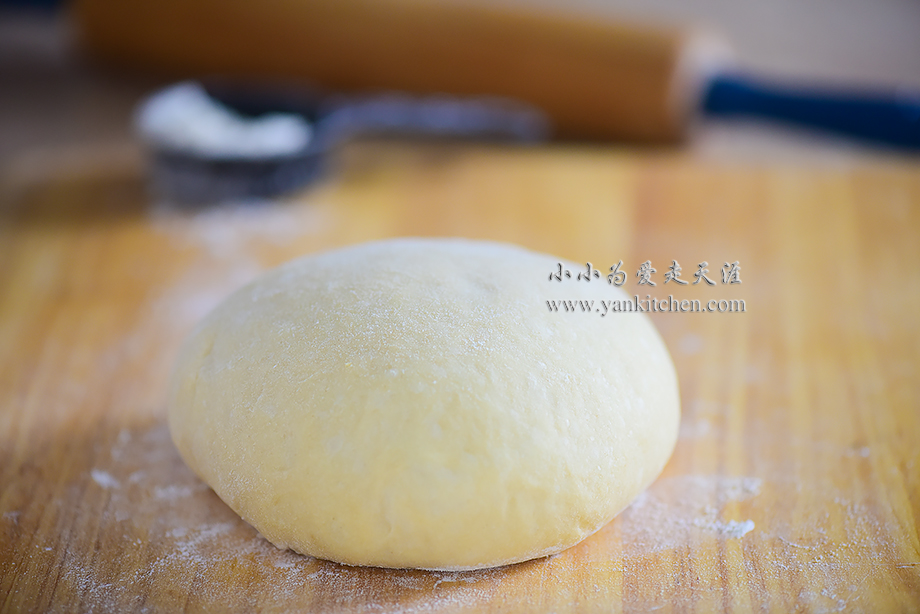
Transfer the dough to a well-floured wooden board.  Gently knead it with hands to get rid of any big air bubbles.  Cover with plastic wrap and let it rest for 10 minutes.

With a rolling pin, roll the dough to about half inch thin.  Use round biscuit cutters to cut it into donut shapes.  When done, cover them with plastic wrap again and let them rest for about another 20 minutes.

Add oil to a wok  or pot.  Heat it over high heat.  When the oil gets hot, fry the donuts until both sides are golden brown. Each side takes about 1 minute, more or less.

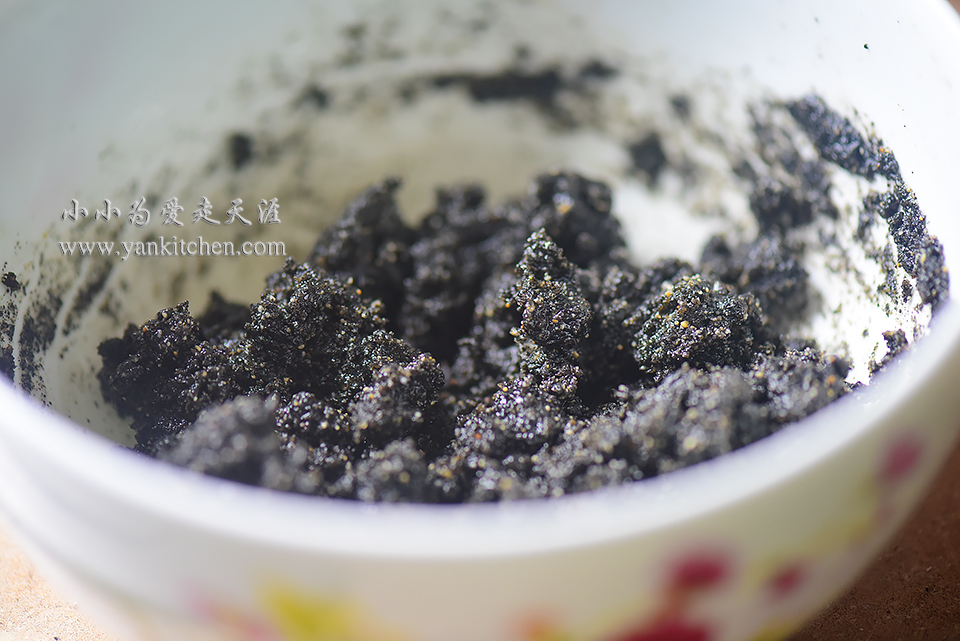
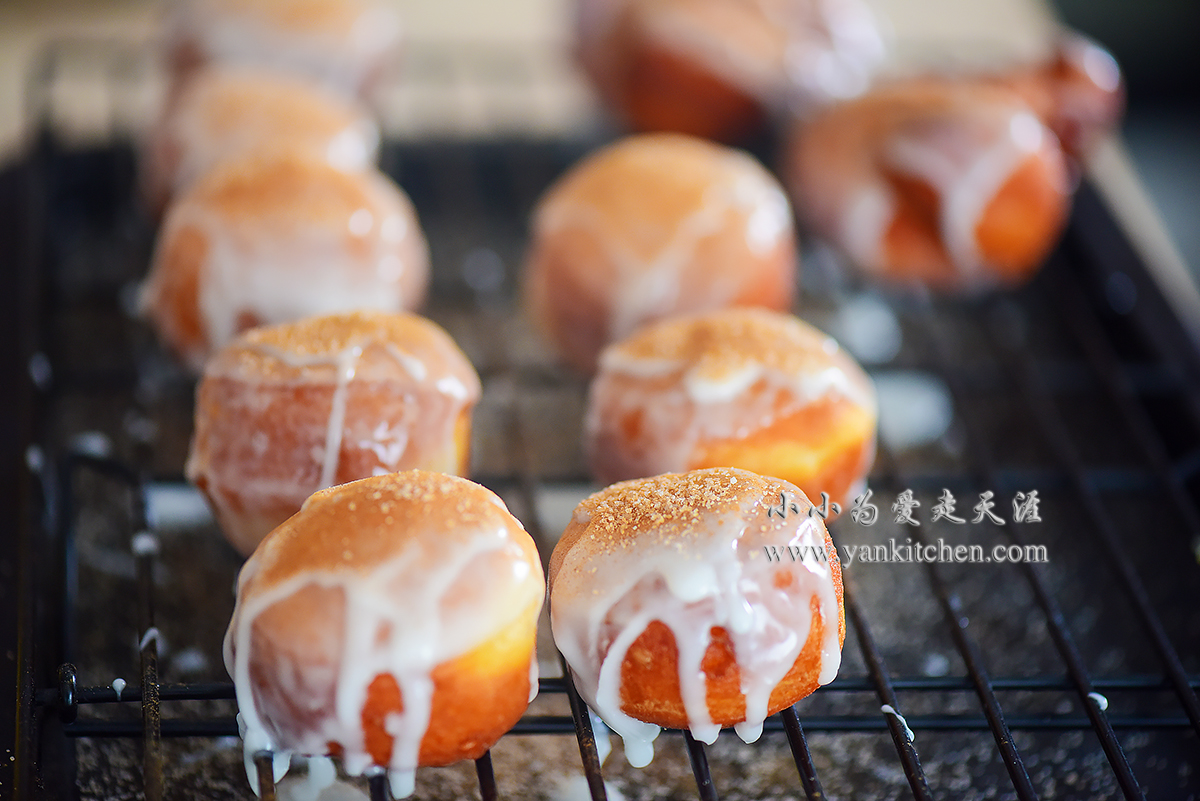
Dip them in the chocolate ganache.

Cool on a cooling rack.

Now it is time to enjoy!O(∩_∩)O~

I know you want a bite of these too!

Do not waste the center part cut from donut dough.  Fry them to golden brown too.  Top with icing sugar and sprinkle with ground cinnamon and sugar.

They are surprisingly tasty too! O(∩_∩)O~

Coco Macarons

中文: 可可马卡龙

Coco powder and chocolate go so well with macarons.  Whenever I make macarons, I have to make it with one of them.  O(∩_∩)O~

Ingredients:

2 large egg whites
110 g powder sugar
45 g granulated sugar
50 g almond flour
10 g coco powder
a pinch of cream of tartar

Direction:

Combine powder sugar, coco powder and almond flour.  Pour the mixture into food processor

Run the process for about 10 seconds. 

Shift the flour mixture through a flour shifter or strainer.

Discard any big almond pieces.

Add cream of tartar to the egg whites.  Beat the egg white with an electric whisk.

Beat at low speed for about 1 minute.  Switch to medium speed for 3 to 4 minutes.  And then beat at high speed for 1 to 2 minutes.  Add sugar in three batches in between.  Stop beating when the stiff peak forms.

Add shifted almond flour mixture.

With a rubber spatula, gently fold the flour mixture into egg whites.

Fold it gently until the batter can fall smoothly like a silky ribbon.

Prepare a 14 inch decorating bag with Wilton NO. 12 tip.  Use a wide mouth drinking glass to help the bag to stand up straight which will make it so much easier to pour the batter.

Fill the pastry bag with almond batter.

Line 2 cookie pans with silicone baking mats.

Squeeze a dollar coin size batter onto the silicone mat, about a quarter inch in height.   Repeat it until all the batter is finished. 

Tap the bottom of the cookie pan when done to smooth the cookie dough tops.

Let the pan sit on countertop until the surface becomes dry to touch.  It might take 30 to 60 minutes depending on the humidity around.

Preheat the oven to 325F.

Bake in the oven for 12 to 14 minutes. 

Allow the cookies to cool down on the silicone mats before removing them. 

Use any filling of your choice: jam, chocolate, cheese, nutella……….  Be creative! 

I love chocolate.  So I always go with chocolate gouache.  

I also make a batch of original ones.  Although there is no food coloring added, they still look pretty, don’t they? O(∩_∩)O~

Pan-fried Chinese Buns with Pork and Shiitake Mushrooms Filling

Got some really good and fresh shiitake mushrooms during my last grocery trip near Detroit.  I use some to make pan-fried Chinese buns with pork.  And they are fantastic! O(∩_∩)O~

Vinegar and chili sauce is a popular dipping sauce for pan-fried buns.  It is refreshing and enhances the flavors.

Ingredients for the bun dough:

1 cup all purpose flour
1/2 cup whole wheat flour
1 to 2 tablespoons gluten flour
1/2 to 1/3 cup of warm water
1 teaspoon yeast
1 to 2 tablespoons sugar
1/8 teaspoon salt
1 to 2 teaspoon oil
 

For pork and shiitake mushrooms filling:

2/3 to 1 cup ground pork
6 large fresh shiitake mushrooms
1 to 2 tablespoons soy sauce
1 teaspoon oyster sauce
1/8 teaspoon ground white pepper
1/4 teaspoon sugar
1tablespoon rice cooking wine
4 to 6 tablespoons chicken stock/ water
a pinch of freshly ground ginger
salt to taste


For pan-frying:

2 to 4 tablespoons oil
1/3 to 1/2 cup of water
chopped green onion
white sesame seeds
 

Directions:

The dough takes longer time to make so I start with bun dough.

In the stand mixer mixing bowl, add all purpose flour, whole wheat flour, gluten flour, sugar and salt.  Mix them with hand or a whisk. 

Make a well in the middle of the flour.  Add warm water; sprinkle with yeast and let it sit for 5 minutes. 

Stand mixer kneads the dough at speed 2 until the dough is smooth and elastic.  It takes between 10 to 15 minutes.

Cover the bowl with lid. The dough proofs for 25 to 35 minutes.  It doesn’t have to double in size.  

When waiting for the dough to be ready, I make the pork and shiitake mushrooms filling.

In a medium mixing bowl, add ground pork, soy sauce, ground white pepper, oyster sauce, sugar, rice cooking wine, ground ginger and salt.  Mix them well.  The best tool to do this is a pair of chop sticks.

When whisking with chop sticks, slowly add chicken stock/ water.  Don’t worry about the filling getting too thin.  Ground pork will absorb the liquid. 

Clean the shiitake mushroom with a damp towel or rinse them under running if there is a lot of dirt.  Pat day with kitchen towel and add to food processor.

Chop finely

Add to the pork and mix well again.

Gently knead the dough to get rid of any large air bubbles.  Cover with plastic wrap and let it sit for another 10 minutes.

Evenly divide the dough into small pieces.  I like to make small buns so I divide it into 28 small pieces of dough.

Press down the dough with palm.  With a small rolling pin, roll the dough edge thin.

Add two to three tablespoons of pork filling to the center.

Wrap it up

Repeat the process until all 28 are done.

Cover them with plastic wrap and proof for another 10 to 15 minutes.

Heat a 12 inches cast iron skillet over medium high heat. 

Add oil and then the buns.  Pan fry for about 1 minute.  Add water and cover with lid.

When the water is almost gone, which takes between 6 to 10 minutes, reduce the heat to medium low.  Cook for another 4 to 6 minutes.  It will cook buns bottom to be golden brown, crispy, crunchy and yummy. 

Serve immediately with bottom side up. 

In winter time, I like to serve with the cast iron skillet so that they would stay hot for longer time.

They go really great with sweet rice vinegar and chili sauce!

Sweet Rice Cake Balls with Black Sesame and Brown Sugar

Yesterday was the last day of Chinese New Year.  That was the end of 15 days’ celebration.  And sweet rice cake balls are a traditional festive dish to serve on this day.  They are round shape which symbolizes a better and more fortunate new year.  The sweetness of sweet rice cake balls represents a new year will go by smoothly without any trouble.

In the small southern town I am from, we serve sweet rice cake balls in sweet brown sugar and ginger soup.  The spiciness from the ginger root gives the whole dish an exotic flavor.  You will be surprised to taste how great brown sugar and ginger go together.

For sweet rice cake balls:

2 cups of sweet rice flour
3/4 cup of whole milk
1 teaspoon oil
2 teaspoons sugar

For black sesame fillings:

1 1/2 cups black sesame seeds
4 tablespoons honey
6 to 8 tablespoons confectioner’s sugar (use more if you have a sweet tooth)
1 to 2 tablespoons butter


Ground black sesame is available in Asian grocery store.  But I always prefer to roast and grind the black sesame seeds  myself.   The aroma is so much stronger and the flavor is more intense.

For the soup:

Water
1 small piece of ginger root
brown sugar to taste

Directions:

Heat a cast iron skillet with black sesame seeds over medium low heat.  Stir occasionally until the seeds are fully toasted.

It might be hard to tell when they are done because they are all black.

There is a trick that you can add a teaspoon white sesame seeds.  When they turn slightly yellow, you know the seeds are perfectly toasted.

Add roasted black sesame seeds to a coffee grinder in two or three batches.  Grind them as finely as you can.  But don’t over grind because they might turn into sesame butter. 

Microwave the butter until it is melted.  Add ground sesame, honey and confectioner’s sugar.  Mix well.

Divide them into equal small pieces.  I got 26 pieces.  You can make them any size you want, just not too big.   Roll each of them into a sesame ball.  Refrigerate for over 1 hour or until they harden, which will make the next step so much easier. 

In a medium bowl, add sweet rice flour and sugar.  And then add oil and milk while whisk with a pair of chopsticks or a wooden spoon.  When the flour starts to come together, knead with hands until it forms a sweet rice cake dough ball. 

Divide the dough into equal small pieces too, about the size of black sesame balls or a little bigger.

Press down one piece of dough.  Add black sesame ball to its center.

Wrap it up and roll into a ball again.  When you are working on the cake balls, remember to cover the rest with plastic wrap.  It is normal that sweet rice cake balls fall apart during the process because sweet rice flour has no gluten at all.

Repeat the process until all are done.

Cook the sweet rice balls in boiling water seasoned with sliced ginger and brown sugar until they float.

Serve immediately. 

This is definitely one of my favorite sweet rice cakes.  The nutty, fruity and strong sesame aroma becomes the star in this dish.  And the sweetness from honey, confectioner’s sugar and brown sugar just complete it.

If you don’t like ginger and brown sugar soup, it is ok to serve in them plain.  They taste great too. O(∩_∩)O~

Steamed Chicken Feet in Black Bean sauce

中文:豉汁凤爪

If you have been to any authentic Chinese dim sum restaurant, there is a great chance you might have seen people enjoying this dish not far from you.  It is a dim sum classic.  I never go to a dim sum restaurant without ordering one or two or sometimes three of them. O(∩_∩)O~ 

Chicken feet, well, they taste a lot better than they sound.  They are high in collagen which gives them the unique texture.  If you have never had one before, try to think about how ox tails taste like.  It is kind of similar.  When put it that way, chicken feet sound less bizarre, right?

Ingredients:

1 package chicken feet (available in Asian grocery store)
2 gloves of garlic
2 tablespoons fermented black beans
2 to 3 teaspoons oyster sauce
2 to 3 tablespoons soy sauce
2 to 3 tablespoon dark soy sauce
1 to 2tablespoon rice cooking wine
1 1/2 to 2 1/2 teaspoons sugar
1 teaspoon fermented tofu
1/4 teaspoon ground white pepper
3 to 4 tablespoons chicken stock (optional)
salt to taste
oil for deep frying

Directions:

Ring the chicken feet under cold running water.  Remove the nails with a pair of sharp kitchen scissors .

Pat dry with kitchen tower and then deep fry them in a deep fryer until golden brown.

Be alert!  This step is highly dangerous because the oil will spatter vigorously.  Be careful not to burn yourself, or anything else.  O(∩_∩)O~

Soak the fried chicken feet in cold water for 6 to 9 hours.  If you are in a rush, you can cook them in boiling water for 30 to 40 instead.

Peel the garlic gloves and press them with a garlic press to get super fine minced garlic.   In a small bowl, add garlic, fermented black beans, oyster sauce, soy sauce, dark soy sauce, rice cooking wine, sugar, fermented tofu, ground white pepper, chicken stock and salt.  Mix well.

Drain the chicken feet and toss them with seasoning sauce.

Steam over low heat for 2 to 3 hours

I like to do the steam in this large 6 quarts lodge cast iron Dutch oven.  It is spacious for a large bowl and the water needed for long steaming process.

Gently toss the chicken feet with sauce a few times during steaming so that they can be evenly colored and flavored.

DSC_6693 2 copy.jpg

Serve immediately in small portions in mini bamboo steamers.  Doesn’t it bring you right back to the dim sum restaurant? O(∩_∩)O~