Pan-fried buns with Pork and Zucchini Filling

It is zucchini season!  There are zucchinis everywhere in the farmer’s market.  They are fresh, they are cheap, and the most important thing is that they go well with almost everything. 

Next time you don’t know what to do with your zucchinis, try this pan-fried version.  They are pretty awesome! O(∩_∩)O~

For pork and zucchini filling:

5 large zucchinis
350 to 400g ground pork
3 to 4 tablespoon soy sauce
1 tablespoon rice cooking wine
2 tablespoons oyster sauce
1/2 teaspoon ground ginger / ginger powder
1/2 teaspoon ground white pepper
1 stalk of green onion, finely chopped
1 teaspoon sesame oil
1/4 cup of chicken stock
1 to 2 tablespoon oil
salt to taste

For the buns:

2 cups all purpose flour
1 1/2 teaspoon oil
1/2 teaspoon salt
2/3 to 3/4 cup of water
oil (for pan frying)


Directions:

 I posted zucchini dumplings before

Zucchini is a high water content vegetable.  Adding zucchini directly to the filling might turn the filling into a mushy mess.  So I use half-dried zucchinis in both dumplings and buns.   The flavor is more intense and texture is better too.

Slice the zucchinis and dry them under the sun or in a food dehydrator until the volume reduce to half or one third. 

Add to a food processor

Finely chopped

 In a large bowl, add ground pork, soy sauce, rice cooking wine, oyster sauce, ground ginger, ground white pepper, green onion, sesame oil, chicken stock, oil and salt.  With a pair of chopsticks, whisk the pork and seasonings until everything is well combined. 

Add chopped zucchini

Mix well again. 

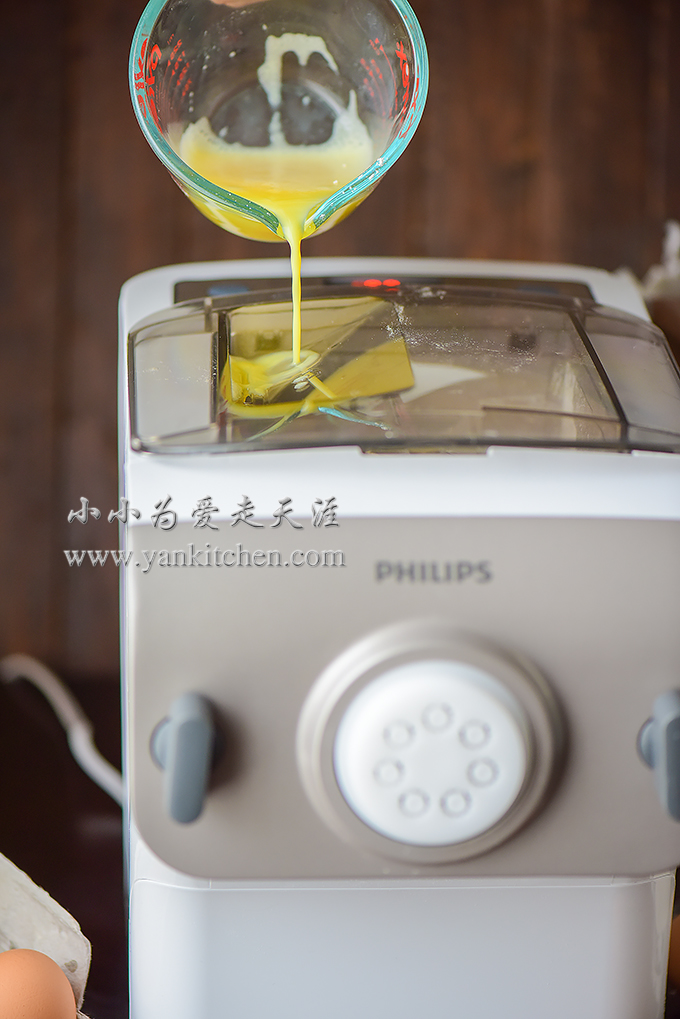
Whiling preparing the filling, I use a bread machine to make the dough.

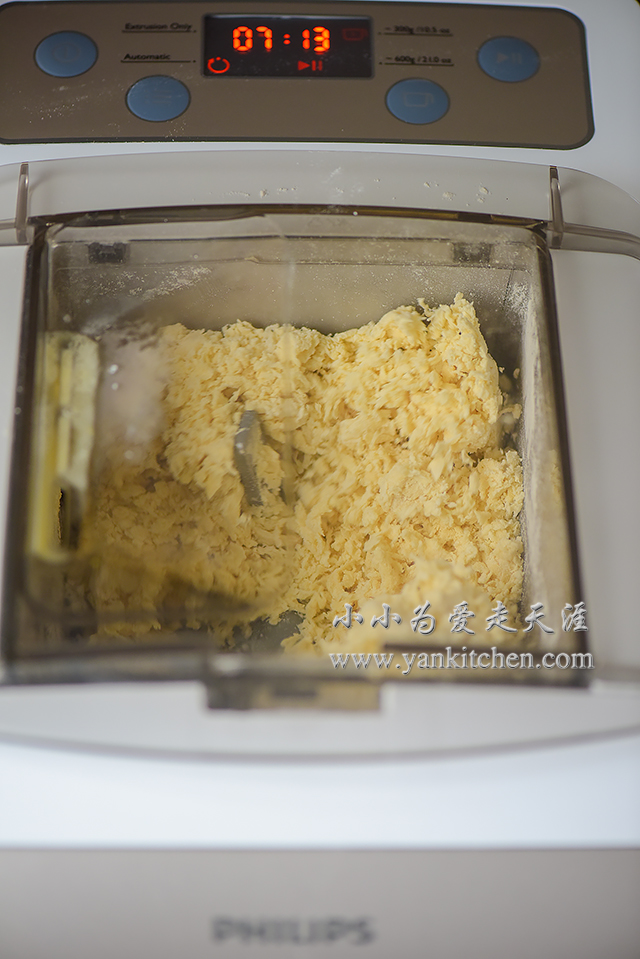
Add flour, water, salt and oil to the bread machine.  Start dough process.

After the dough is done, leave it to rest in the bread machine for 10 minutes. 

Transfer the dough to a well dusted wooden board

Equally divide into 8 pieces 

With a small rolling pin, roll each piece thin and flat.

Add pork filling

Wrap them up

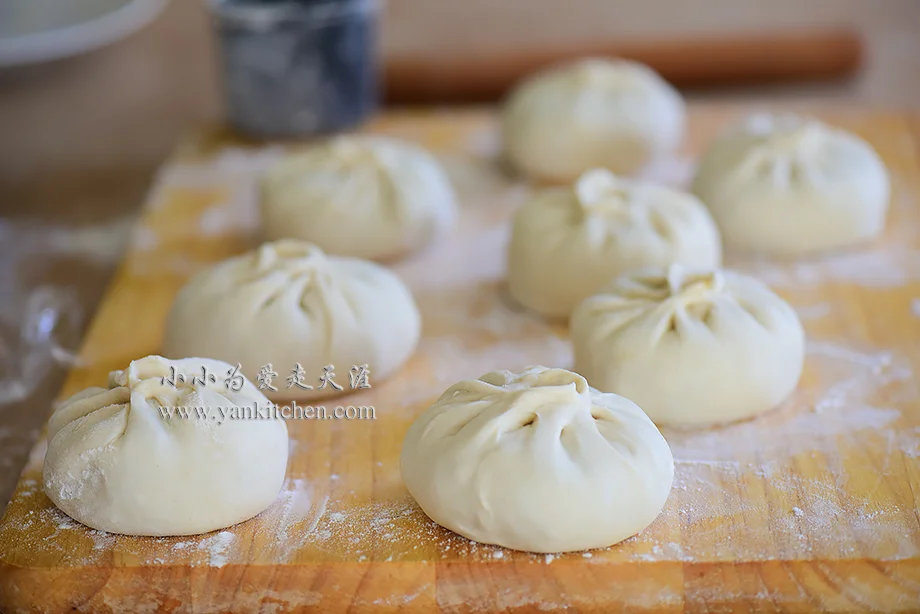
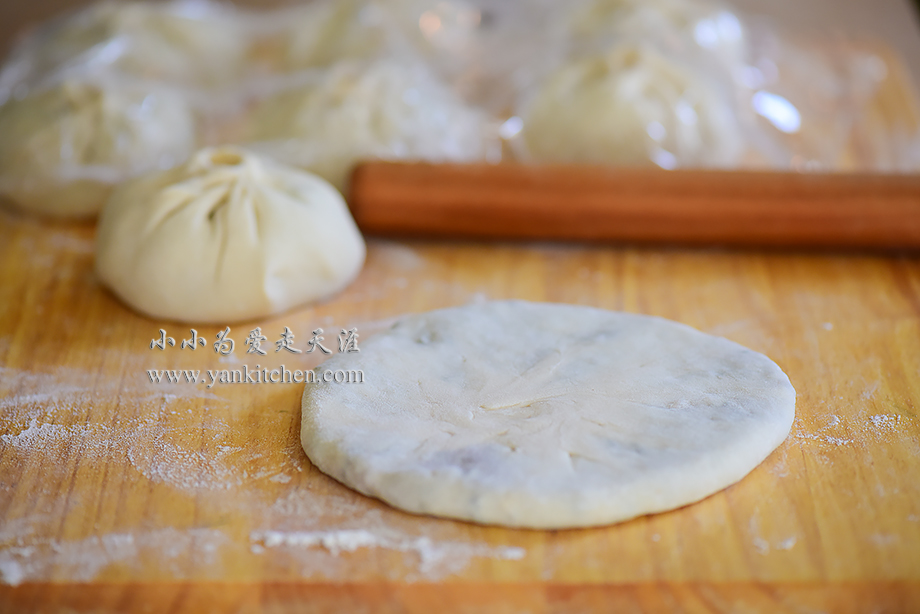
Cover with oiled plastic wrap and allow them to rest for another 10 minutes.

Use a small rolling pin to gently roll the bun into 1/3 or 1/2 inch thic

Heat a small cast iron pan over medium low heat.

Add oil and then buns.  Cover with lid.  Pan fry the bun until both sides are golden brown.  It takes about 4 to 6 minutes each side. 
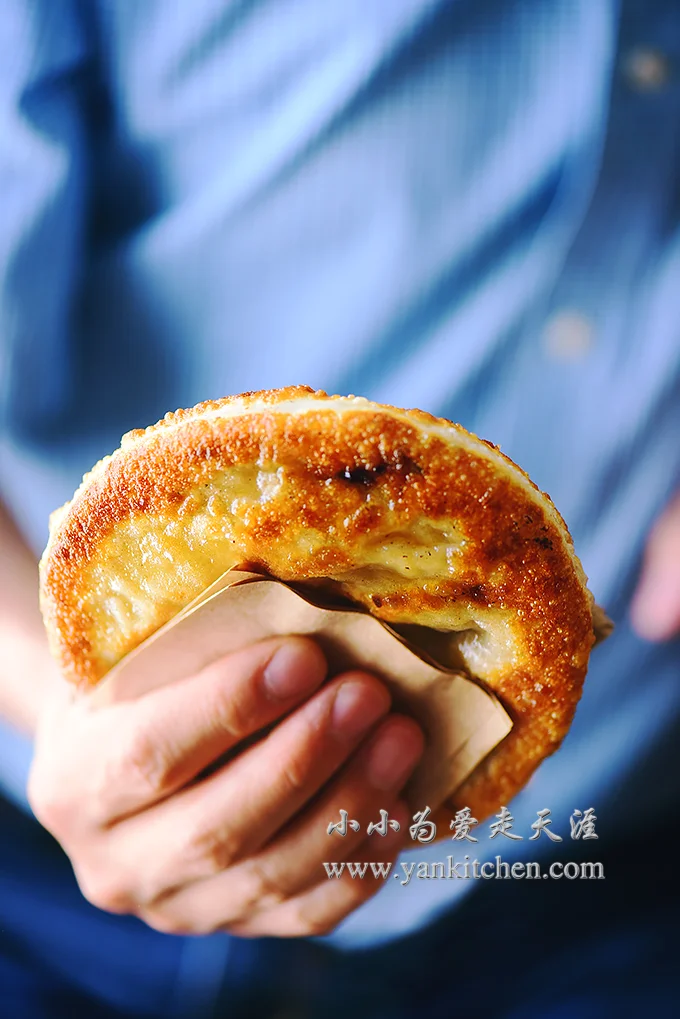
Serve immediately. 

You don’t need fork and knife.  Our traditional way is hold it in hand like this. 

Bon Appétit!  O(∩_∩)O~

Bacon and Mac and Cheese

What can beat homemade creamy and cheesy mac and cheese?  Absolutely nothing!  O(∩_∩)O~ 

 Since a pasta machine was given to me as a holiday gift last year, I became obsessed with making all kinds of noodles and pasta at home.

For the pasta:

250 g all purpose flour
95 liquid including 1 large egg + water


Directions:

There are different discs for making different pasta.  I am using the penny disc. 

Although the pasta machine  comes with a couple measuring cups, I still strong recommend weigh the ingredients with a digital kitchen scale.  Measuring ingredients by volume and by weights could end with different results. 


Add 250 g all purpose flour to the pasta machine

Whisk egg and water together

Start the machine and choose 300g and then press “start”

Add liquid from top

The dough is being mixed

When the kneading is finished, I usually pause the machine for 10 minutes so that the dough can rest.  The pasta will taste better with extra resting time.

With a dough scraper, cut the pasta they way you like it.  The machine comes with a plastic one which I don’t like. 

Freshly homemade penn

Now it is time to boil some penne!

Ingredients:

300 g freshly made penne
1 1/2 tablespoons butter
1 tablespoon all purpose flour
2 cloves of garlic, peel and minced
1/4  teaspoon onion powder
freshly ground black pepper
1 cup whole milk
1/2 cup Cheddar cheese
1/2 cup pepper jack cheese
1/4 cup grated parmesan cheese
salt to taste
bacon crumbles
panko bread crumbs


Directions:

Bring a large pot of water to boil.  Add salt and penne.  Cook for 6 to 8 minutes or until al dente.  Drain and rinse under cold running water for a few seconds.  Drain well.

Preheat a toaster oven to 425F/218 C

Dice the cheese.

Heat a medium cast iron pan  over medium heat.  Add butter and minced garlic.  Cook for about 1 minute. 

Add flour, onion powder and black pepper.  Cook until the flour turns slightly yellow.  Add milk.

When the milk is heated but not boils yet, add diced cheddar cheese and pepper jack cheese. 

Whisk and cook until the cheese is completely melted.

Add cooked penne and parmesan chees

With a wooden spoon, mix everything together; divide into two small cast iron pans; and top with bacon and bread crumbs. 

Bake them in the toaster oven  for about 20 minutes or until the top is golden brown. 

Serve immediately. 

Strawberry Popsicles

中文菜谱:草莓冰棍

Strawberry popsicle is one of my favorites in hot summer time.  They are super simple and easy to make, but the flavor is so great that you will not want to go back to the store bought popsicles ever again.  O(∩_∩)O~

Ingredients:

1 pound fresh strawberries
2/3 cup sugar (use more if you have a sweet tooth)
1/3 cup of water

Directions:

In a small sauce pan , add sugar and water.  Heat it over medium low heat.  Whisking occasionally until all sugar dissolves.  Remove from heat.  Let it cool down to room temperature.

Remove strawberries’ stems and cut each of them into halves or quarters.

Add strawberries and syrup to a vitamix 

Blend at high speed for 10 to 20 seconds until the mixture is very silky and smooth. 

Pour into popsicle molds

Cover and add popsicle sticks

Freeze for at leat 4 to 6 hours, or overnight.

Dipping the molds into hot water for 15 to 20 seconds will help to easily unmold the popsicles.  

Steamed Egg Custard with Shrimps

中文菜谱鲜虾鸡蛋羹

One of my must do things during weekend is visiting our local farmer’s market.  The great thing about our market is that a lot of local farmers show up here with their produce or meat product, unlike some other farmers’ market I have been to.

Every time I visit a city, I always go to its market.  You can learn a lot about a city and local people’s ordinary life through its market. That is really fun and amazing.

One thing I can never resist from these markets is free-range egg. 

Aren’t they just gorgeous?


I love eggs from local farmer’s market.   These eggs are not only fresh, but also more beautiful than grocery store eggs inside and out. 

The shells are usually tougher and yolks are slightly darker

I love to make traditional Chinese steamed egg custard with them.

ingredients:

4 eggs
equal amount of warm water as eggs
8 to 10 shrimps, peeled and devined
a pinch of chopped green onion
a few drops of sesame oil 
1 to 2 teaspoon soy sauce
1/4 teaspoon rice cooking wine
salt to taste

Directions:

I use a small bowl to measure how much are 4 eggs.  So that I can use the same bowl to determine how water will be added to the eggs. 

Add both eggs and equal amount of warm water to a large cup.  Add salt and rice cooking wine.  Blend with a hand blender  or whisk until everything is well combined. 

Use a spoon or strainer  to remove air bubbles on top. 

Divide the egg mixture into two small bowls. 

Wrap both bowls tightly with aluminum foil

Add a steam rack  to a pot.  Fill with water and heat over high heat until the water boils.  Reduce the heat to simmer. 

Place both bowls with egg mixture on steam rack.  Steam them over low heat for 10 minutes. 

Unwrap the bowls, add shrimp on top, and tightly warp them up again.  Steam over low heat for about another 10 8 to 10 minutes.

Discard the foil.  Sprinkle with soy sauce, sesame oil and chopped green onion.  And serve immediately. 

It is eating the softest tofu but taste so much better than tofu.  That is the beauty of farm chicken eggs.  You don’t need much seasoning.  They already taste so great on their own. 

Do not skip soy sauce  and sesame oil.  They really bring out the flavors from eggs and shrimps.  O(∩_∩)O~

Grilled Split Lobster

中文菜谱: 烧烤大龙虾

Summer means BBQ!  Both my husband and I love grilling in our back yard.  We bought two large lobsters home on our last grocery trip to Detroit area.  One is grilled, and the other one is boiled and make into a salad. 

We both decide the grilled one is tastier O(∩_∩)O~

Ingredients:

1 large lobster (about 2.2 pounds)
3 to 4 tablespoons butter, softened
2 to 4 cloves of garlic
1 stalk of green onion
1/2  to 1teaspoon crushed chili peppers
 lemon zest from 1/2 lemon
freshly ground black pepper
sea salt to taste

Directions:

Peel and mince the garlic.  Finely chop the green onion.

In a small bowl, combine garlic, green onion, butter, chili pepper, lemon zest, black pepper and sea salt.  Mix with a fork until everything is well combined.

Clean the lobster.  With a big knife or clever, split it open in the middle.

Preheat the grill to 450F/232C

Spray or brush the lobster with olive oil/ vegetable oil.  Grill it flesh side down for 4 to 5 minutes.

Flip ove

Spoon spice butter mixture over the lobste

Grill for another 5 to 8 minutes.  The actual grilling time depends on lobster’s size and grill temperature. 

Its claws will need 1 to 2 minutes extra grilling time.  

It is a big one.  I have to serve it in a pizza pan.

Don’t worry.  After taking the photo, I send the claws back to grill to grill for another couple minutes.