Mooncakes with Yolks and Lotus Seed Paste Fillings

中文菜谱: 蛋黄莲蓉月饼

2016 Mid-Autumn Day is September 15.  It is a traditional Chinese festival to celebrate harvest time, family and friendship.  Yes, it is kind of like Thanksgiving Day.  Mooncakes will be served as the traditional dessert on this special day. 

I love to make them from scratch every year not just because it is fun to do so, but also because I am trying to create the taste of home for my own family O(_)O~


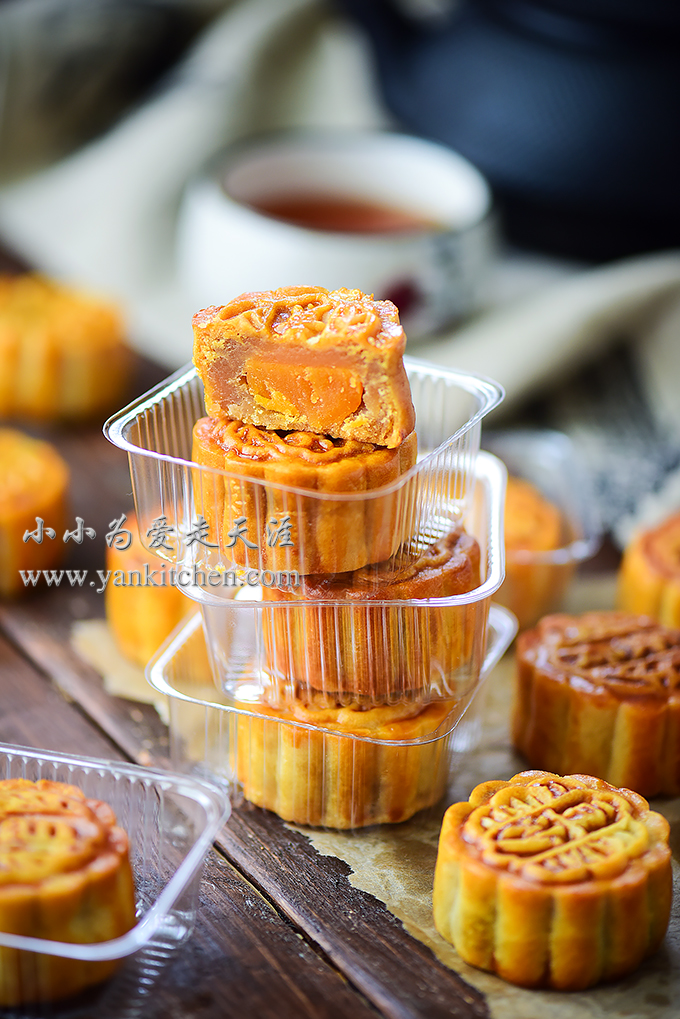
Mooncakes with yolks and lotus seed paste may sound bizarre.  As a matter of fact, they are so tasty that they remain the number one flavor on my mooncake list.  The combination of salted duck egg yolks and sweet creamy lotus seed paste is very pleasantly balanced and wonderfully tasty. 

I posted how to make salted duck eggs before too

The whole salted duck egg process takes about a month.  So I made a batch one month ahead of time. 

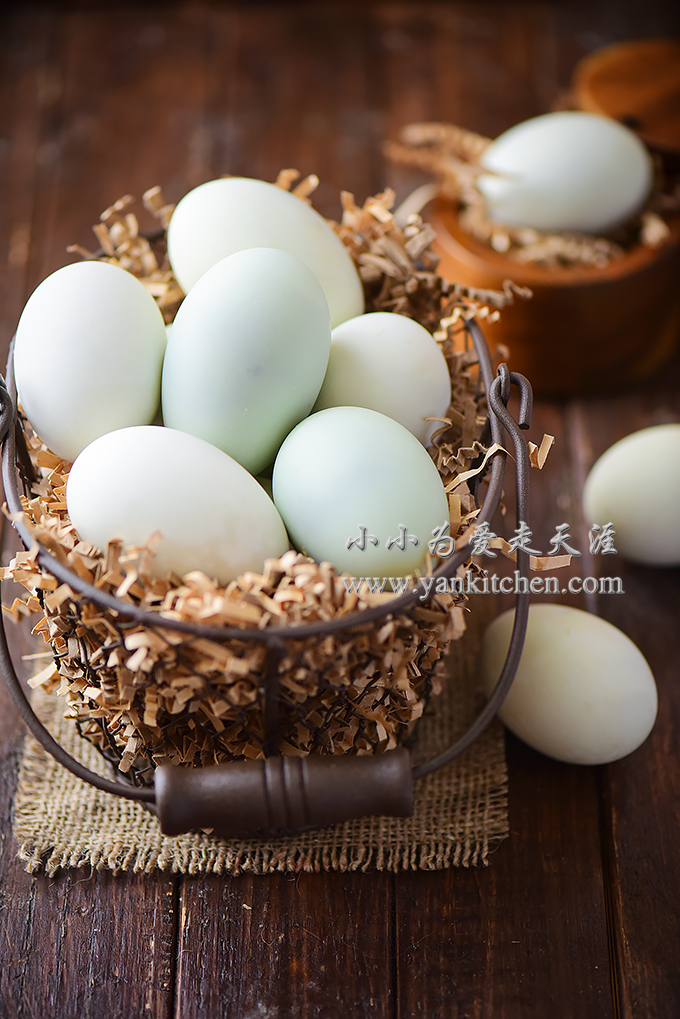
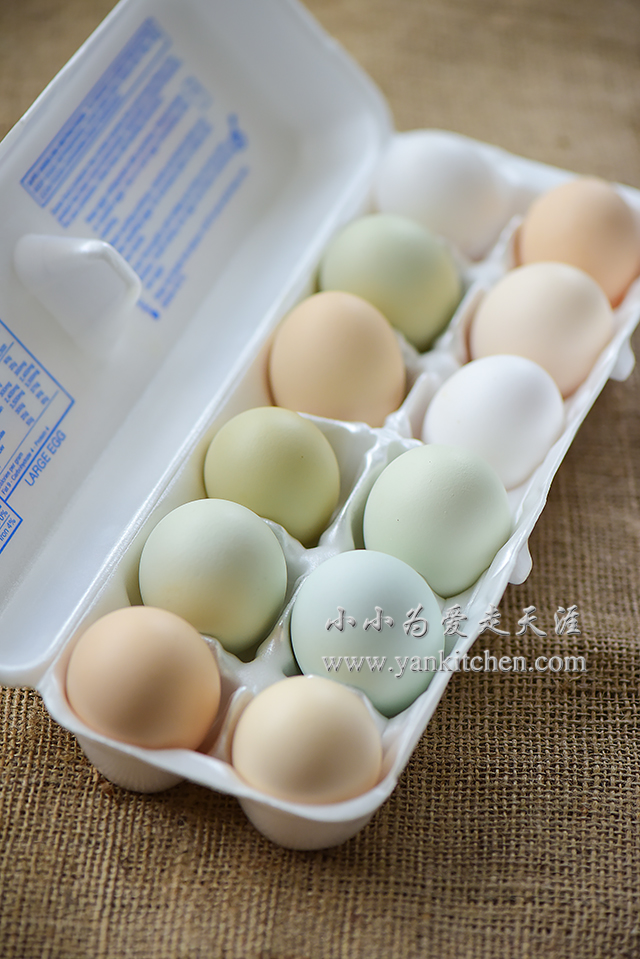
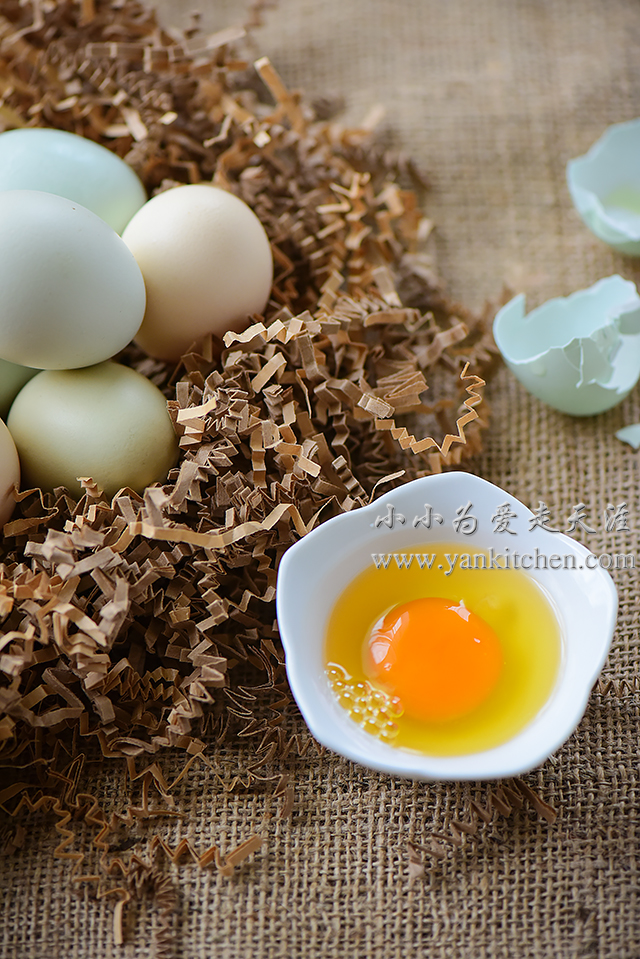
Do not boil the eggs.  For this recipe, we need raw duck eggs.

Crack them into a small bowl. 

Spoon the yolks onto a baking pan.

Spray them with rice wine.  I use Vodka. 

Bake in an oven preheated to 375/190C for 8 minute

I am planning to use 50 g mooncake mold.  So the whole yolks need to be sliced into halves.  Otherwise, they would be too big in the cakes.

Each of them weighs between 9 to 12 g. 

The ready to use version duck yolks are available in most Chinese grocery store.  You can find them in frozen food section. 

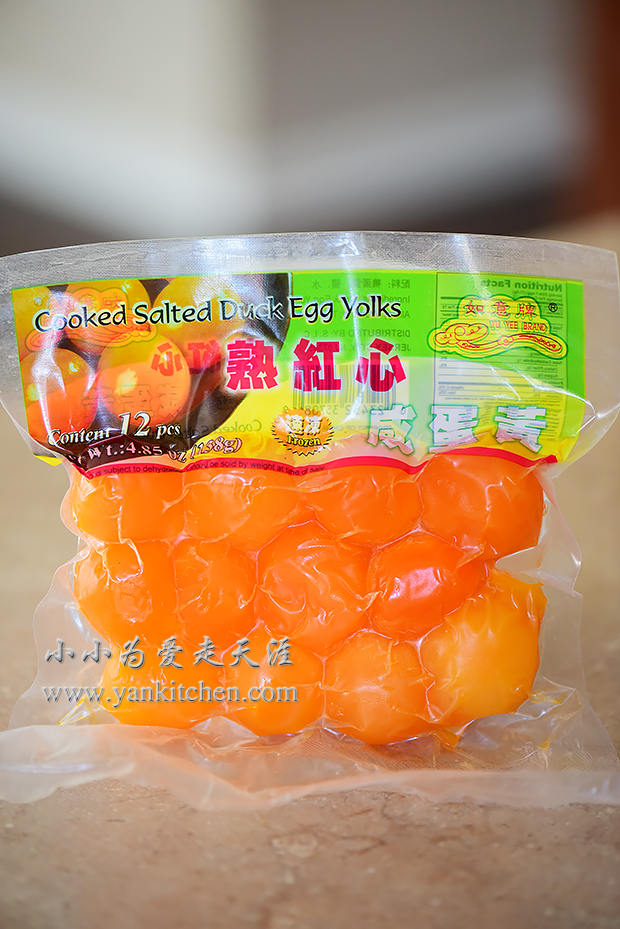
Don’t forget to thaw them under room temperature before using.

Cut them into halves too. 

Now we can move on to lotus seed paste.

For the lotus seed paste:

300 g dried lotus seeds
water for boiling
130 to 150 g oil
280 to 300 g sugar

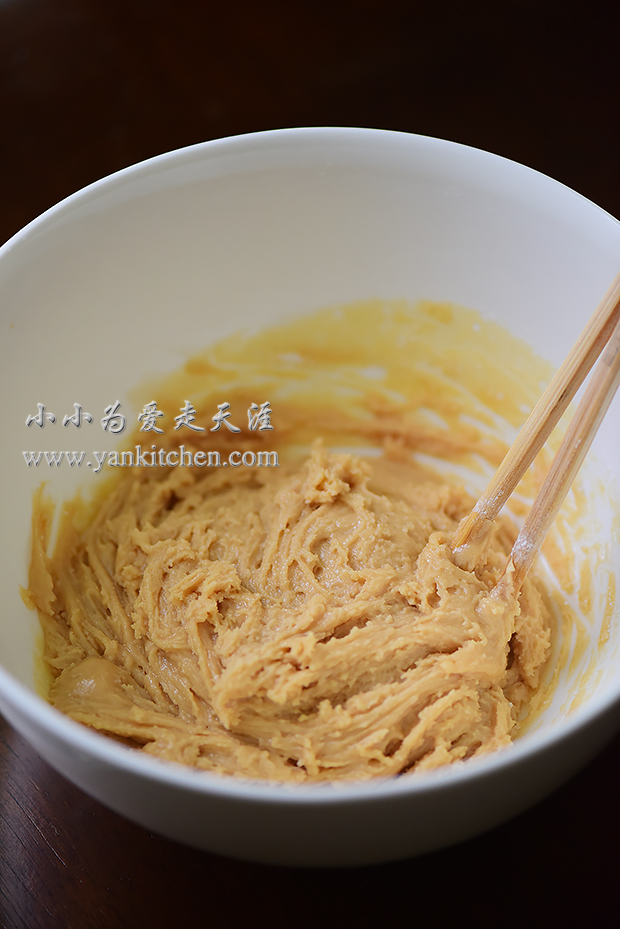
Boil the lotus seeds in water for about 90 minutes.  Puree them with a hand blender or in a food processor. Transfer to a nonstick pan.  Sautee over medium high heat; stir constantly.  Add sugar and oil in between.  Cook until the paste is thick and has the texture of apple butter. 

Completely cool down to room temperature before using. 

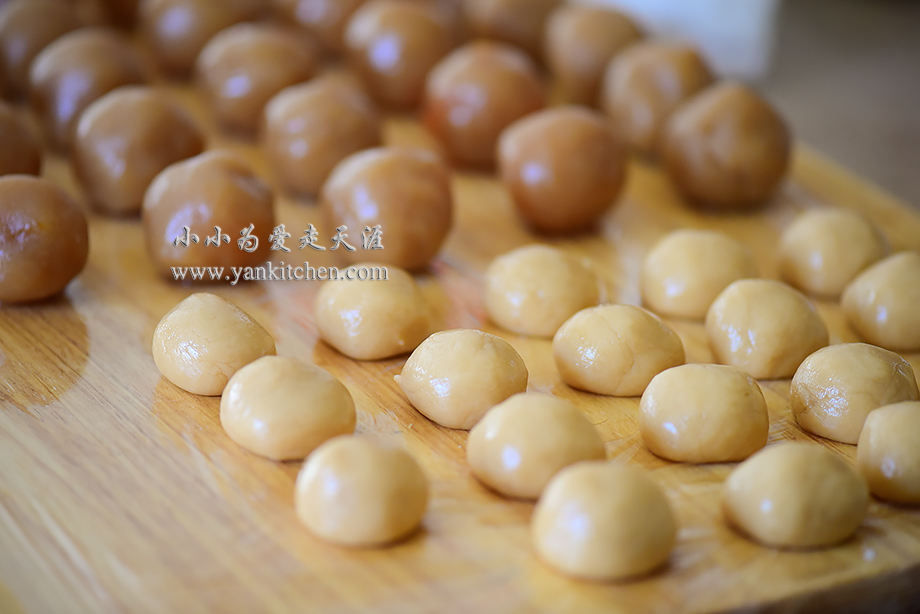
With a digital kitchen scale, divide the paste into 25 g each, 35 g each if no yolks is added later. 

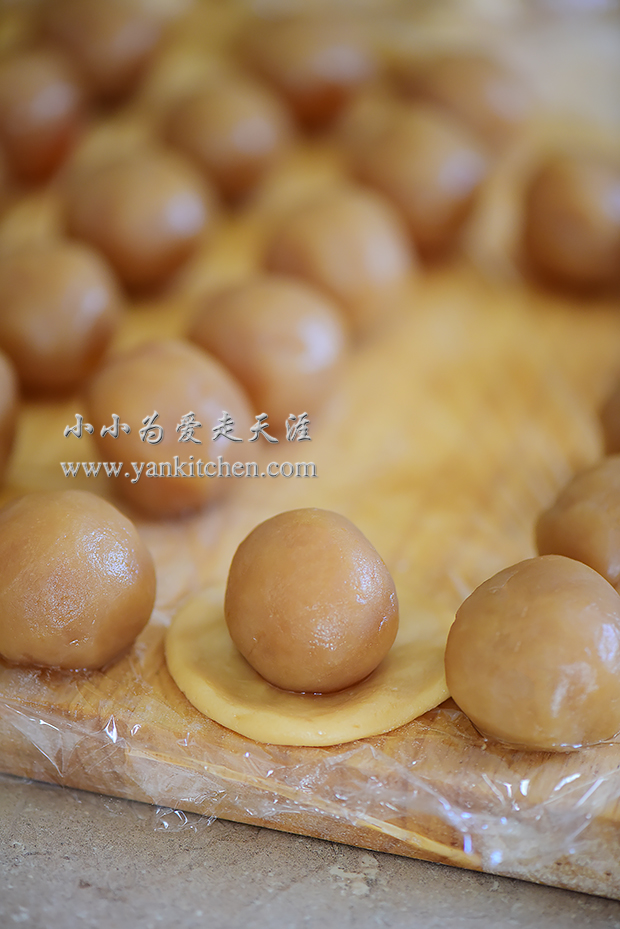
Pat them down a little bit and add a piece of yolk.  My friend’s hand is posing here O(∩_∩)O~

Wrap it up.  Repeat until all yolks are done. 

The mooncake recipe is adapted from : http://web.wenxuecity.com/BBSView.php?SubID=cooking&MsgID=472418

For the dough:

150 g cake flour
75 golden syrup
40 g oil
1/2 teaspoon lye water  (also available in Asian grocery store)
a pinch of salt
egg yolk wash

Preheat the oven to 375F/191C


Mix flour, syrup, oil, lye water and salt together

With a digital kitchen scale, divide it into 15 g pieces. 

Gently press them down with fingers.   Add the fillin 

And then wrap it up. 

I use 50 g mooncake molds

Use the mooncake mold to shape each of them.  Transfer to large cookie pan lined with baking mat

Bake in the oven for 5 minutes.  Take them out and brush with egg yolk wash. 

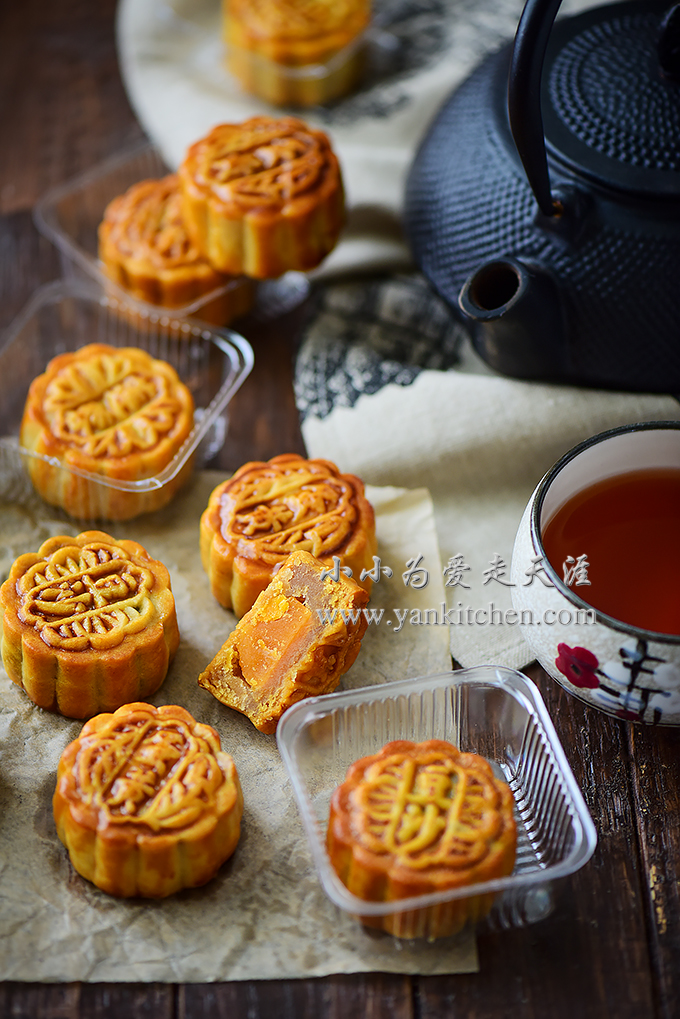
Send them back to oven to bake for another 15 minutes or until they are nicely golden brown. 

They need to sit in an air-tight box for a couple days before serving.  These extra couple days will help the mooncake to develop their flavors and textures. 

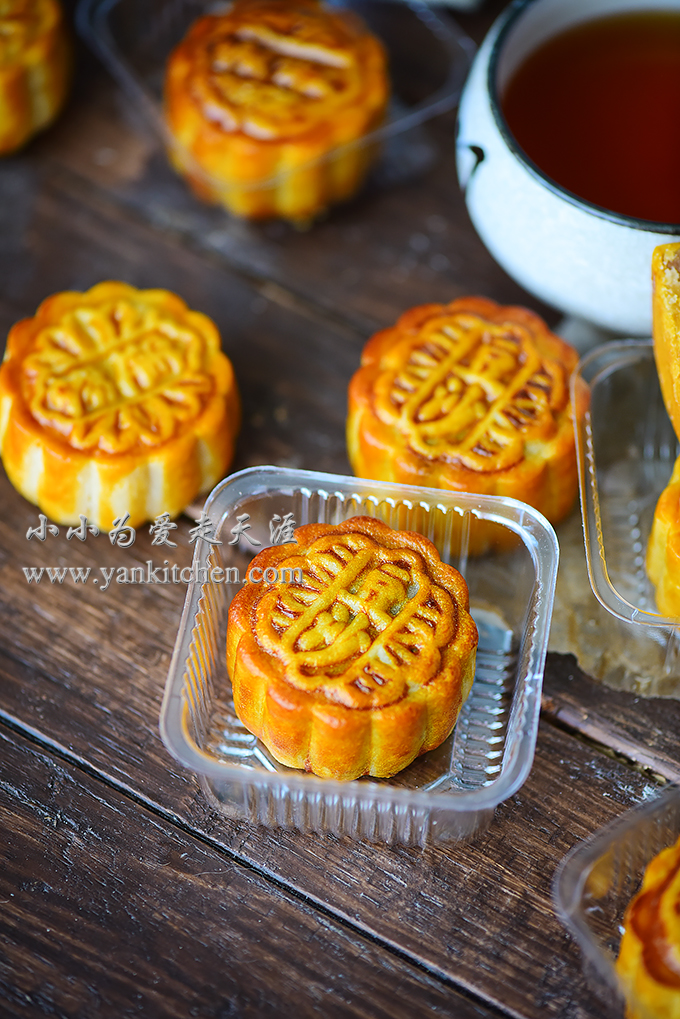
Pack them in pastry boxes and send them as nice little surprise gifts to my friends.

Happy Mid-Autumn Day! O(∩_∩)O~

Steamed Egg Custard with Shrimps

中文菜谱鲜虾鸡蛋羹

One of my must do things during weekend is visiting our local farmer’s market.  The great thing about our market is that a lot of local farmers show up here with their produce or meat product, unlike some other farmers’ market I have been to.

Every time I visit a city, I always go to its market.  You can learn a lot about a city and local people’s ordinary life through its market. That is really fun and amazing.

One thing I can never resist from these markets is free-range egg. 

Aren’t they just gorgeous?


I love eggs from local farmer’s market.   These eggs are not only fresh, but also more beautiful than grocery store eggs inside and out. 

The shells are usually tougher and yolks are slightly darker

I love to make traditional Chinese steamed egg custard with them.

ingredients:

4 eggs
equal amount of warm water as eggs
8 to 10 shrimps, peeled and devined
a pinch of chopped green onion
a few drops of sesame oil 
1 to 2 teaspoon soy sauce
1/4 teaspoon rice cooking wine
salt to taste

Directions:

I use a small bowl to measure how much are 4 eggs.  So that I can use the same bowl to determine how water will be added to the eggs. 

Add both eggs and equal amount of warm water to a large cup.  Add salt and rice cooking wine.  Blend with a hand blender  or whisk until everything is well combined. 

Use a spoon or strainer  to remove air bubbles on top. 

Divide the egg mixture into two small bowls. 

Wrap both bowls tightly with aluminum foil

Add a steam rack  to a pot.  Fill with water and heat over high heat until the water boils.  Reduce the heat to simmer. 

Place both bowls with egg mixture on steam rack.  Steam them over low heat for 10 minutes. 

Unwrap the bowls, add shrimp on top, and tightly warp them up again.  Steam over low heat for about another 10 8 to 10 minutes.

Discard the foil.  Sprinkle with soy sauce, sesame oil and chopped green onion.  And serve immediately. 

It is eating the softest tofu but taste so much better than tofu.  That is the beauty of farm chicken eggs.  You don’t need much seasoning.  They already taste so great on their own. 

Do not skip soy sauce  and sesame oil.  They really bring out the flavors from eggs and shrimps.  O(∩_∩)O~

Blueberry Yogurt Popsicles

中文: 蓝莓酸奶冰棍

During such a hot summer time, are you looking for a different way to beat the summer heat other ice cream?  Try these blueberry yogurt popsicles.  They are super easy and simple to make.  But the flavor is super fantastic.  Not to mention their look is gorgeous too! O(∩_∩)O~   

One bite, I know you will want a second bite, a third bit…O(∩_∩)O~ 

Ingredients:

3 cups fresh blueberries
2/3 cup sugar (use more if you have sweet tooth)
2/3 cup water
1 teaspoon lemon juice
2 to 3 tablespoons Greek yogurt
1 to 2 tablespoons sugar (for the yogurt)

Directions:


Add blueberries, sugar and lemon juice to a medium sauce pan . 

Heat over high heat until the mixture boils.  Reduce the heat to medium low and continue to cook for another couple minutes. 

With a hand blender, blend the blueberries and syrup together. 

Allow the blueberry sauce to cool down to room temperature.

Mix the Greek yogurt and sugar until the sugar melts.  Spoon the yogurt into the bottom of each popsicle mold .  And then pour in the blueberry sauce.

When dark purple blueberry sauce and creamy white yogurt collide together, they will form beautiful patterns. 

Cover with popsicle lid and insert popsicle sticks.

Freeze for at least 4 to 6 hours or overnight.

Quickly run the mold under running hot water for seconds.  It will help to release the popsicles. 

The real blueberry popsicles made with real blueberries!

 Trust me, after tasting these, you will never want to go back the grocery store bought popsicles O(∩_∩)O~

Popovers with blueberry jam

中文: 空心松饼

DSC_6006 3 copy.jpg

I wrote this popover recipe a couple years ago.  It was one of our favorite weekend breakfasts back then.   And now it is still our top choice for weekend breakfast. O(∩_∩)O~

Sometimes my husband volunteers to make these popovers.  So that you should know it simple and easy it is!

DSC_6027 2 copy.jpg

With a cup of freshly brewed coffee, sunny side up eggs and a few crispy bacon strips, this is a perfect Sunday brunch. 

Ingredients:

2 large eggs
1/2 teaspoon vanilla extract
1/2 cup whole milk
1/2 cup all purpose flour
1 teaspoon sugar
a pinch of salt
melted butter or oil spray for greasing the baking pan


Directions

You will need a popover pan for baking.  Muffin pan doesn’t work as well as popover pan.  Trust me; I tried. O(∩_∩)O~

Place the popover pan in the center of your oven. Preheat the oven to 425F/218C.  It is important that the pan is preheated too.

In a big cup or bowl, add all the ingredients.

DSC_5935 2 copy.jpg

With a hand blender, blend all ingredients together until the batter is runny and smooth.  If you don’t have a hand blender, a regular blender would work just as well.

DSC_5959 2 copy.jpg

Get the popover pan out of oven, spray or brush with oil or melted butter.

Pour the batter evenly and quickly.  Send back to oven and bake for 20 to 24 minutes or until popovers are puffy and golden brown.

DSC_5981 2 copy.jpg

It is fun to watch how they puff in the oven.

DSC_5999 2 copy.jpg

Serve immediately.  The moisture from inside of the popovers may make them mushy and chewy if you let them sit too long in the plate.

The recipe is for two people.  If you have more than two dining together, consider doubling the ingredients in the recipe.

We love to have the popovers with honey or jam.  They are so great together!

DSC_6012 3 copy.jpg

Chocolate Crepe Cake

I have been making several crepe cakes.  The most popular and tastiest one in my option is chocolate crepe cake.

The slight bitterness from dark chocolate adds more flavor and richness to the cake.  I am not a big fan of whipped cream.  Normally I have to get rid of the whipped cream icing when I eat cakes.  Whenever I order a sundae, I skip the whipped cream topping too.  But I enjoy every single bit this chocolate crepe cake.  Yes, it is that good! O(∩_∩)O~

DSC_0483 2 copy.jpg

Ingredients:

1 cup all purpose flour
1 tablespoon coco powder
1 teaspoon instant coffee
1 cup whole milk
1 large egg
2 teaspoons melted butter
1/2 teaspoon vanilla exact  (optional)
1/4 teaspoon salt
fresh strawberries for garnish
1 to 2 tablespoons coco powder for garish

Whipped cream filling:

1 1/2 to 2 cups of heavy cream
1/2 to 2/3 cups sugar
1/4 to 1/3 cup dark chocolate
1 to 2 tablespoons coco powder

Directions:

In a large glass cup or bowl, add flour, salt and coco powder.  And then add egg, melted butter, vanilla extract and milk.  Blend with a hand blender until the batter is smooth.  If you don’t have a hand blender, a regular blender will work just fine.

Heat one or two mini cast iron skillets over medium low heat.

My skillets measure 6.5 in diameter on the bottom.  I think it is the perfect size for a small crepe cake.

Spray them with a little bit vegetable oil and then wipe with paper towel.

Add 1 to 2 teaspoons batter.  With a crepe spreader, spread it quickly and evenly.

I use two skillets so that I can cut the preparation time in half.  And the crepes size will be uniform.

I make 28 crepes which means the crepe cake has 28 layers O(∩_∩)O~

Allow the crepes cool down to room temperature.

Meanwhile, I prepare whipped cream filling.

Add chocolate to a heat proof bowl.  Microwave on high for 25 to 45 seconds or until chocolate starts to melt.  Stir in instant coffee.  Allow it to cool down a little bit.

With a hand mixer, beat the heavy cream in a medium bowl just until it begins to hold it shape.  Gradually add the sugar in between.

Fold in chocolate with a spatula.

Refrigerate for at least 2 hours.

Place one crepe in the center of a cake stand.  Add about 2 tablespoons whipped cream.  Spread it out evenly with an icing spatula

Repeat the process until all the crepes are done.

Sprinkle the top with coco powder.  Top with strawberries.

Refrigerate for at least 3 to 4 hours before serving.

Time to enjoy!

Although the crepes and whipped cream are in the same color, you can still see the layers. O(∩_∩)O~

Want to take a bite? O(∩_∩)O~