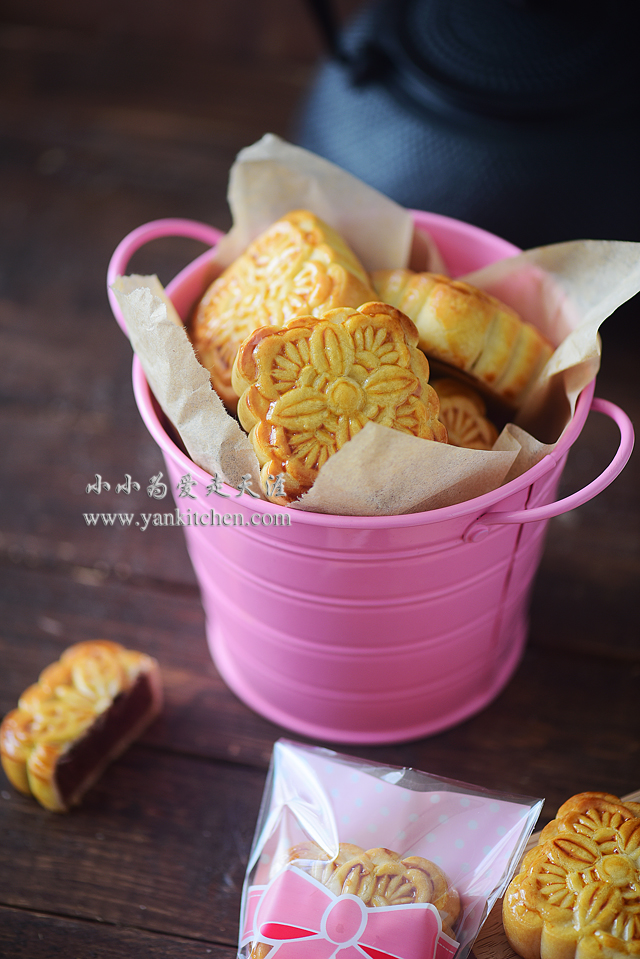
mooncakes with red bean and lotus seed fillings

Mid-autumn Day is a very important traditional holiday in China.  It is like thanksgiving to American people.  It is the day that whole family and close friends get together and celebrate.  The moon on this night is said to be the brightest of the whole year.  So it is also a tradition for the Chinese people to admire and worship the moon after dark.

Of course we don’t worship the moon empty handed.  Mooncakes have been part of this tradition for thousands of years.  At first they were round shape to resemble the shape of the moon, which also why they were named mooncakes.  The square ones have been developed and they become my personal favorite.  I made most of my mooncakes with a square mold. 

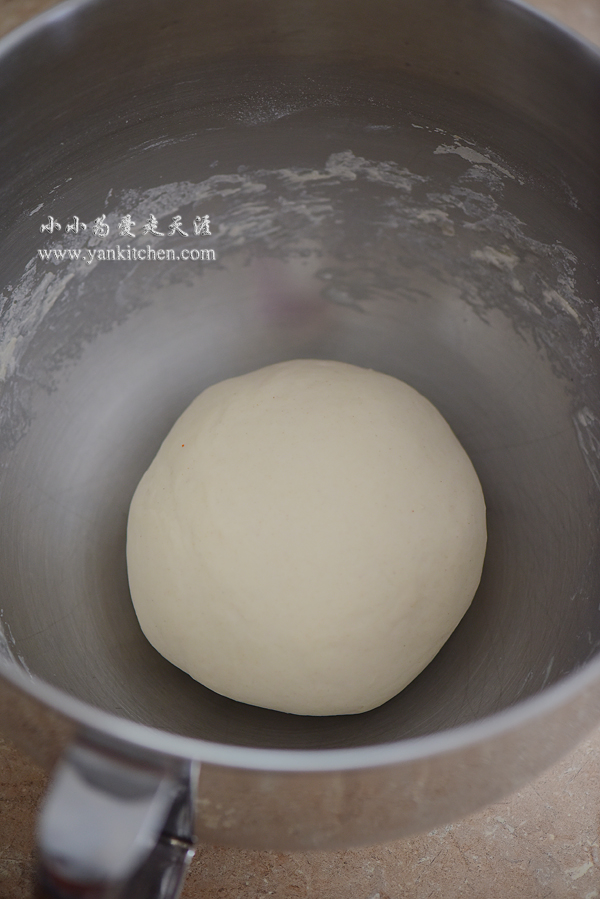
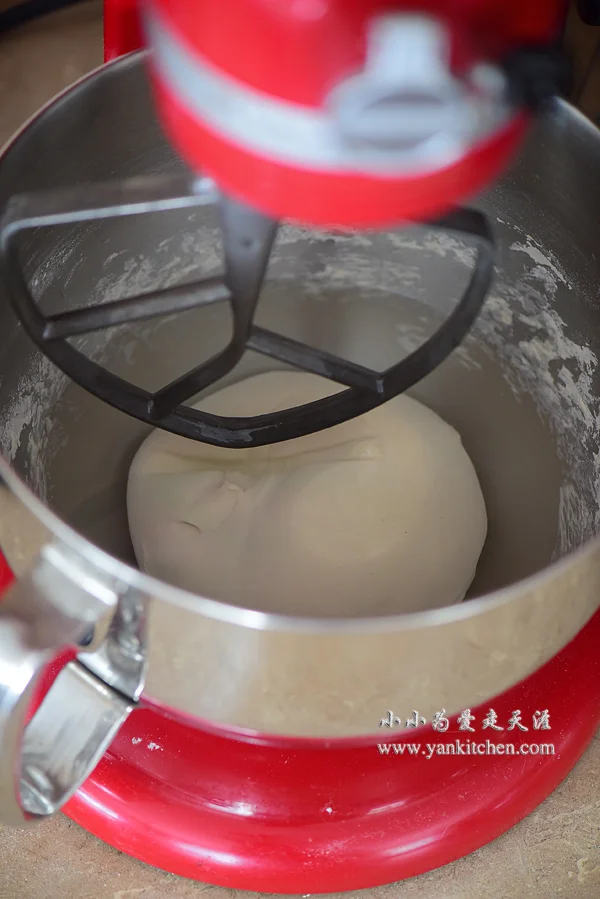
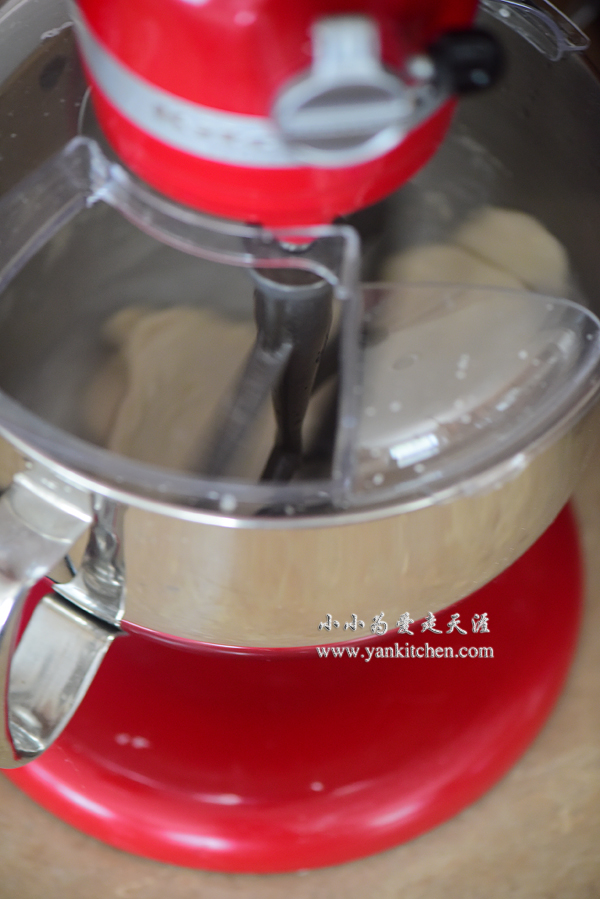
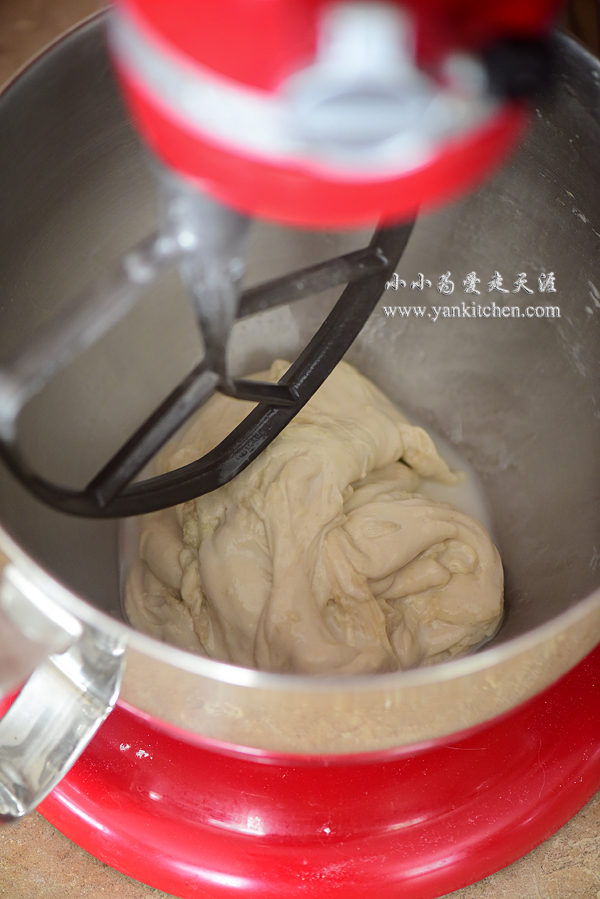
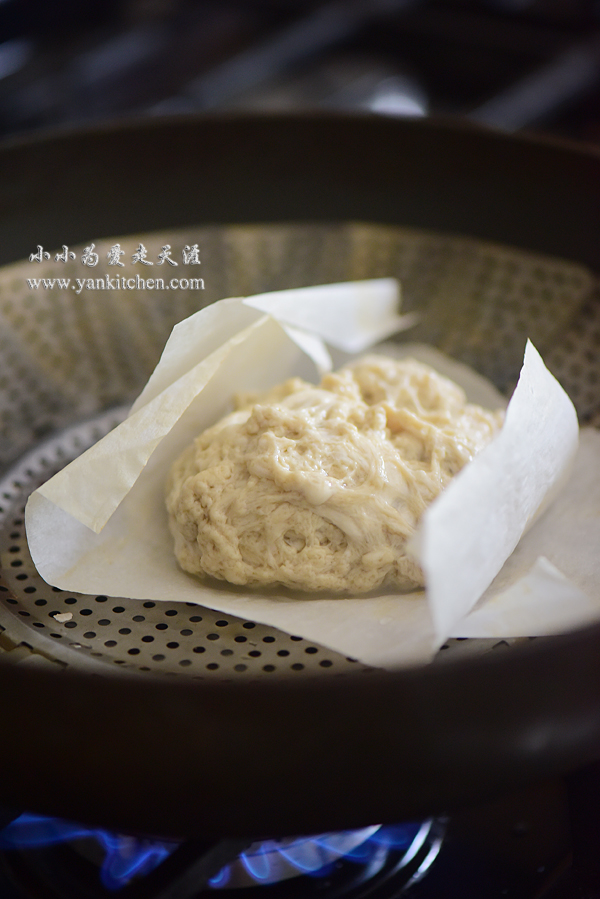
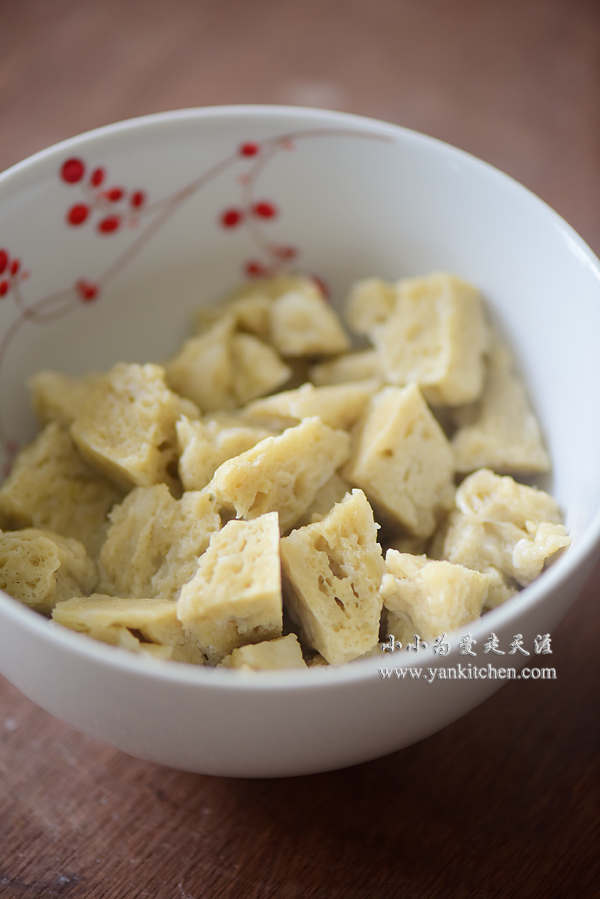
The making of mooncakes is very labor intensive.  I start with making syrup weeks before the day, and I also make the cake fillings and the dough from scratch.  It is well worthy of the time I spent.

I would post the detailed recipe later. It took me a long time to make them from scratch and may take even longer to write down every single detail.  If you never had these before, and you are curious about what they taste like or interested in Mid-autumn Day tradition, I would simply just suggest you buy a box from Asian grocery store.

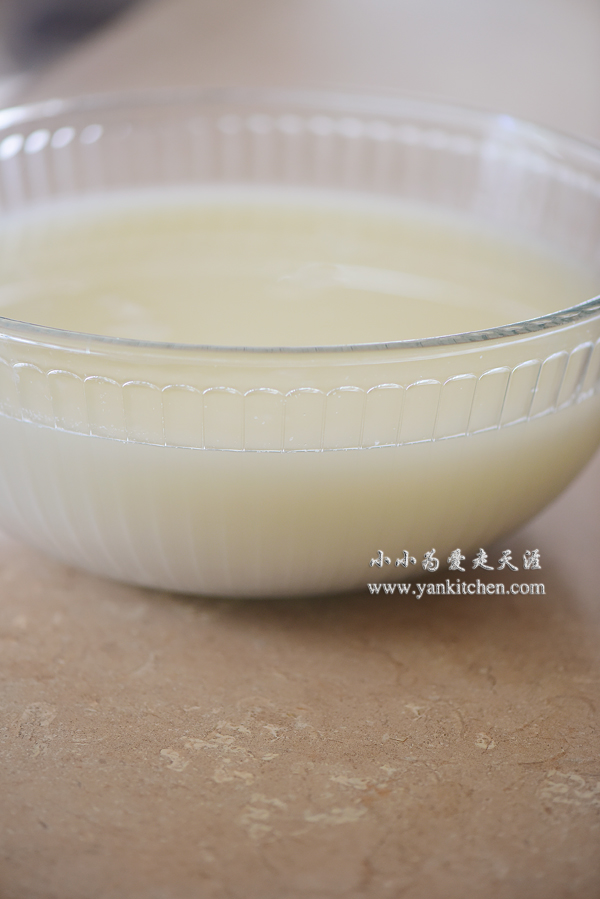
The syrup I made way before the holiday

Red bean paste filling and lotus seed paste filling; each of them is 30 g.

Each piece of dough is 18 g.

Press down the dough and wrap it around the filling.

Roll it into a round ball again.

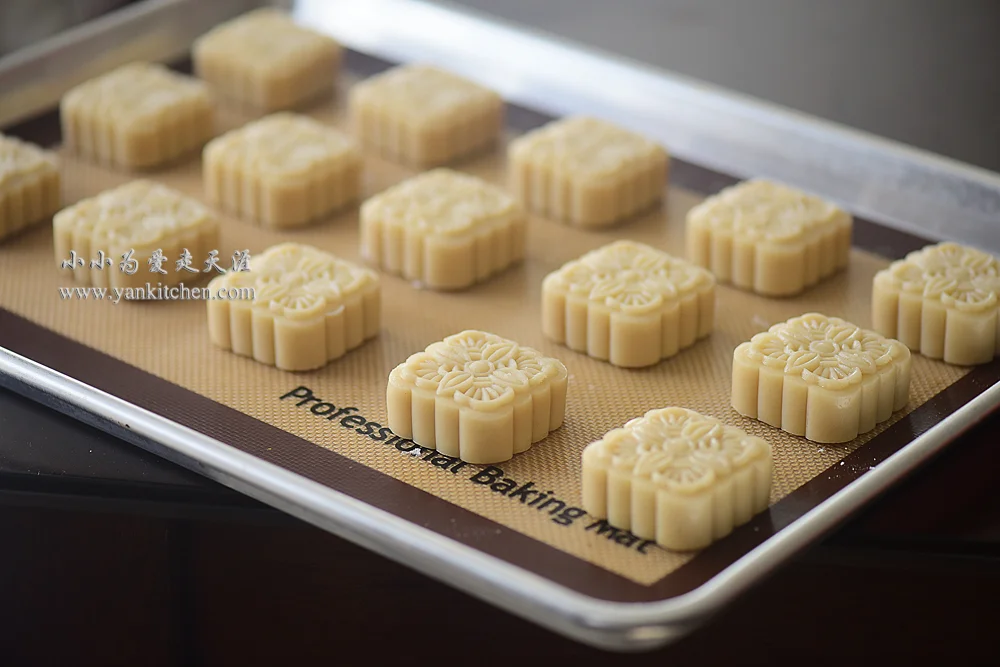
Press with a mooncake mold, release it and there you have a perfect mooncake ready for the oven.

Place them a couple inches apart from each other in a baking pan lined with silicone matt.

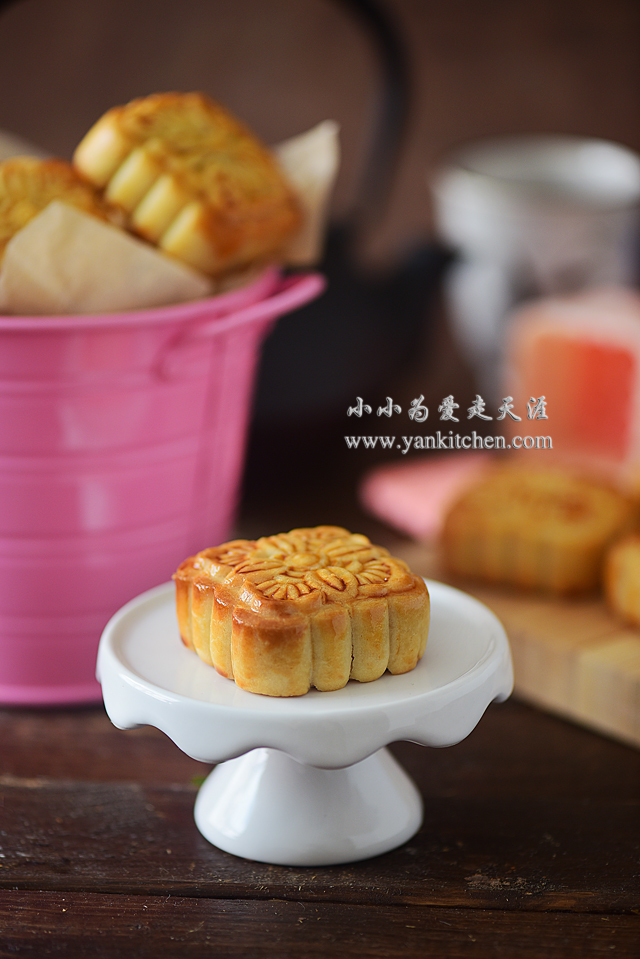
Bake in an oven preheated to 375F/ 191°C for 5 minutes; take them out and brush egg yolk wash on the top very gently; sent them back to the oven and bake for another 15 minutes or until they are gold brown. 

DSC_7901 2 copy.jpg

Let them cool to room temperature and store in an airtight container. 

The taste and flavor would be the best on second and third day.

I love to dress up my homemade snack with these cute little dessert bags.  Are they lovely and pretty? O(∩_∩)O~

Fire-grilled Burgers

Ok, we were kind of disappointed last time when we went to the burger shop in Ann Arbor, which was supposed to be great according to FoodNetwork and Travel Channel.  (see here ) So we decided to make burgers at home the way we like it. 

I made the sesame buns and beef patties from scratch.  It might be easier to just buy them from store, but it would take the fun and pride when you make your own burger, wouldn’t it?

I posted the bread recipe before.  Here it is again.


Ingredients for bread:

300 g bread flour
165 to 180 g whole milk
1 large egg
20 g butter, softened at room temperature and diced
30 g sugar
1 teaspoon yeast
1/8 teaspoon salt
egg wash
white sesame seeds


Directions

Microwave the milk on high for 30 to 45 second.  Stir in yeast and let it sit for 5 to 8 minutes.

In the bread machine’s mixing bowl, add milk with yeast, flour, sugar, salt and egg.  Start “dough” cycle.  My machine will knead for 20 minutes and proof the dough automatically for 60 minutes.  When it finishes kneading, stop it completely.  Add diced butter, and start “dough” cycle all over again.

This time, let the machine do the kneading and proof for you.  All you need to do is to check if the dough is double in size at the end of “dough” cycle.  Sometimes the dough is ready before it ends.


Transfer the dough to a well-dusted wood board.  Punch it down and knead gently just until you eliminate all the big bubbles.  Cover and let it rest for 10 minutes.

Divide the dough into 12 equal parts.  Roll each of them into a round shape ball.  Place them on a baking pan lined up with parchment paper or baking mat, about 1 or two inches apart from each other.

Cover and let them sit at room temperature for another 25 to 35 minutes.

Preheat oven to 400F/204°C.

Brush the dough balls with egg wash and sprinkle white sesame seeds on top.

Bake for 14 to 16 minutes.  You might need to cover them with foil for the last 4 to 6 minutes if the bread brown quickly.

Hot and fresh out the oven!  Aren’t they beautiful?

Now we are ready to make beef patties.

Ingredients:

(The ingredients listed here are enough to make 6 to 8 burgers.  I can freeze the extra patties so that I can simple thaw them next time I make burgers at home.)

2 pounds ground beef (80/20)
2 eggs
1 onion, finely chopped
1/2 cup bread crumbs
freshly ground black pepper
1/2 teaspoon sugar
1 teaspoon paprika
1/2 teaspoon garlic powder
1 teaspoon McCormick grilling seasoning
1 to 2 teaspoons worcestershire sauce
1/2 teaspoons finely chopped fresh rosemary
salt to taste


For 3 burgers

1 to 2 onions, grilled
6 slices of bacon, grilled
cheddar cheese
3 eggs. fried
lettuce or other leafy greens
mayonnaise / ketchup


Directions:

In a large bowl, add beef, eggs, onion, bread crumbs, black pepper, sugar, paprika, garlic powder, grilling seasoning, werstershire sauce, rosemary and salt. 

Mix with hands just until everything is well combined.  Do not over mix.  

Divide into 6 to 8 parts. Round each of them into a big meatball and press them down with your palm.  And with your thumb, make a dent in the center.  It helps to cook the patties evenly. 

Preheat the grill to 450F/232°C.  Brush the grill with oil.  Place the beef patties in the center and grill for 2 minutes. 

2 minutes later

Grill another 2 minutes.  Top them with cheddar cheese.  I prefer thick cut. O(∩_∩)O~

1 or 2 minutes later, the cheese melts beautifully.  Transfer them to a cooler zone on the grill.

Turn the heat to minimum and toast the sesame buns for a couple minutes. 

Ok, finally it is time a grab a plate.  Pick your bread and top it with grilled beef patty with cheese.

Top it with grilled bacon, grilled onion, fried eggs, leafy greens, mayonnaise or ketchup.  

Time to enjoy the burger you work so hard for.  Yum! 

Blimpy Burger & Mighty Good Coffee in Ann Arbor, MI

 中文:安娜堡的BLIMPY BURGER 和 MIGHTY GOOD COFFEE

Although it is only two hours drive away, we don’t go to Ann Arbor as often as other people do.  If we go there, we go there for one clear purpose: food!  

As a college town, Ann Arbor has a wide variety of restaurants to offer.  Among them, there is a burger joint called Krazy Jim’s Blimpy Burger which I always want to try.  It has been featured in FoodNetwork’s Diner, Drive-ins, and Dives, Travel Channel’s Hamburger Paradise 2 and Man VS Food shows.  Last time when we were in town, it was closed for renovation. So I have to try it this time.

It is just a block away from Main Street, not far behind Starbucks. 

Menu on the wall

Ok, here is how to order your food properly…….

Looks like this burger joint has been featured in food magazines too.

I remember this funny cook from TV shows.

This is a open kitchen.  You get to watch how your burger is cooked when waiting in line. 

IMG_8714 2.jpg

What makes the burgers here special is that the never-frozen-beef is freshly grounded in store.  And you can choose between double and quint patties plus grilled items and condiments.  You can have as many as 2,147,483,648 different flavors burgers here, wow!

He ordered triple plus American cheese, grilled onion and bacon.

The beef is juicy and tender.

I ordered double plus American cheese, grilled onion and fried egg.

The egg is a little bit beyond well done.

We shared an order of fried mixed vegetable. It is crunchy and crispy, not bad. 

Burgers are between ok and good.  Not as good as what they say on TV.  When we were eating there, there were only a few people, barely a line up.  We probably will not go back again.

According to the cook, it is all because they moved away from the original spot.  

After lunch, we spent a couple hours in the downtown area, window shopping those cute and interesting stores.  And then it is coffee time. 

I picked Mighty Good Coffee because they have quite a reputation online. 

There isn’t much decoration inside the store, but it still makes you feel quite cozy.

We ordered two cups of cappuccinos. What a perfect ending for a short trip to Ann Arbor!O(∩_∩)O~

Homemade Hot and Spicy Noodles

This is a very special kind of noodle.  It originated in Southwest of China, and now it is widely popular through the whole main land. 

Unlike the noodle people have in mind, this one is not served hot in soup.  It is tossed with all kinds of spices and seasoning, more like noodle salad.  What really makes it special is how the noodle is made.  Simply put, you need to knead a piece of dough, and then you need to work on the dough in water to separate the wheat gluten and starch, and then make noodle out of starchy water.  It is a very interesting process but also quite labor intensive.  Although it is very widely popular in China, not many people like to make it from scratch at home.  So many restaurants, food trucks and street vendors sell these noodles that you can get them almost anywhere and anytime.

My husband and I live in a small town in Michigan where there is no Asian grocery store.  That means I need to DIY any authentic Chinese food we crave for, and fortunately, I very much enjoy doing so. And I also enjoy sharing with everyone else. O(∩_∩)O~

I use kitchenaid stand mixer to work on the dough and to separate wheat gluten and starch.  It is traditionally done by hands.  Stand mixer is such a great help in my kitchen!  

For the noodle

2 1/2 cup bread flour
1/2 teaspoon salt
1 cup water
9 to 10 cups water (to work with dough)

Noodle seasoning

Red chili oil sauce (homemade or available in Asian grocery store)
sesame oil
garlic water (2 gloves of garlic, minced and soaked in 2 tablespoons water)
soy sauce
sugar
chopped green onion
chopped cilantro
cucumber, peeled and cut into French fries size
freshly roasted peanut, crushed
rice vinegar
1 tablespoon peanut butter
1 to 2 tablespoon sesame paste


Direction

 In the stand mixer mixing bowl, add flour, salt and water.  Turn it on and knead the dough at speed 2 for 12 to 15 minutes.

The dough is becoming smooth and elastic.

Cover the dough and allow it to rest at room temperature for at least 30 minutes.

Switch the dough hook to paddle. Add 1 1/2 cups water into the mixing bowl.

What I am using is KitchenAid professional600.  The mixing bowl is 6 quarts so I can do this without getting a big mess in the kitchen.  It is not recommended for any mixing bowl smaller than 6 quarts. 


Put on the pouring shield.  Turn on the machine and set to speed 2 again.  Knead for 4 minutes.

4 minutes later.  The water becomes white and starchy.

Drain the water to a big glass bowl.

Add another 1 1/2 cup water.

Speed 2, knead for 4 minutes.

Water becomes starchy again.  

Drain the water to the big glass bowl. 

After the third kneading

After the forth kneading

The fifth

After the sixth kneading, the water is pale, which means most starch has been extracted.  What we have left in the mixing bowl is wheat gluten. 

Steam the gluten on high heat for 16 to 20 minutes. 

Cool for 10 minutes and then dice it up. 

All the starchy water has been collected in a big glass bowl.   

Cover and let it sit for at least 4 hours. 

You can see that starchy water separates again.  All the starch sinks to the bottom.

Drain the clear water on top.  Please remember to do it very gently; otherwise the starch may be stirred up again.

With a whisk, whisk the remaining starchy mixture into smooth batter. 

Bring a large pot of water to boil.

Brush two 8 inches wilton cake pans with a little bit of oil. 

Add a big spoon of batter to a cake pan.  

Swirl the pan so that the batter can evenly coated the pan. 

Place the pan on boiling water top, cover, and steam on high heat for 1 minutes.

Fill another pot with ice water.

When the pan has been steamed for 1 minute, transfer the pan from boiling water pot to the one filled with ice water.  The ice water will cool down the cake pan fast and it would be easier to remove noodle from pan.

Here is one big piece of noodle!

It is almost paper thin and elastic.

Repeat the steaming and cooling process until all the batter is used.  You should be able to get between 14 and 18 pieces.

Cut them into thick strings and place in a big bowl. 

Add the prepared noodle seasonings. There is no rule here how much of what should be added.  You can add whatever to create your own flavor. 

I usually add red chili pepper oil sauce, sesame oil, garlic water, soy sauce, sugar, green onion, cilantro, cucumber, vinegar, peanut butter, sesame paste, and the diced steamed gluten bread.  

Mix gently until everything combines together, sprinkle with crushed peanut and serve immediately. 

That is one bowl of authentic hot and spicy Chinese noodle!

Pickled Garlic

中文:糖蒜

I planted some garlic in my vegetable garden in spring because young garlic plants are one of the essential herbs in Sichuan style cooking.   And the young garlic bulbs are always pickled in a mixture of sugar, salt and vinegar.  They go really well with lamb. 

I didn’t plant many in spring.  Looks like I need to plant more next year. 

Remove the stems and peel the outside skin. 

Ingredients

10 to 12 young garlic bulbs
3 cold boiled water
1 to 2 teaspoons salt
1 cup vinegar
2/3 to 3/4 cup sugar

Directions

Rinsed the garlic bulbs under running water; drain well; and dry them on a clean rack for a couple hours.  Make sure there is no water left on the surface.

In a large bowl, add salt and cold boiled water.  Whisk until the salt dissolves.  Add  garlic bulbs; soak overnight. 

The next day, drain all the water.  Add garlic to a clean mason jar.

In a small bowl, add sugar and vinegar.  Whisk until sugar completely dissolves.  Add the mixture liquid to mason jar too.  

Cover with lid.  Pickled garlic would be ready in 20 to 30 days, depending on the garlic sizes and ripeness.  The younger the garlic bulbs are, the shorter time it would take.  Vice versa. 

The younger the garlic is, the better it tastes.  It is usually served as a side dish or condiment for cooked lamp or Chinese hotpot.