Green Sweet Rice Cakes with Salted Duck Egg Yolks and Pork Sung

Between late March and early April, there is a traditional Qingming Festival in China.  Family members get together on this day and visit their ancestors’ and passed love ones’ graves.  They are there to tidy up graves and show their respect and love.  It is a day of remembering and sharing. 

Usually food is also an essential part of this ritual.  What food items to bring really depend on local traditions and family preferences.  Besides chicken, duck, and pork, there is one item most people bring and love: green sweet rice cakes.  The green color is from fresh young mugwort plants.  It is popular because of good herbal grassy flavors as well as medical purpose to refresh up both body and mind. 

As time goes by, people like these green sweet rice cakes more and more that they are no longer just a food item used in Qingming Festival ritual.  They become a daily snack / dim sum.

And the sweet rice cake fillings are evolving too.  The traditional ones include red bean paste, black sesame, peanut and brown sugar.  A couple years ago, some restaurant in Shanghai invented a filling with salted duck egg yolks and shredded pork and it instantly became a huge hit.  People stand in a line for hours and hours just to purchase several sweet rice cakes.  Wow, foodies!  O(∩_∩)O~

I tried many times.  It is just very hard to get hold of fresh young mugwort plants in United States.  So I substitute with spinach puree and matcha green tea powder.  Spinach puree brings the dark green color and matcha green tea powder adds a mild herbal, earthy and grassy scent and flavor.

Ingredients:

250 g sweet rice flour
30 g rice flour
1 to 2 tablespoons vegetable oil
1/4 cup granulated sugar
spinach puree
water
2 to 3 teaspoons matcha green tea powder


For salted duck egg yolks and shredded pork fillings:

10 to 12 salted duck egg yolks (salted duck eggs are available in fridge aisle in most Asian grocery stores)
1 package of dried shredded pork/ pork sung (4 oz)
3 to 4  tablespoons golden syrup


For sesame and peanut filling:

1/3 cup dry roasted black sesame seeds
1/3 cup dry roasted peanuts
1/2 cup packed brown sugar


Directions:

With a spoon, scoop egg yolks out salted duck eggs.  And then crush them with the back of spoon.

Mix with shredded pork and syrup. 

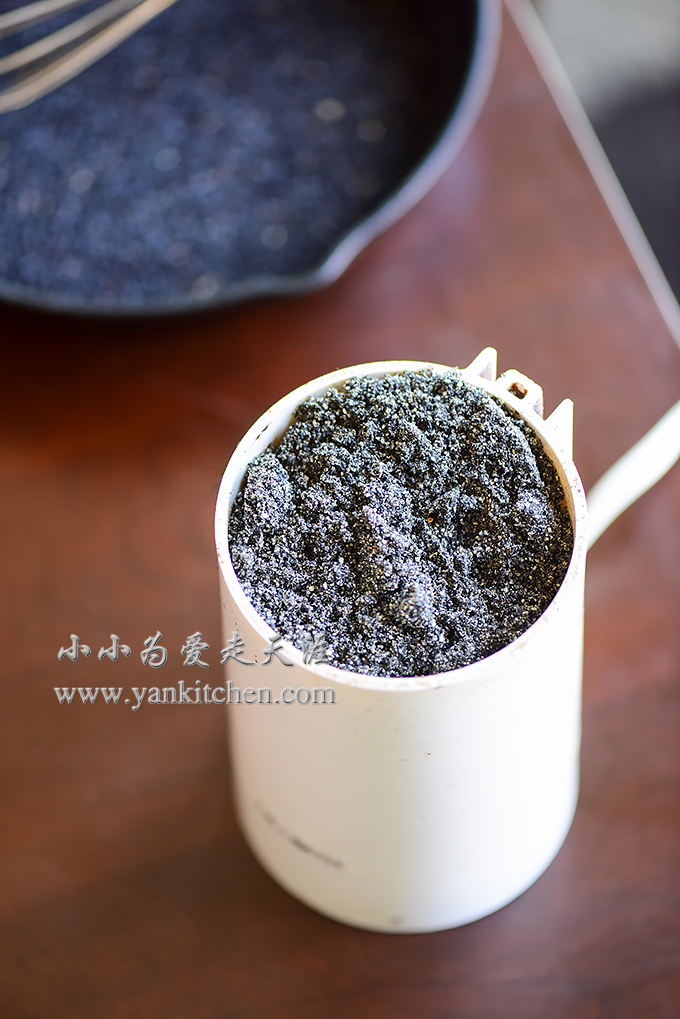
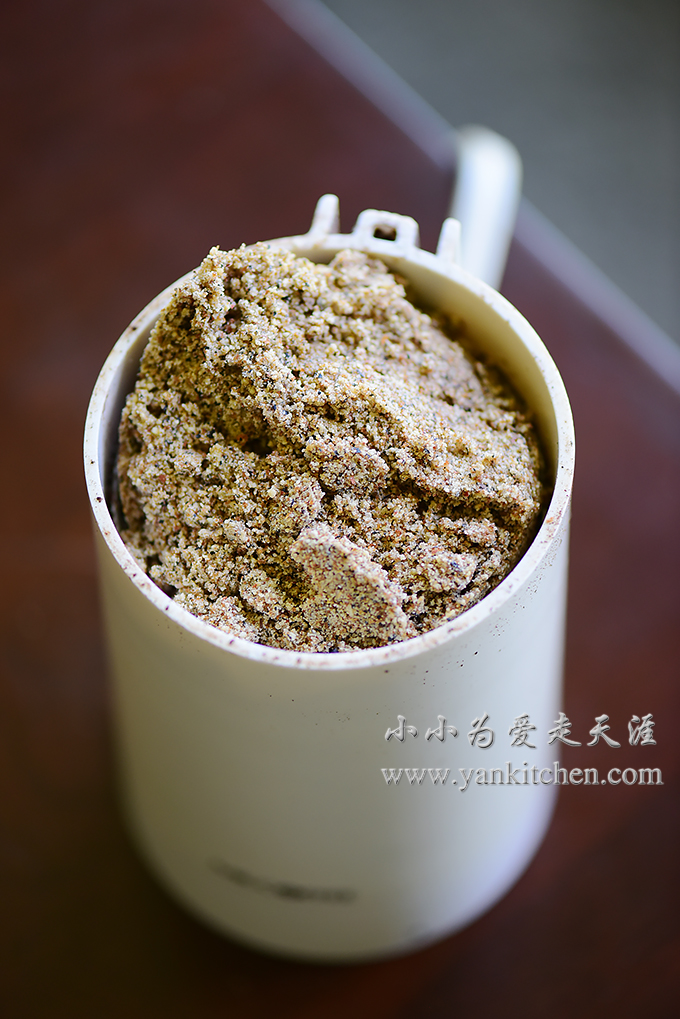
Combine roasted black sesame seeds, peanuts and brown sugar in a coffee grinder.  Do this in two or three batches to get even and smooth grind each time.

Smells really good

Soak and clean 6 to 8 dry bamboo leaves, which are sold in most Asian grocery stores too. Lightly grease them with vegetable oil.

If you don’t have bamboo leaves available, substitute with parchment paper.

Blanch the spinach; add to vitamix along with some water; puree on high speed until very smooth. 

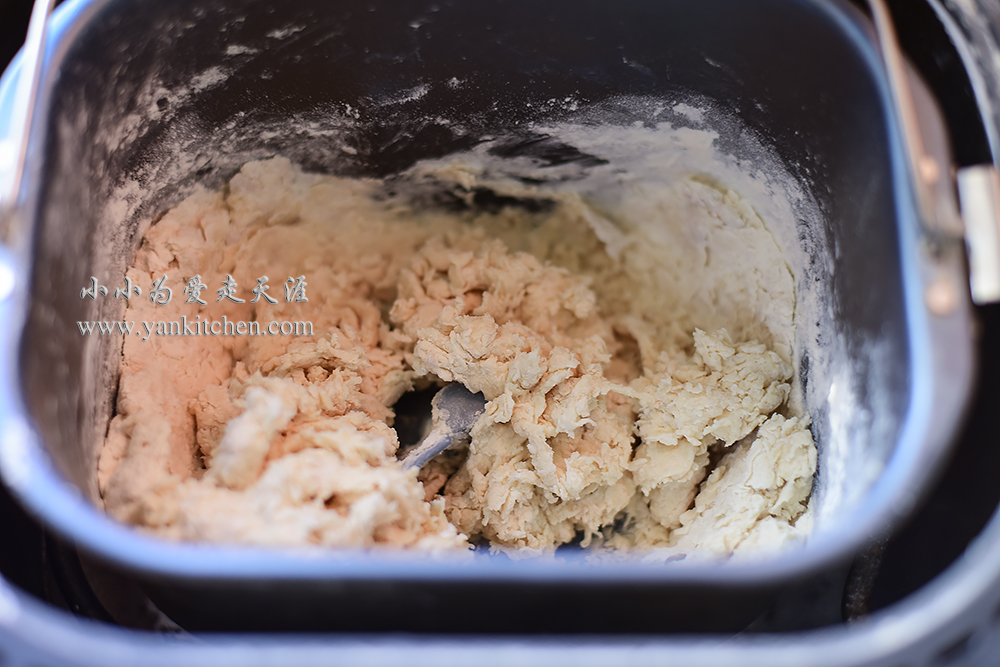
Add sweet rice flour, matcha green tea powder, vegetable oil and sugar.

Combine everything together and knead into a ball of green sweet rice dough.  

Divide the dough into equal-sized small pieces.  Press down and thin out with palms.

Add salted duck egg yolks and shredded pork filling.

dd black sesame and peanut filling.

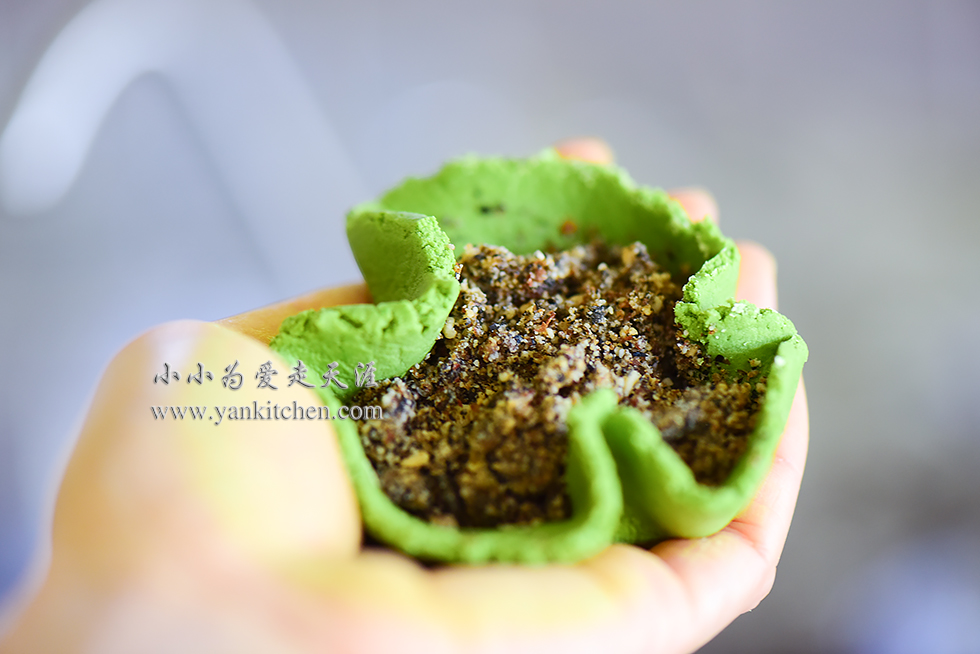
Wrap up and gently round them up between palms.

The ones topped with black sesame seeds mark sesame and peanut fillings.

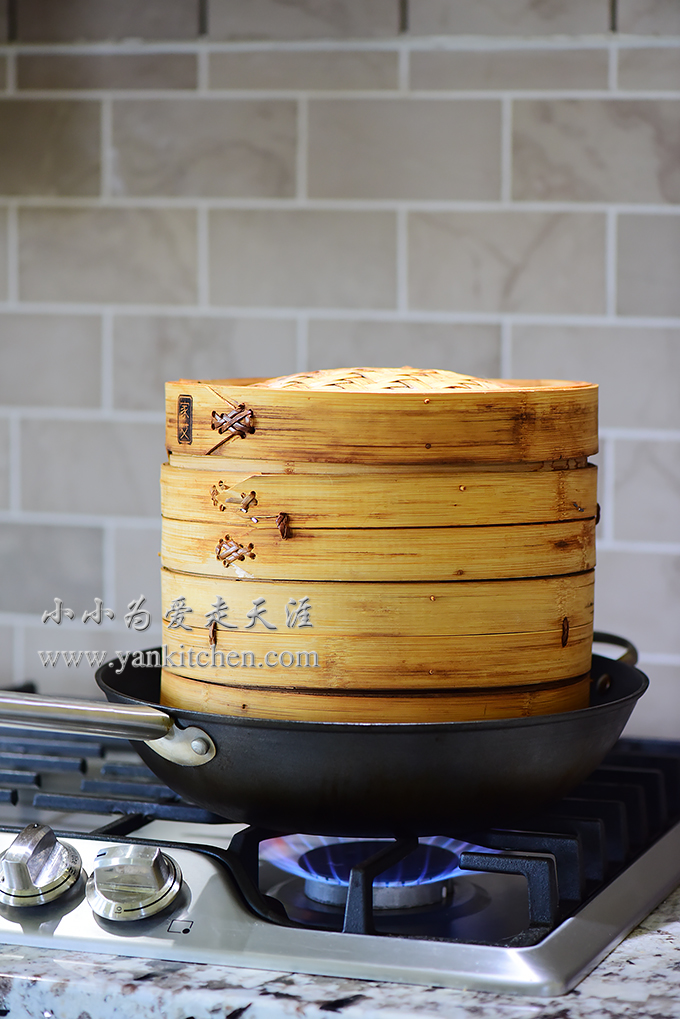
Transfer sweet rice cakes in a bamboo steamer lined with greased bamboo leaves, one inch apart from each other.

Steam over high heat inside a cast iron wok for 10 to 15 minutes

Remove from heat and allow the sweet rice cake balls to cool down a little bit.

Aren’t they cute? O(∩_∩)O~

Both fillings are very tasty.

Colorful Sweet Rice Cake Balls with Black Sesame Filling

The fifteen day of Chinese New Year is called Lantern Festival.  Lantern Festival Day is the last day of Chinese New Year celebration. On this day, we traditionally celebrate with lanterns and dance balls.  Families and friends get together to have another feast before going back to work. 

One of the traditional foods served on this feast is sweet rice cakes balls.  There are so many varieties of sweet rice cakes out there on the market that everyone can find his favorite flavor.  As for me, I love black sesame filling the most.  

It is not difficult to make them at home.  But I have been told many times that American people are not great fans of sticky sweet rice.  That is interesting.   If you are curious about rice cakes but don’t want to make them at home, go get one package in your local Asian grocery store.  They are sold in frozen food aisle.  The classic flavors are sesame, peanuts, red beans and jujube.

Ingredients for black sesames filling:

1 cup of raw black sesame seeds https://www.amazon.com/Kevala-Organic-Black-Sesame-Seeds/dp/B00LNNRUWY/ref=as_li_ss_tl?ie=UTF8&qid=1520084974&sr=8-5&keywords=raw+black+sesame+seeds&linkCode=ll1&tag=yankitchentext-20&linkId=59a37c67c59b1c60942ce13962e405de
1 firmly packed brown sugar
4 to 6 tablespoons butter
1/4 to 1/3 cup water


Directions:

There are roasted sesame seeds available.  But I always prefer raw ones and pan roast them at home myself.  Its flavor and scent are so much better and stronger.

Shift raw sesame seeds a couple times. 

Heat a cast iron skillet on medium heat.  Add black sesame seeds.  Pan roast for several minutes.  Stir with a whisk from time to time.

 I always add a pinch of white sesame seeds to the pan too.  When white sesame seeds are starting to change color to light creamy beige, I know they are done.

Allow roasted sesame seeds to cool down to room temperature.  Finely grind them in a coffee grinder

Turn off the heat.  Add ground black sesame

Mix everything until well combined

Refrigerate for at least 4 hours.  The sesame filling will be harden when chilled.

Divide the filling into small pieces and roll into tiny sesame balls. 

Send them back to fridge for later use

When waiting for the sesame filling to chill, I prepare five pieces natural colorful sweet rice cake dough.

They are in fact quite easy to make.  Just mix vegetable puree, water, a few drops of vegetable oil and sweet rice cake flour and knead. 

The purple color comes from purple sweet potato; red color comes from beet puree; yellow one is from carrot puree; green one is from spinach puree and the brown one is from coco powder.

Divide the dough into small pieces.  Press each piece flat; add black sesame filling; wrap it up and roll into sweet rice cake balls.

Fill a large pot with water.  Cook over high heat until the water boils.  Add sweet rice cake balls.

 Cook on high heat until sweet rice cake balls float.

The black sesame filling becomes runny when cooked.  Isn’t it cool? O(∩_∩)O~

Dried Purple Sweet Potatoes

中文菜谱:

紫薯干

Dried purple sweet potatoes are one of my favorite snacks.  Unfortunately it is very hard to find tasty ones available in store.  I usually make them from scratch at home.  It is so simple and easy that even a person who doesn’t cook can manage it in no time.  O(∩_∩)O~

After drying, the natural sweetness in sweet potatoes is concentrated and enlightened.  Dried sweet potatoes become soft but chewy in a very pleasant way.  It is kind of like eating gummy candies, but with intense sweet potatoes flavors.

There are several kinds of purple sweet potatoes available in the market.  I have two varieties here plus some regular yellow color ones.

Rinse them well under running water. 

Set up a vegetable steamer in a large stainless steel pan.  Add sweet potatoes to the steamer. 

Add water.  Heat over high heat until the water boils.  Reduce the heat to medium and continue to steam for another 30 to 40 minutes.  Time needed depends on the size of sweet potatoes.  Larger ones will take longer to cook through.

This is one of my favorite purple sweet potatoes.  Look at that gorgeous the color inside and out!

Here is another kind purple sweet potato

Peel all the sweet potatoes.  Cut them into long trips, and place them half inch apart from each other on dehydrator racks.

Set the dehydrator to 135F/ 57C

Dehydrate them in dehydrator for 8 to 9 hours.  Again, the actual time needed depends on the size of sweet potatoes and personal preference for their softness/ chewiness. 

Remove sweet potato strips from dehydrator.  Store them in a large Ziploc bag overnight or for at least a couple hours, which helps to redistribute moisture within sweet potatoes strips and they would taste much better.  

These are my favorite.  They are sweet, gorgeous and have the best combination of softness and chewiness. 

These purple sweet potatoes which come with white skins taste a bit dry and starchy.  They are good, but not great.

The yellow ones taste very much like the ones from my childhood.  Love them too.

Homemade Black Sweet Rice Wine

中文菜谱:

黑糯米甜酒酿

It is a very traditional and common for Chinese people to make sweet rice wine at home.  But it is not really the clear-colored high alcohol content version of “rice wine” you are thinking.  It is non-distilled, very sweet, and more dessert like.

The most common one is made with pure white sweet rice.  Sometime people add different ingredients to make variations too.  This time I add black sweet rice.  After fermentation, it becomes a gorgeous deep purple color.

Ingredients:

1 cup of sweet rice
1 cup of black sweet rice
1 1/2 to 2 teaspoons of rice wine starter/ yeast, finely ground
cold boiled water
more water for rice cooking

Directions:

Cook the sweet rice and black sweet rice separately.  I use Zojirushi Micom stainless steel 3 cups rice cooker

Sweet rice absorbs less water than regular white rice.  So use a little bit less water when cooking sweet rice.  And I use “quick” setting.

The reason I cook two kinds of sweet rice separately is that I want them to keep their own colors. 

Wait for two different rice to be cooked and cooled down; add them to a large bowl; and mix gently with a spatula. 

Sweet rice can be very sticky when cooled down.  That is where cold boiled water comes in. 

Rice wine starter/yeast is very popular and common in Asian countries.  You should be able to buy it from any Asian grocery stores.  They are usually sold in a small plastic package which contains two round rice yeast balls.  Smash and grind them into fine white powder before adding them to sweet rice.

Sprinkle sweet rice mixture with rice wine starter/ yeast powder.  Gently mix everything together again.  

Pat the rice flat, leaving a one-inch hole in the center.  The hole is totally operational.  You don’t have to do it.  It is just a lot easier to observe how much rice wine coming out the rice through that hole in the center.  

Cover with lid or plastic wrap.  Store it in warm dry place for 2 to 3 days. 

At the end of fermentation time, you can test if sweet rice wine is ready or not by its taste.  Sweetness is how we tell.  The sweeter, the better.  If you get blank taste, just put it back, wait for another day, and taste again.

Sweet rice wine can be served immediately when it is completely fermented, and yes, both liquid and the rice part.  My favorite way is to refrigerate it overnight and serve it cold. 

In my hometown, people used to make pickle vegetables with sweet rice wine in old times.  But fewer and fewer families are still doing so.  Vinegar is quicker and less labor intensive. 

Sweet rice wine can be served cold and hot.  Cooking it with sweet rice cake balls is another classic way to enjoy it. 

Asian Peanut Butter and Brown Sugar Bread

This is another one of my comfort foods.  Whenever I am under the weather or exhausted, I crave for these little bread rolls loaded with deliciousness and calories.  Or sometimes I just want them, no excuses needed O(∩_∩)O~

2 cups all purpose flour
3/4 cup whole milk
1 teaspoon yeast
1 tablespoon oil
1/4 teaspoon salt
1/2 cup packed brown sugar
1/2 cup creamy peanut butter


Directions:

Microwave the milk on high for 20 to 30 seconds.

Add warm milk, along with flour, oil and salt to the bread machine.  Sprinkle yeast on top.

Choose dough cycle and start the bread machine.

In a small bowl, mix brown sugar and peanut butter together

Try to mix as smoothly as possible

Allow the dough to proof for 20 minutes

Transfer the dough to a large well-dusted wooden board

With a large rolling pin, roll the dough into a large flat sheet , 1/4 inch in height

Roll it up

Roll from one end towards the other into a big lollipop of dough.

Cover with plastic wrap and allow it to rest for 15 to 20 minutes

Roll the dough flat and thin again with the rolling pin

Roll it up again

Cut into 1.5 or 2 inches long pieces

Shape each piece into a ball

Gently roll them flat a little bit.  Transfer them to a cookie pan lined up with silicone baking mat

Cover with plastic wrap and allow them to proof for another 20 minutes.

Meanwhile, preheat the oven to 400F / 204C

Bake in the oven for 14 to 16 minutes

The whole house smells so good when the bread is baked in the oven.