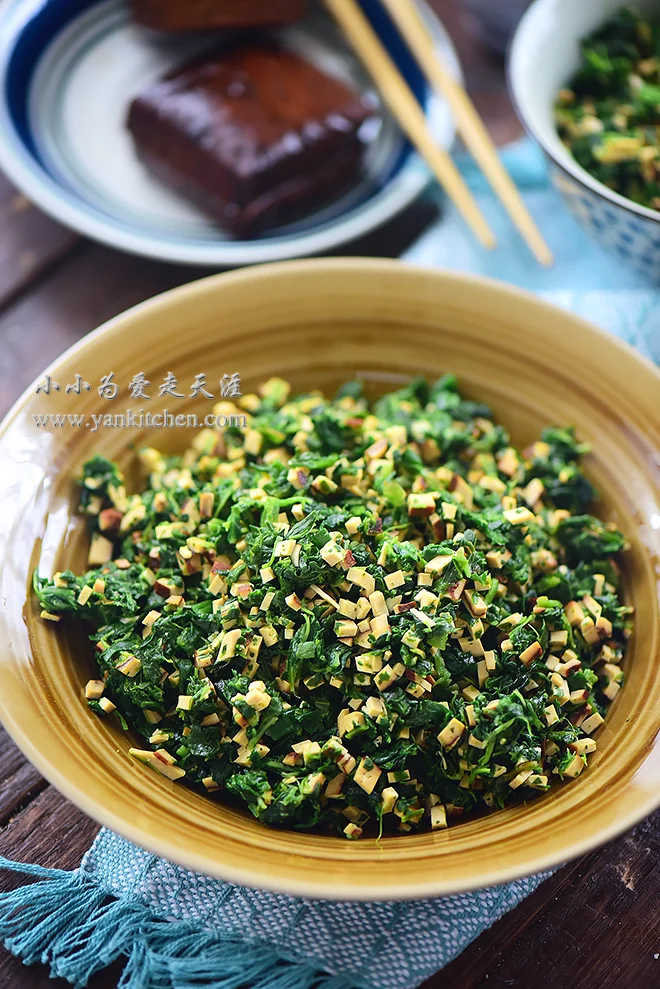
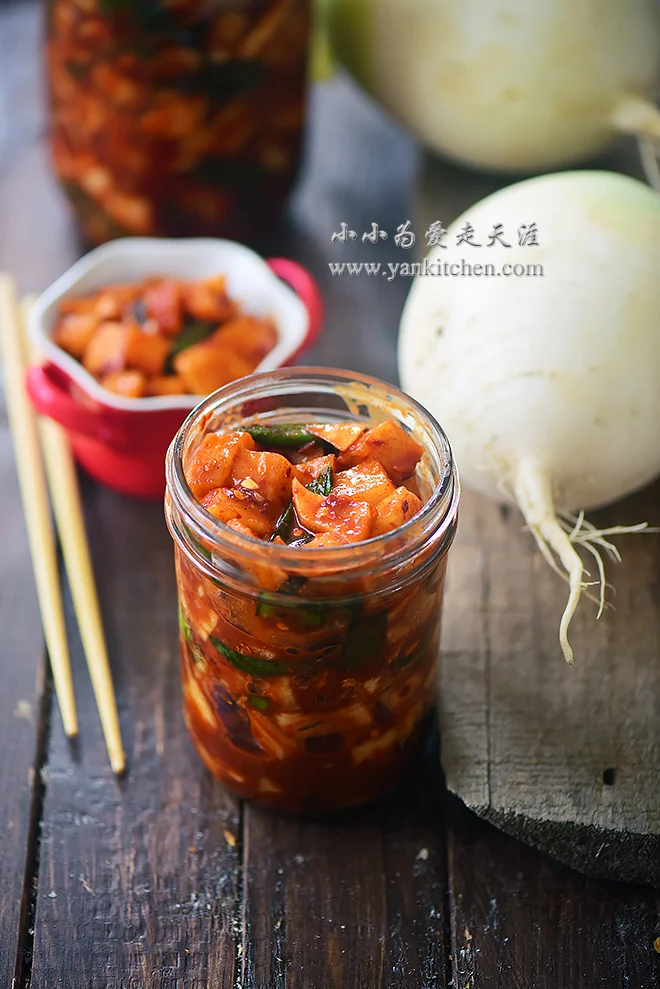
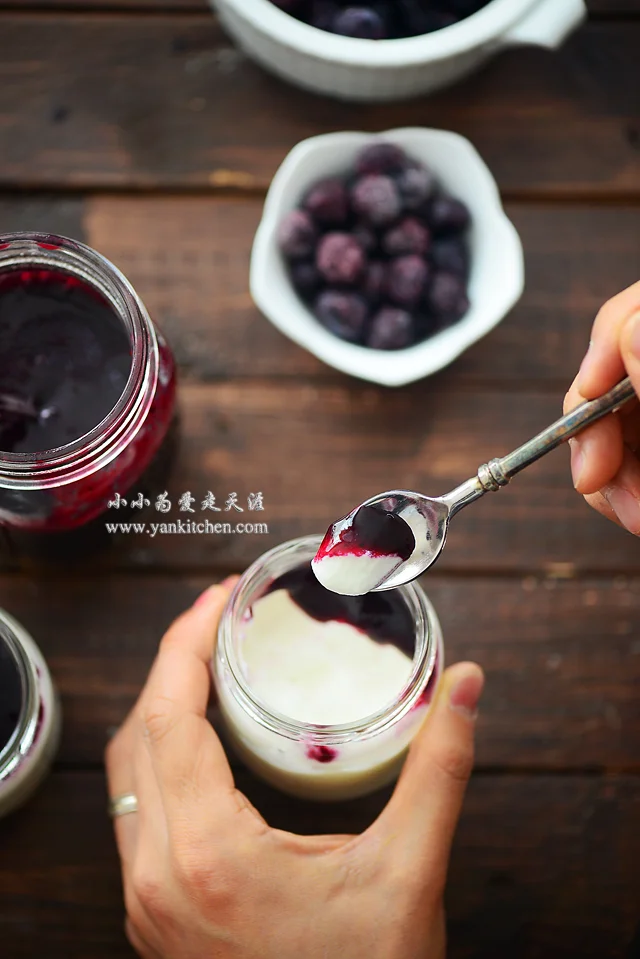
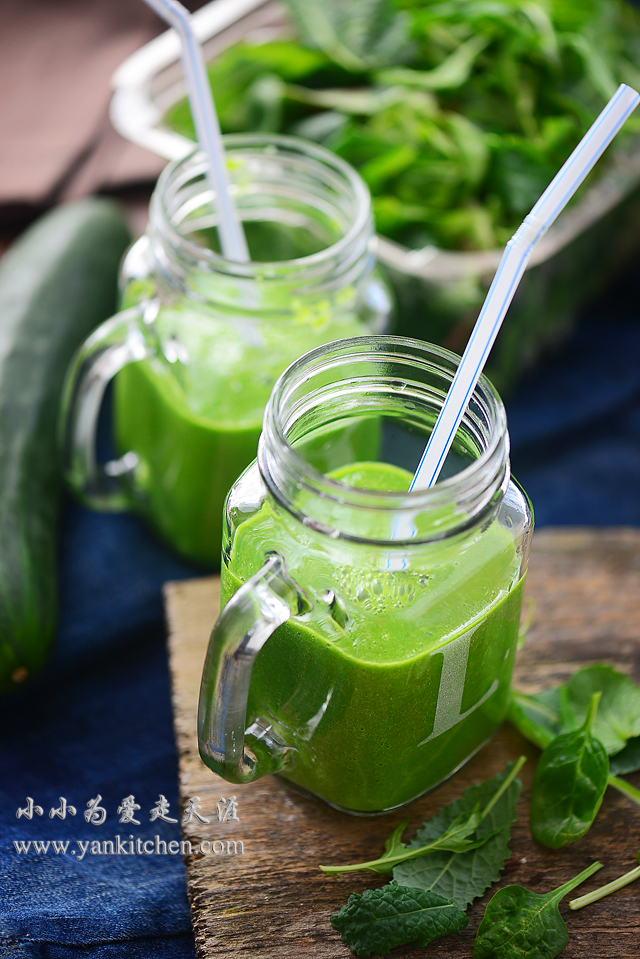
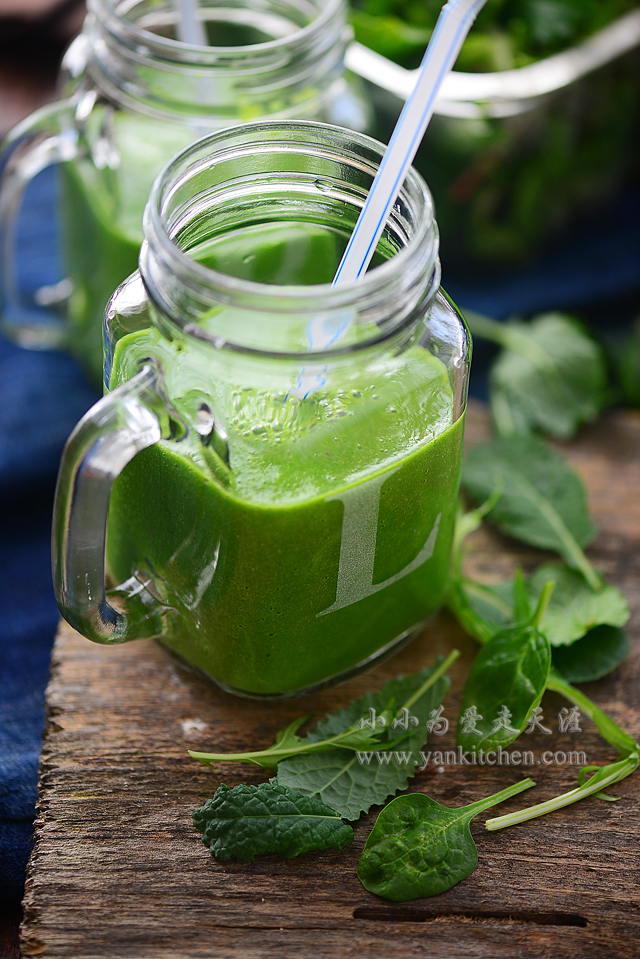
Blueberry yogurt

中文: 蓝莓果酱酸奶

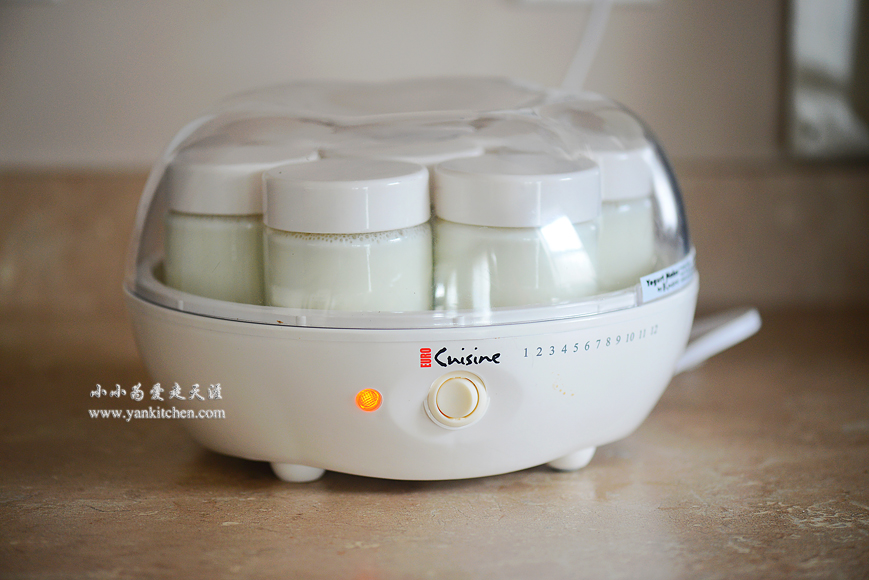
The best yogurt goes to…tadah…my homemade blueberry yogurt!  I literally can’t get enough of them.  With a yogurt maker, I make seven or eight jar of yogurt at a time.  They are always gone in three days.  So I make yogurt and blueberry jam/sauce twice a week. 

Ingredients:

1 quart organic / regular whole milk (4 cups)
 1 small box of plain greek yogurt (5.3 oz, 150 g per box

Notes:

I have tried both organic and regular whole milk.  The difference between them is not quite noticeable.  However, the yogurt made with whole milk tastes so much better than the one made with non-fat milk.  Please do use whole milk if you want your yogurt taste good.

Remember to read the ingredients list on the package before you buy any plain yogurt as starter.  It must contain live culture to make it work.

I don’t like to use homemade plain yogurt as starter to make another batch yogurt because the live culture will get weaker.  I always buy Meijer store brand or fage greek yogurt as starter.  

Directions:

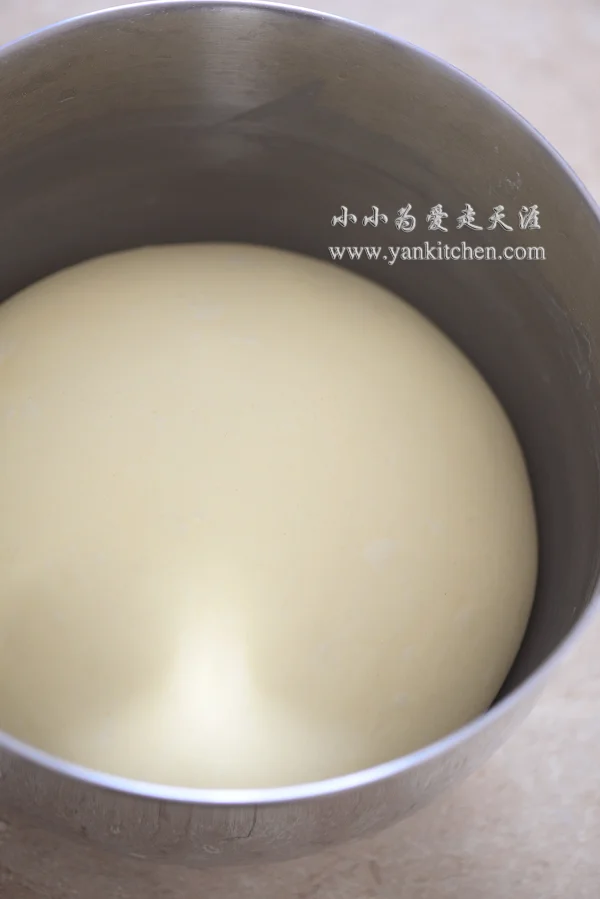
Microwave the milk on high until it boils.  It might take 6 to 8 minutes give or take depending on the microwave oven. 

When the milk cools down, remove the milk skin on top.

Empty the plain greek yogurt to a large clean bowl; whisk until it becomes smooth and runny.  

Gradually add milk while whisking.

Distribute evenly into the glass jars that come with yogurt maker.  Or you can use any small glass jars as long as they can fit in the yogurt maker. 

Cover with lids and place them in the yogurt maker.  Turn it on.  In 5 to 7 hours, transfer them to refrigerator to settle down overnight.  You will have 7 jars of tasty plain yogurt the next day.

Leave them in the yogurt maker (buy from AMAZON) longer if you prefer firmer yogurt texture. 

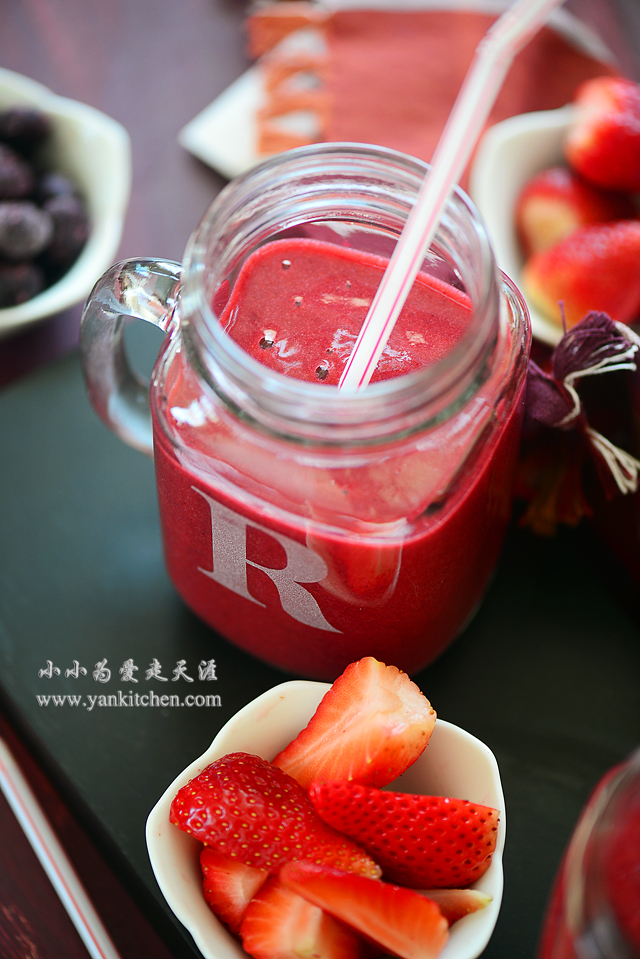
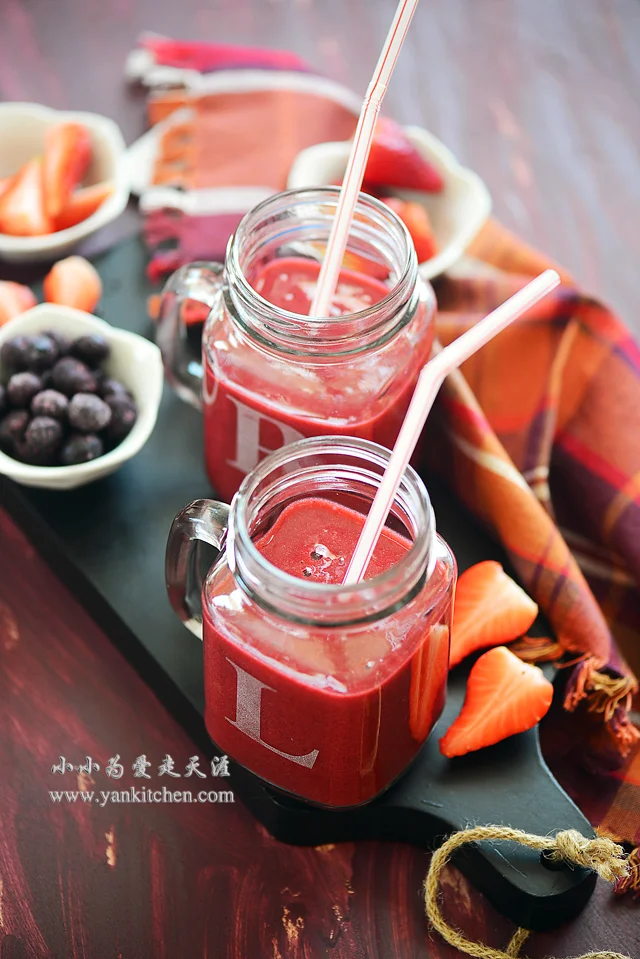
I like to top it with homemade blueberry sauce.  It is way better than any blueberry yogurt I can find in the store, O(_)O~

I make one jar at a time. My husband and I were quite busy during summer time.  We camped, we hiked, we biked, and we went to farms to handpick blueberries and cherries and freeze them for later use.  I guess that is what makes it taste so good.  The secret ingredient is indeed love! 

For blueberry sauce

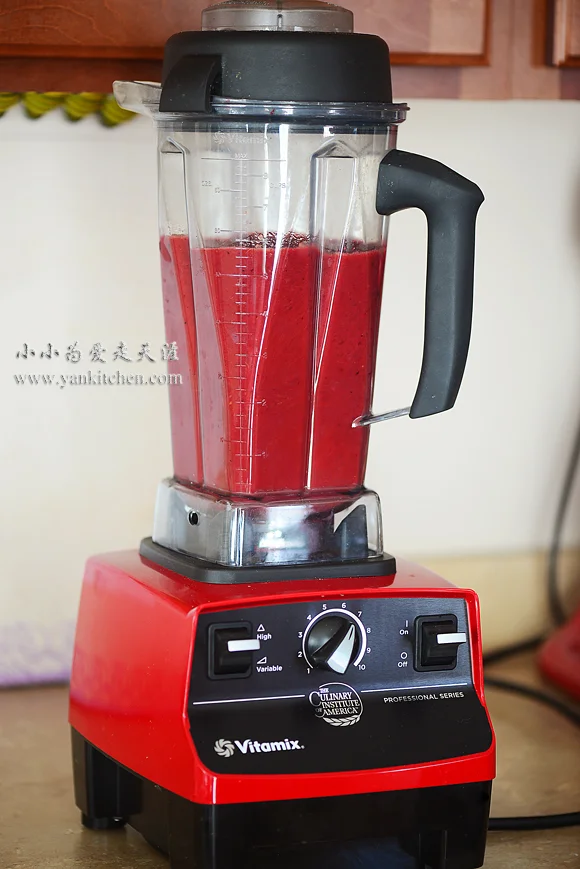
3 cups frozen blueberries
1 tablespoon lemon juice
1/2 to 2/3 cup packed brown sugar (use more if prefer sweeter taste)

Place blueberries, lemon juice and brown sugar in a pot.  Heat over medium heat until it thickens.  Stir occasionally to prevent burning at the bottom.  Blend with a food processor (Buy from AMAZON) or hand blender (Buy from AMAZON) to make it smooth sauce. You can skip it if you prefer chunky blueberry sauce. 

When it cools down, cover with a lid and store in the refrigerator. 

How wonderful is thisO(_)O~ 

Sometimes I make yogurt in these cute pudding jars.  My sister sent them to me last year.  I just love them!

I can fit 8 of them in the yogurt maker at a time. 

You can also stir the yogurt and blueberry sauce together and then use a straw to enjoy them. O(_)O~  

Mixed Berry Smoothie

I don’t usually make fruit smoothies because they are always too sweet for my taste.  But I like to stock up all kinds of berries to make mixed berry smoothies.  They are refreshing, nutritious, and packed with vitamins and great berry flavor.  O(_)O~ 

Ingredients:

1 1/2 to 2 pounds strawberries
1/2  cup frozen blueberries
1/2 cup frozen raspberries
1/4 cup frozen blackberries
1/2  frozen banana
1/3 to 1/2  cup apple juice /water

Remove strawberry calyx, cut into quarters.  Add strawberries into the vitamix (AMAZON this one), along with blueberries, raspberries, blackberries and banana.

Add apple juice / water, and cover with the lid. 

Turn on Vitamix (Amazon linl).  Gradually increase speed from 1 to 8 or 9, and then switch to high. Blend for another 30 to 45 seconds. You might need to use the temper to push fruits down. 

Flower Shape Bread with Red Bean Paste Filling

Doesn’t this bread look amazing and gorgeous?  It’s actually really easy to make.  I have baked it several times, and I get the same amazing flower shape bread every time.  That is how easy it is! 

Please do remember to use dark color filling like chocolate or red bean paste like I do.  The contrast between golden brown bread and dark color filling is what makes the bread pop.


Bread ingredients:

300 g bread flour
165 to 180 g whole milk
1 large egg
20 g butter, soften and diced
30 g sugar
1 teaspoon yeast
1/8 teaspoon salt
egg wash


Red bean paste filling ingredients:

1/2 cup small red beans (available in Asian grocery store)
5 to 6 tablespoon brown sugar (use more if prefer sweeter taste)
2 to 3 tablespoon butter
3 cups water

Tips

Dry red bean and ready to use red bean paste are both available in Asian grocery store.  I like to make my own red bean paste from scratch.  Sometimes I make a big batch and divide them into small regular portion, pack in Ziploc bags and freeze them.  When I need red bean paste for baking or cooking, I can just thaw one portion. 

Directions

Start with the red bean.  Soak the beans for at least two hours or overnight. 

Place the beans in a small stock pot; add water to fill the pot about half inch above the beans.  Cook over medium heat until the water boils, cover and reduce the heat to simmer for 60 to 90 minutes or until the beans is soft to touch.

 Drain the cooked beans.  Transfer into a food processor (AMAZON product link).  Process the beans on high speed for 30 to 40 seconds into silky smooth red bean paste.

Heat a nonstick pan over medium heat.  Add red bean paste, and add butter and brown sugar, 1/3 at a time.  Stir constantly to prevent sticking to the bottom and burning.  Cook until the paste is very thick.  It should have the constancy like pumpkin pie filling, maybe even a little thicker than that.

Get ready to make the dough.

Microwave the milk on high for 20 to 30 seconds.  Add to the stand mixer (AMAZON this one) container, along with yeast.  Wait for 5 minutes or until the yeast dissolves.

Add egg, flour, sugar and salt.  Knead on speed 2 for 12 to 18 minutes.  Add soften butter, and knead another 10 to 18 minutes. Kneading time depends on the dough.  The dough should pass the window panel test. It means you should be able to stretch a little piece of dough with your fingers into a really thin panel.  It can be so thin that you can see through it like a window.  That is why people call it window panel test. 

Cover the dough.  Proof it until double in size. It takes 60 to 90 minutes.  

Transfer the dough to a well dusted wooden board.  Punch down and knead gently into a ball.  Cover and proof it for another 10 minutes. 

Divide the dough into four. 

Divide the red bean paste into three. 

With a rolling pin, roll a piece of dough to a quarter inch in height.  Spread the red bean paste evenly onto the top. 

Roll out another piece of dough, and place it on top of previous one. 

Repeat the process twice.

Now we should have four layers of dough.

With a sharp knife, cut the edge into 16 pedals, leave out the center part. 

Twist each pedal towards opposite direction twice. 

Seal the edges. 

Cover and proof another 30 to 45 minutes.

Preheat the oven to 375 F. 

Brush with the top with egg wash.  Bake 25 to 30 minutes.  Cover with a large piece of foil so that the bread doesn’t get too brown in the oven. 

Ta-dah!  Now you have a gorgeous bread flower! O(_)O~

Cool on a cooling rack.  Store it in a bread/ plastic bag when bread is lukewarm.  Or, you can just eat it up! O(_)O~

Deep Green Smoothie

My husband always says March is the most depressing month in Michigan, because everywhere else is warm and flowers are starting to bloom but Michigan’s winter shows no sign of leaving.  I can’t agree more. O(_)O~

I can’t do anything about that, but I can eat more fresh vegetable and fruits! Deep green smoothies have been a breakfast stable.  They are healthy and nutritious, and more importantly, they are quick and fast too!

I always keep deep green mix in the refrigerator. 

Ingredients

1 pack green mix (5 oz)
1 grapefruit
1 orange
1/2 banana
1/4 cup crushed ice

Directions:

Peel the grapefruit, orange and banana, and cut into bite sizes.  Add to VITAMIX (Amazon link) container.  

And then add crushed ice and vegetable mix. 

Turn on Vitamix.  Gradually increase speed from 1 to 8 or 9, and then switch to high. Blend for another 20 to 30 seconds. You might need to use the temper to push vegetable down. 

Here you go, healthy and delicious in a bottle! O(_)O~

Chocolate Strawberries

  中文: 巧克力草莓

Chocolate strawberries can be simple and simple.  You just need to melt the chocolate and dip strawberries in it, and then, wola, chocolate strawberries!  But they can be sophisticated too.  Chocolate needs to be tempered to enhance its shine and taste.

I am in a lazy mood today, so I am going the easy way.  The strawberries I bought yesterday from Meijer are surprisingly sweet and delicious.  So I pair them with 72% dark chocolate.


Ingredients:

12 strawberries (try to pick equal sized strawberries)
1/2  to 2/3 cup dark chocolate
3 to 4 tablespoons white chocolate


Directions:

Wash and drain the strawberries. Pat them dry with paper towel.

Melt the dark chocolate with a double boiler; whisk until chocolate is silky and smooth.

Melt and white chocolate the same way in a separate double boiler.

Line a flat plate with plastic wrap.

Hold the strawberries pointed side down, dip into chocolate, and then place them on the plate until chocolate is set and harden again.

Drizzle the white chocolate over chocolate strawberries.  Or you can do what I do here. Fill a pastry bag with white chocolate and then pipe out even thin strips on strawberries. 

Nice afternoon tea snacks.  O(_)O~

They can be awesome gifts too