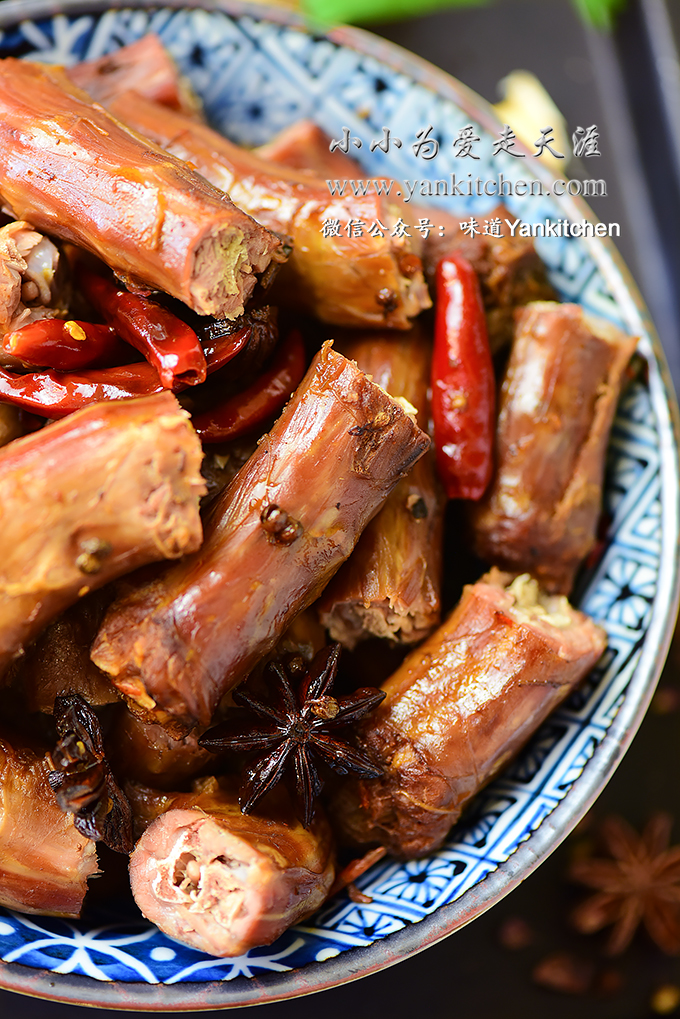
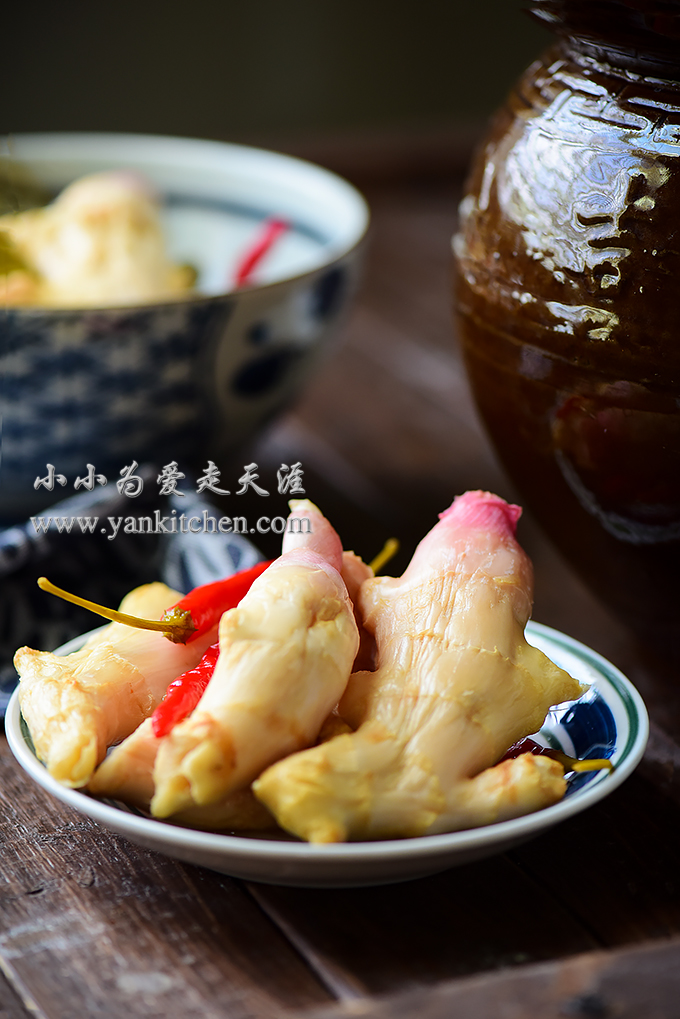
Sichuan Style Pickled Chili Peppers and Chicken Feet

中文菜谱:

泡椒凤爪

The NBA games between Houston Rockets and Golden State Warriors are going on!  We instantly transform into coach potatoes when the game starts.  Plus cold beers and good snacks make the game night more fun!  O(∩_∩)O~

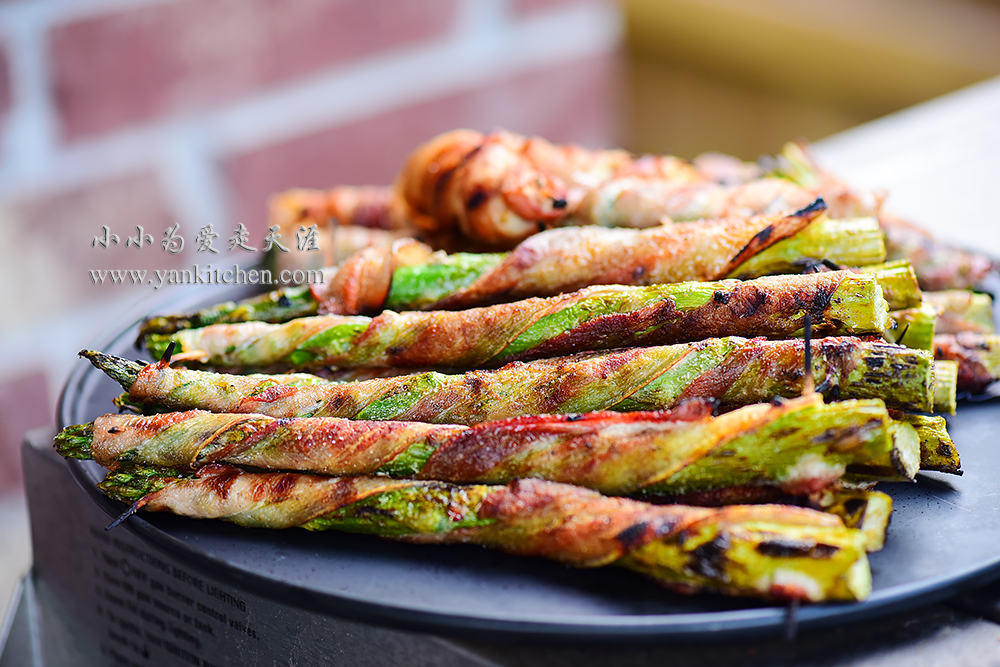
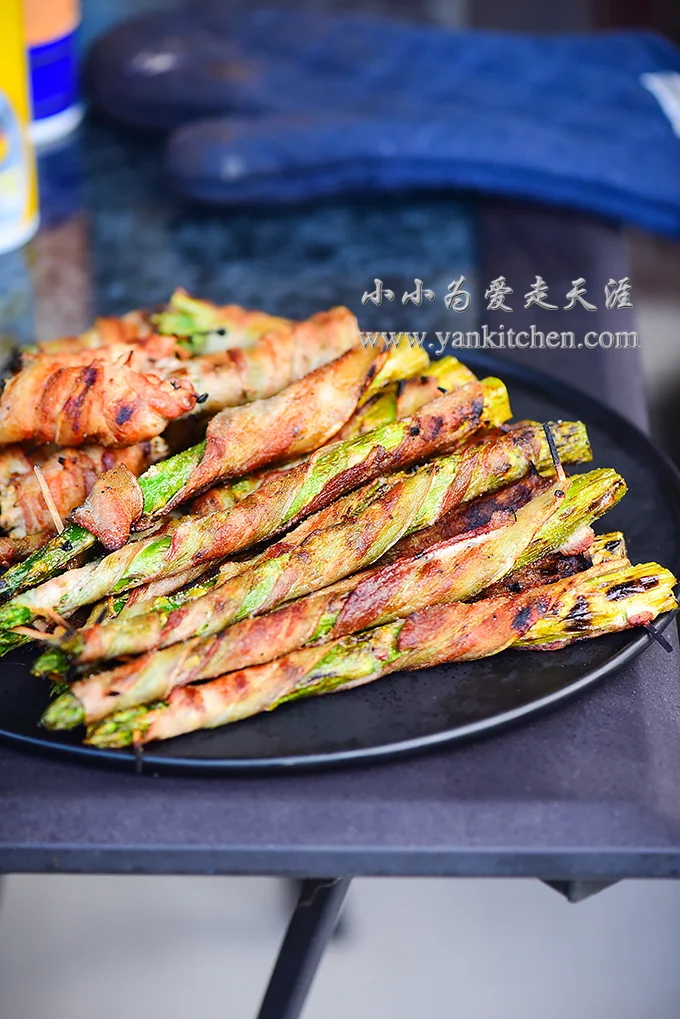
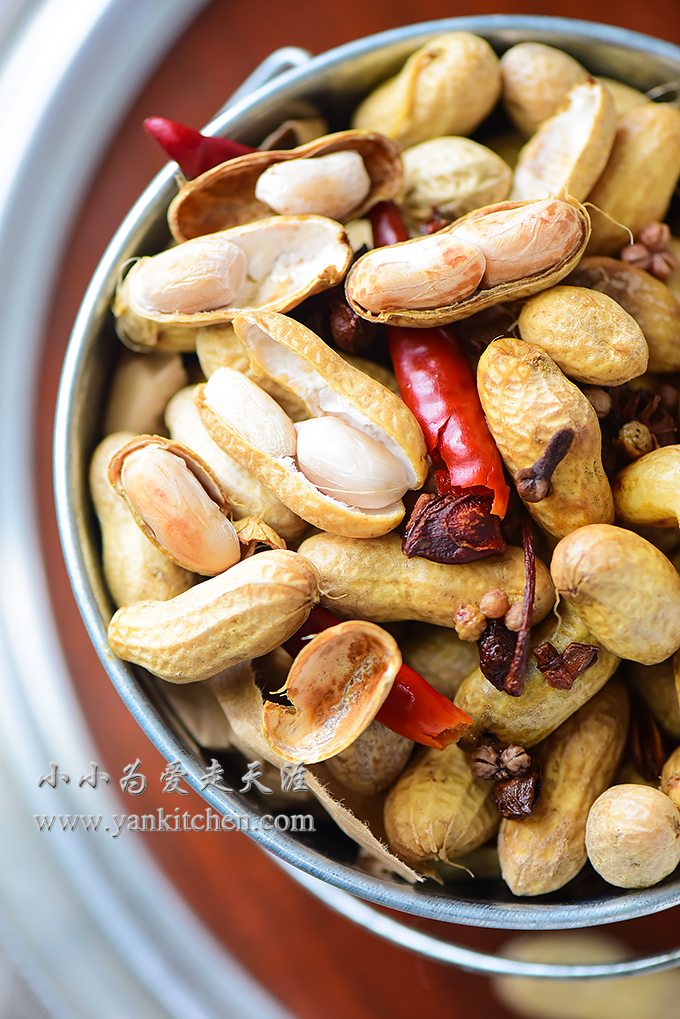
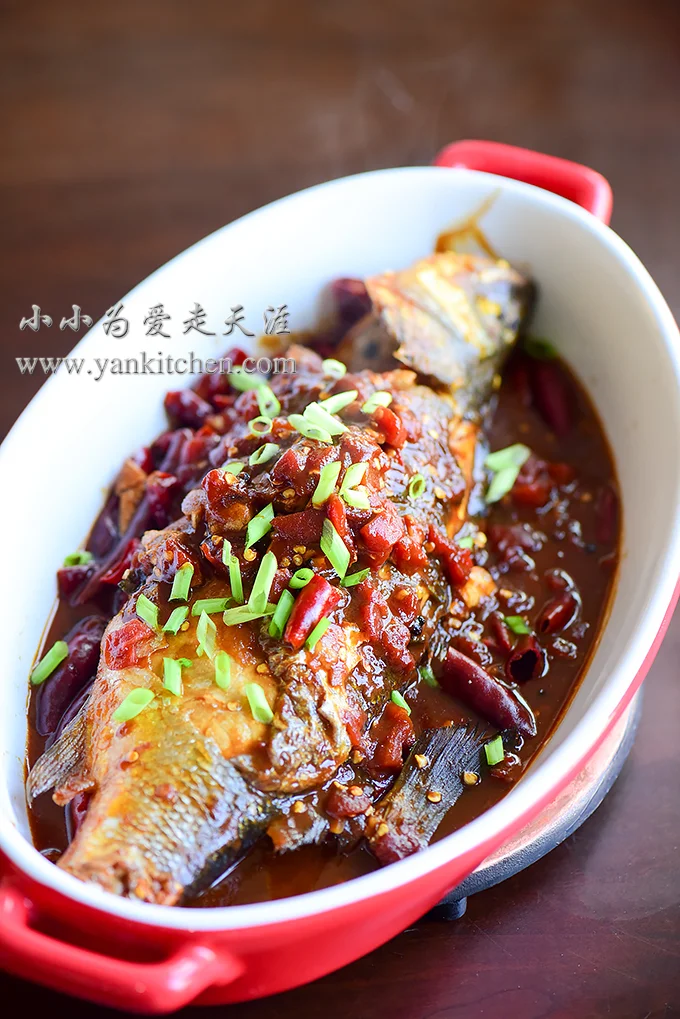
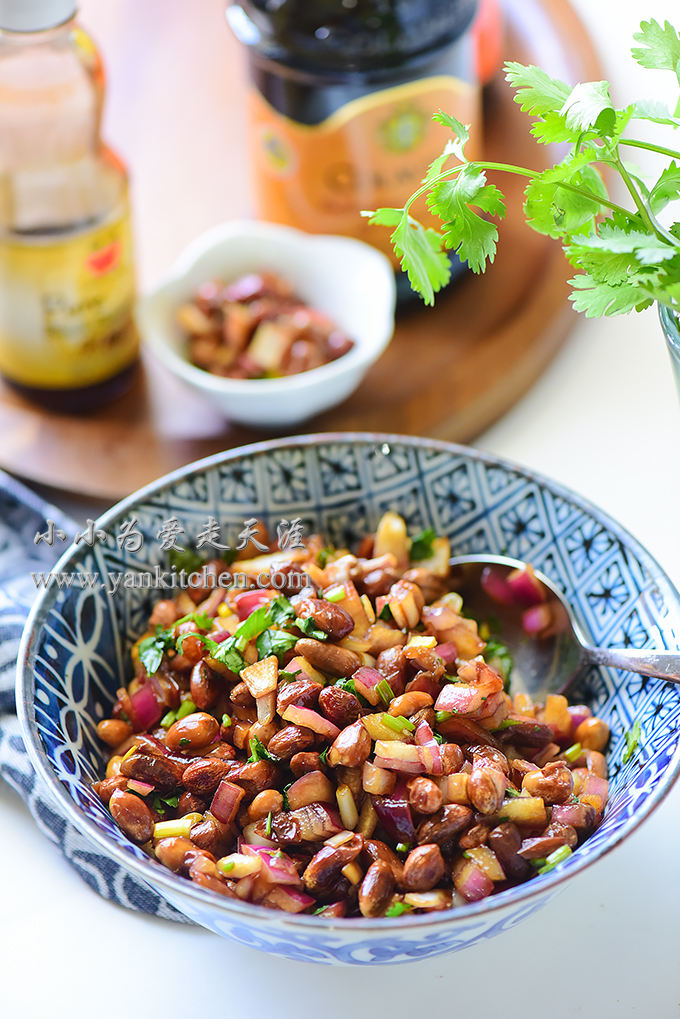
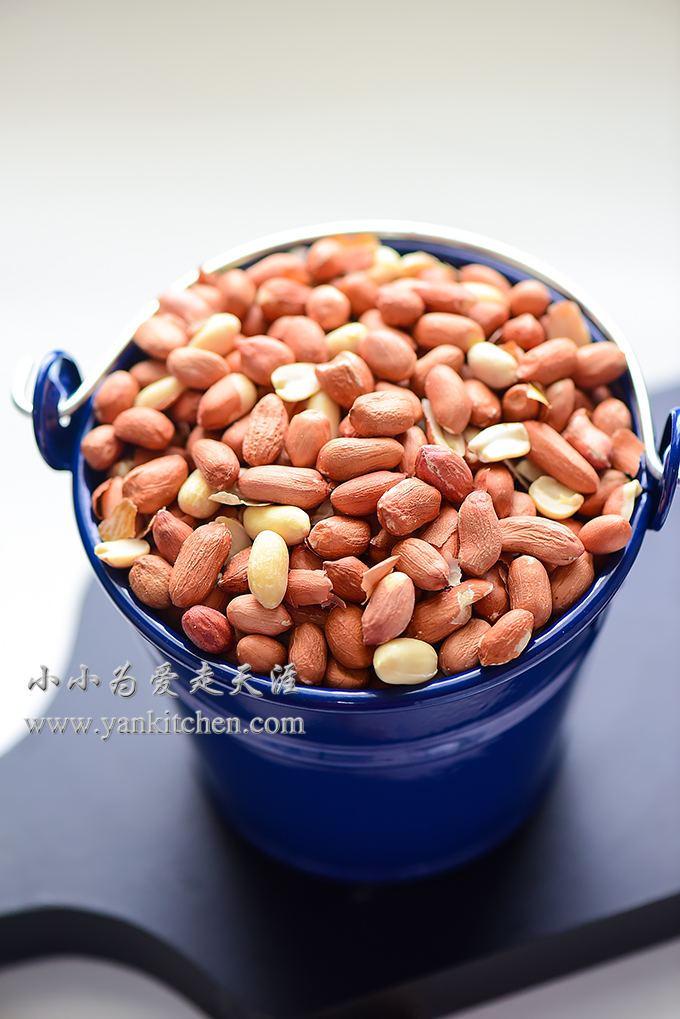
Our favorite snacks for game night are chicken wings, popcorns, roasted peanuts, roasted sun flower seeds, hot and spicy duck necks, and pickled chicken feet.  Some of them sound exotic and bizarre?  Not at all!  They are all widely popular in Asian countries for a really long time.  You have to try them yourselves to see how tasty they can be.

For chicken feet boiling:

2 packages of chicken feet (weighs about 4 lbs; sold in Asian grocery stores)
1 to 2 tablespoons rice cooking wine
1 large piece of ginger root, smashed
3 to 4 star anises
1 teaspoon Sichuan pepper corns
1 black cardamom pod, smashed
4 to 5 cloves
3 to 4 bay leaves
1 teaspoon dried ginger
a handful of dried red chili peppers, cut into pieces


For pickling:

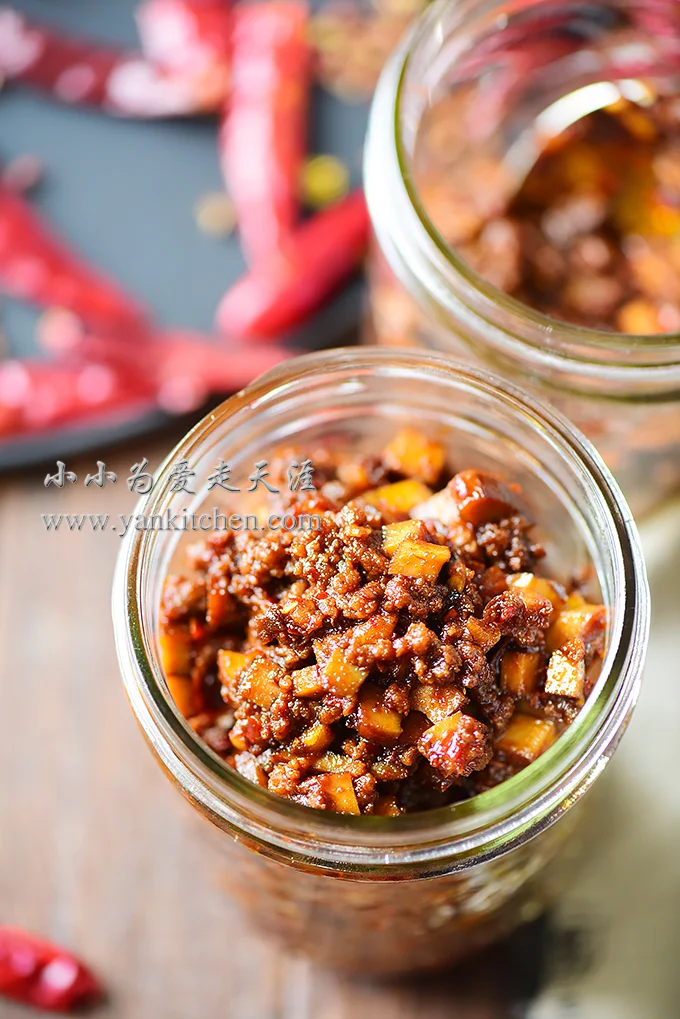
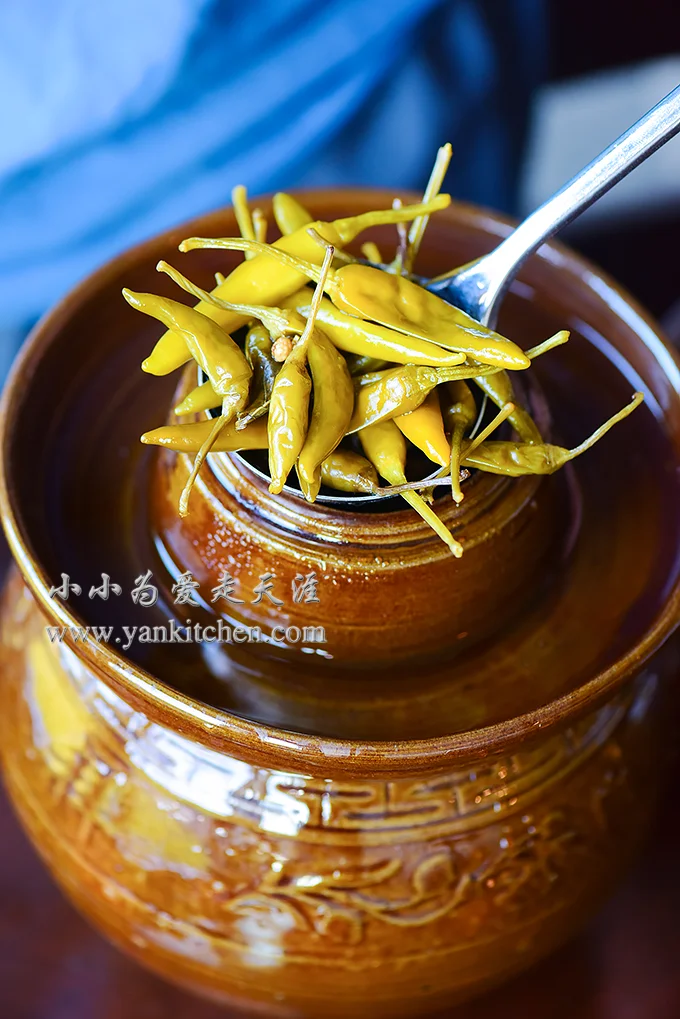
1 bowl of Sichuan style pickled chili peppers
1 cup of pickle juice
2 to 3 cups of icy water
granulated sugar to taste
rice vinegar to taste
sea salt to taste

Directions:

I make my own Sichuan style pickled peppers from scratch.  They taste better when they are homemade together with a variety of vegetables and spices.  But you can always find them available in Asian grocery stores.

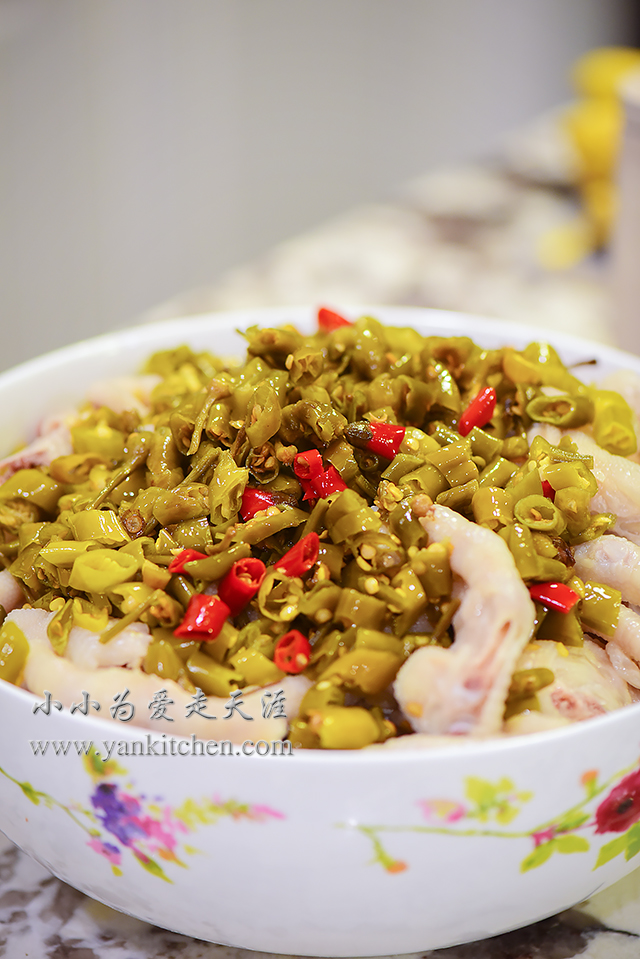
Finely chop the peppers and set aside for later use.

Add star anises, Sichuan peppercorns, cardamom, dried ginger, cloves, bay leaves, chili peppers to a piece of coffee filter paper.  Wrap and tie it up to be a spice bag.

Rinse chicken feet under running water.  Remove nails with a sharp knife or a pair of kitchen scissors.

Add to a soup pot, along with water, spice bag, ginger root and rice cooking wine. 

Cook over high heat until the water boils.  Reduce to medium heat and continue to cook for another 10 to 15 minutes.

Discard the spice bag and ginger.  Rinse chicken feet under running water again for a few minutes.

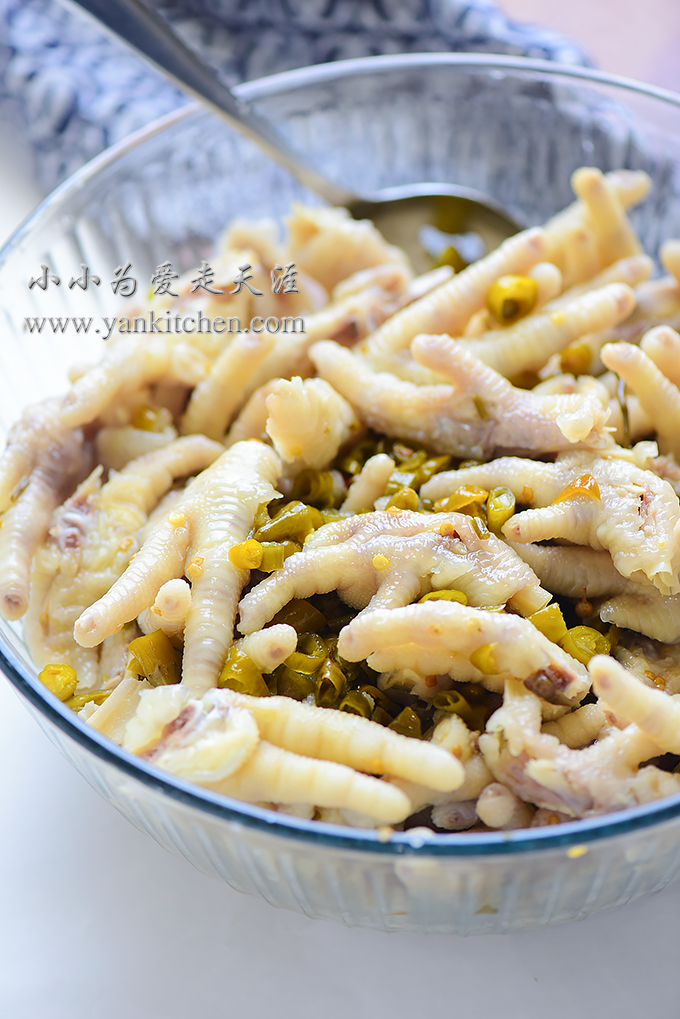
With a sharp cleaver, cut each chicken into halves. 

Add chicken feet to a large bowl, along with pickle juice, vinegar, sea salt, sugar, icy water and chopped pickled peppers. 

Mix well with a large spoon.  Cover and refrigerate overnight.  Just like regular pickles, it will take a couple days for pickled chicken feet to taste best.   

Remember to stir the chicken once in a while so that every chicken foot will be pickled and seasoned more evenly.

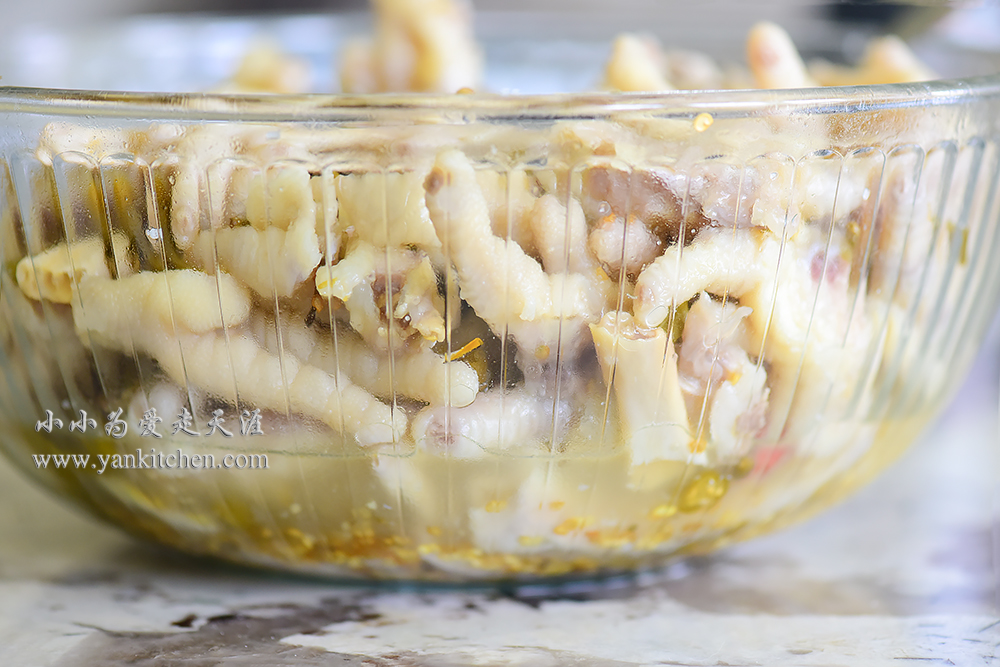
Don’t forget it will take a couple days to pickle.  Feel free to make them ahead of time.  The longer they sit in the fridge, the better the flavors will be. 

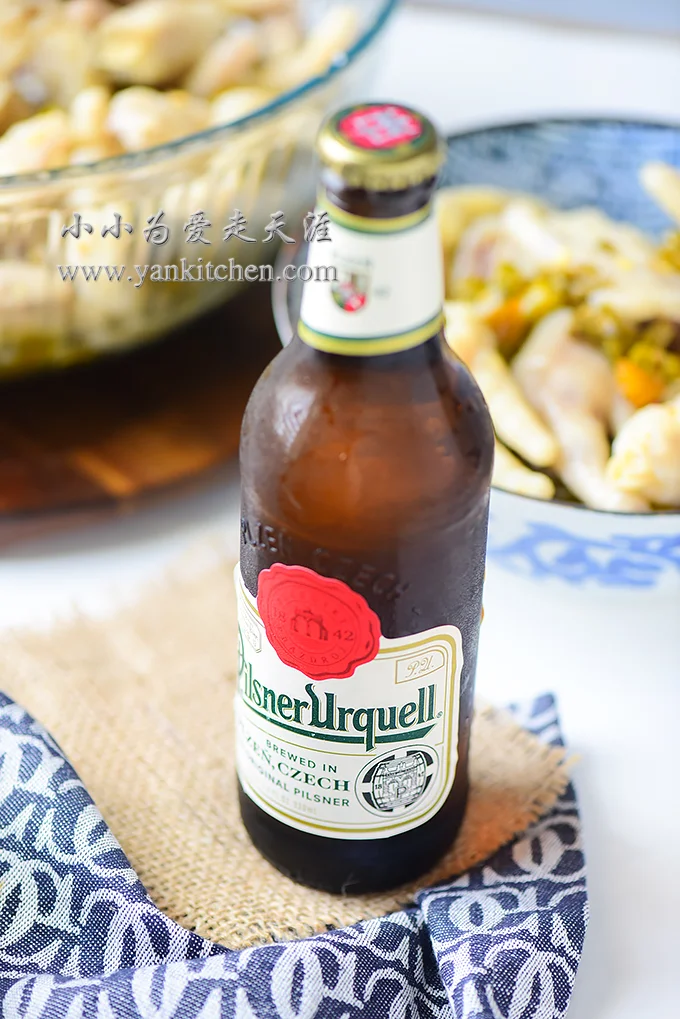
I buy some beers made in Czech from Central Market.  They taste mild and smooth, just like a regular American beer.

Interested in more Sichuan style pickles?  Here are some more:

Stir-fried Sichuan Style Pickled String Beans and Ground Pork

Grilled Asparagus Wrapped in Bacon

中文菜谱:

烤培根芦笋卷

If you love to shop at local farmers’ markets like I do, you would agree with me that asparagus is a messenger for spring.  It is earliest vegetable coming out of the ground.

 When I was living back in Michigan, winter was really cold and long.  We had to wait until May when it finally warmed up.  And asparagus is always the first seasonal vegetable appearing at farmers’ markets, followed by strawberries in June. 

Asparagus can be cooked in so many ways that I can never get tired of it.  One of my favorite ways is to grill with bacon.  Oh, yes, bacon makes everything so much better! O(∩_∩)O~

Ingredients:

1 bunch asparagus
1 package of bacon (1 lb)
salt to taste
freshly ground black pepper


Directions:

Try to pick the asparagus that is short and thick with tender and juicy texture.

Remove the tough bottom by bending each asparagus near its bottom until it snaps. Discard the tough bottom parts.    

Wrap each asparagus with one slice of bacon.  Secure both ends with bamboo toothpicks. 

I also wrap the bacon slices around some enokitake mushrooms and garlic chives. 

Preheat grill to 400F/ 204C

Quickly brush the griddle with some oil.  Add bacon-wrapped vegetables.

Excessive dripping fat from bacons may cause the grill to flare up.  Keep a close eye on the grill.  Flip them frequently if necessary to prevent burning or over cooking. 

Sprinkle salt and black pepper on top while grilling.

Bacon turns amazingly golden brown.  The vegetables are ready.

You can also bake asparagus in the oven with bacon.  But I think grilling is a better way because it adds extra smoky flavors that cannot be produced in a regular oven.

Dinner Rolls with Salted Egg Yolks and Pork Song (Dry Shredded Pork)

If you have been to an Asian bakery, you might have come across with some pork song buns.  Pork song is dry shredded pork which is made from pork that has been stewed, shredded, seasoned, slowly sautéed, and dried.   It is a long and slow process to make pork song.  That is also why it has such a nutty, delicate and rich flavor. 

Asian bakeries use pork song a lot.  If you have a chance to try it, just go ahead and have one.  You might instantly be hooked O(∩_∩)O~

Sometimes I love to bake pork song buns at home too. 

Ingredient s for the buns:

For the starter:

20 g all purpose flour
100 g water

For the dough:

380 g all purpose flour
1 1/2 teaspoons yeast
50 g granulated sugar
120 g milk
1 large egg
4 g salt
40 g butter, diced and softened under room temperature
egg wash and white sesame seeds for topping (optional)

For crispy toppings:

15 g egg
30 g butter, melted
50 to 60 g cake flour
10 g dry milk powder
30 g confectioner sugar


For pork song and salted duck egg yolks filling:

8 salted duck egg yolks
1 package of pork song (4 盎司,约112克)
3 to 4 tablespoons syrup

*** I posted before how to make salted duck eggs from scratch: https://www.yankitchen.com/english-blog/salted-duck-eggs .  Salted duck eggs and egg yolks are both available in most Asian grocery stores if you don’t want to wait that long.  Take a look at the package when you buy them from store.  Some are already cooked; some are not.  Buy the ones that have been cooked.  Otherwise, raw egg yolks need to be baked or steamed with a drizzle of rice cooking wine before adding to the filling.  ***

Directions:

In a small bowl, add 20 g flour.  Whisk while gradually adding 100 g water to the bowl.  Microwave the batter on high for 30 seconds.  Take it out, whisk again.  And then send back to the microwave for another 20 seconds.  Take it out; whisk; and send back to microwave for 15 seconds.  Repeat the process until you get a very thick batter.

Cover with plastic wrap.  The starter can be used right away when it cools down.  Or it can also be stored in fridge to be used on second day.

Add flour, dry milk powder, sugar and salt to a stand mixer bowl.  Whisk well. 

Add the starter, egg, milk.  Sprinkle the yeast on top.  Let it sit for 3 to 5 minutes.

Attach the dough hook to the stand mixer.  Knead at speed 2.

 When everything comes together to form a dough ball, add diced butter.

Continue to knead until the dough can pass window panel test. 

Cover with lid or plastic wrap.  Wait for about 60 minutes or until the dough doubles in its size.

While waiting for the dough to rise, prepare the filling.

With a fork, crush the egg yolks.

Add pork song and syrup, mix well.

Transfer the dough to a large lightly dusted wooden board.  

Punch down and gently knead into a dough ball again.  Cover with plastic wrap and allow the dough to rest for another 10 minutes.

Divide the dough into 16 equal pieces.

With a small rolling pin, roll out each piece thin and flat.

Add filling.

Wrap up and shape each one into small round ball. 

Add to large baking pan.  Cover with plastic wrap and let them rest for another 20 to 30 minutes.

Add all ingredients for crispy toppings to a small bowl.  Whisk until everything is well combined together.  Refrigerate until it is totally chilled and hardened.

Divide into 16 pieces too.

With a small rolling pin, roll each piece thin and flat.  And add to the top of dinner rolls.

Brush each one with egg wash and then sprinkle with white sesame seeds.

Preheat oven to 400F/205C

Bake for 16 to 20 minutes, or until the rolls are golden brown.

Piping hot and fresh out of the oven! O(∩_∩)O~

Shredded pork and salted duck egg yolks may sound like a bizarre combination.  It is sweet and savory, strange but in a good way.  Salted duck egg yolks have a rich fatty and nutty flavor.  When combined with pork song, that aroma is amplified.  No wonder this filling is a extremely hot trend in Asia countries for the last couple years O(∩_∩)O~

Pickled Peanuts with Vinegar and Onion

Pickled peanut is a dish, well, an appetizer to be exact, very popular during hot summer time across mainland China.  It is extremely simple and easy to make.  Just toss roasted peanuts and chopped onion, along with vinegar and some other seasonings.  And then wah-lah… you have a refreshing and crunchy peanut appetizer!

It sounds easy.  But it will take a few tries to achieve great flavors.  And the variations are limitless.  You can add celery, cilantro, chili peppers…  And every family has its own seasoning recipe too. All they have in common are peanuts, good vinegar and chopped onion.  

Ingredients:

1 cup raw peanuts
3 to 4 tablespoons balsamic vinegar (go with aged vinegar if you have one on hand )
2 teaspoons sesame oil
1 to 2 tablespoons honey (or use more or less to taste)
3 to 4 tablespoons soy sauce
chopped cilantro
1 medium sized onion, peeled and chopped
salt to taste


Directions:

I love peanuts with that red thin layer of skin on.  The ones without it will taste just fine too.

Preheat oven to 350F/177C

Spread peanuts on a baking sheet.  Bake in the oven for 8 minutes.  When time is up, turn off oven heat.  Leave the peanuts in the oven until they are cooled down. 

Peanuts will be very crunchy when they cool down.

I have been using this vinegar for years.  The aged version tastes better.  Whenever I see them on shelves, I would stock up O(∩_∩)O~

Add peanuts, along with chopped onion, cilantro and all the seasonings to a large bowl.

Mix well.

It can be served right after everything is mixed together.  But the flavor would be so much better if you let it sit in the fridge for a few hours before serving.

A few hours later, color has dulled a little bit, but all seasoning s and flavors combine better and the taste is smoother and more harmonious. 

Peanuts are still crunchy.  The contrast between crunchy peanut and juicy onion is well balanced and interesting.   I just can’t get enough of it O(∩_∩)O~

Sizzling Grilled Dry Aged Ribeye & New York Strip Steak

Dry aged steak is one of our favorite.  But they are hard to find on the market.

When beef has been aged in a carefully temperature and humidity controlled room for a certain amount of time ranging from weeks even to months, beef will be broken down by enzymes to produce amino acids, fatty acids and sugar.  That is to say, the beef will transform into good eats with better taste, tendered texture and intensified flavors.

It is a very expensive and time consuming process.  Besides, the beef needs to be trimmed before selling or cooking.  All costs add up quickly.  No wonder dry aged steaks on steakhouse menu are always so pricey.

Imagine how exciting I was when I found out Central Market in Houston sells dry age beef! O(∩_∩)O~

There are two types of dry aged steak available in Central market.  One is ribeye, and the other one is New York strip steak.  

Marbling is gorgeous

Price is more expensive than regular steak.  But it is quite reasonable when compared to what you paid for aged beef served in a steakhouse. 

I bought one piece of each so that it would be convenient to compare them side by side.  

Leave the steak out on the countertop for about 20 minutes to warm up to room temperature.

Meanwhile, preheat the grill to 450F/232C with 2 sizzling plates in it. 

The one on the bottom is ribeye.  The other one on top is New York strip steak.

Sprinkle with generous amount of freshly ground black pepper

Add sea salt to taste.  Lightly press down the salt and pepper.

Add to the grill.  Grill for 2 minutes.

2 minutes later, flip the steaks over and grill for another 2 minutes.

Remember, we are making sizzling steaks here.  The extremely hot sizzling plates will continue to cook the steak later.  So you don’t want your steaks in the grill for too long.

All sizzling plates are different.  Some are cast iron; some are aluminum; some are thick; and some are thin.  All of that needs to be considered when we decide how much time for steak to cook in the grill.  I am using two thick cast iron sizzling plates.  And I know from prior cooking experience that 2 minutes each side is perfect for my medium rare steaks.

Transfer the steaks to sizzling plates.

And now get the plates and steaks out of the grill and serve.  That beautiful sizzling sound is like wonderful music to a foodie like me O(∩_∩)O~

Do use extra caution because the plate is really really really hot!

This one is ribeye.

It is very tender, juicy, and buttery with an intense beefy and meaty flavor.

This one is New York strip steak.

The texture is a bit tighter than ribeye, with a nuttier and more intense beefy flavor.

The one on the left is New York strip steak, and the one on the right is ribeye steak.

The reason I love sizzling steak is that even when it comes to the last bite, it is still perfectly pink, tender and juicy on the inside.  And there would not be any unpleasant red color juicy running in the plate at all.  

Give it a try and you will love it too! O(∩_∩)O~